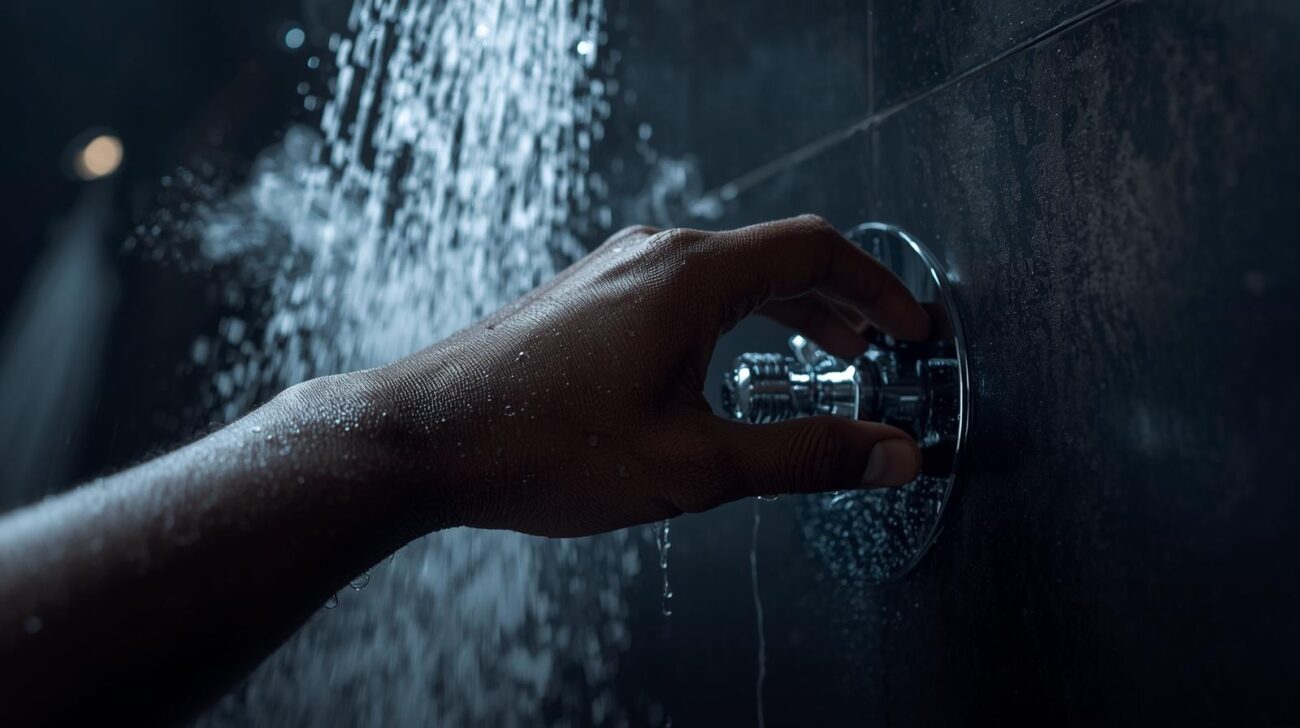
The plumbing system is arguably the most vital, yet often overlooked, network in your home. It delivers fresh water for drinking and bathing, and efficiently whisks away waste. Because much of it is hidden behind walls and beneath floors, it’s easy to forget about it – until a small drip turns into a disastrous flood, or a seemingly minor issue escalates into a costly repair. This is where a proactive approach with an Annual Plumbing Checklist becomes your best defense.
AtWinstar Hardware, we believe that prevention is always better, and far cheaper, than emergency repairs. Ignoring your plumbing system can lead to significant water damage, mold growth, skyrocketing utility bills, and immense stress. But with a simple, yearly routine, you can catch potential problems early, extend the lifespan of your fixtures and pipes, and protect your home from plumbing disaster.
This comprehensive Annual Plumbing Checklist outlines 7 essential plumbing maintenance checklist items that every homeowner should undertake to ensure a healthy, leak-free plumbing system. By investing a little time in these yearly plumbing checks, you’ll save yourself headaches and huge expenses down the line.
1. Inspect Faucets and Toilets for Leaks
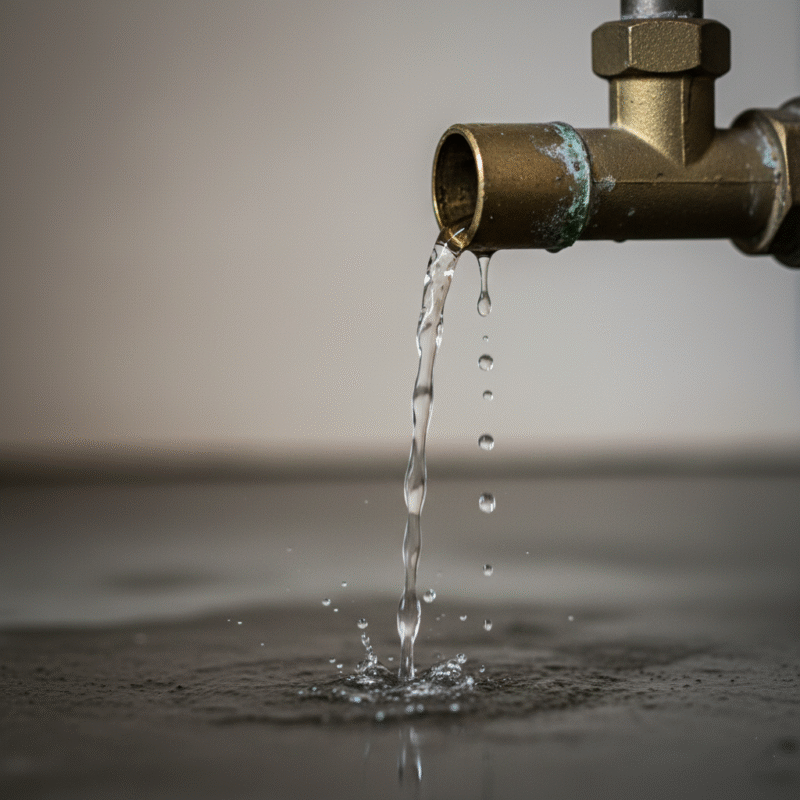
This might seem basic, but even the smallest, most insidious leaks can waste thousands of liters of water per year and lead to significant water damage over time. This is a foundational item on your Annual Plumbing Checklist.
The Stakes: Why This Matters
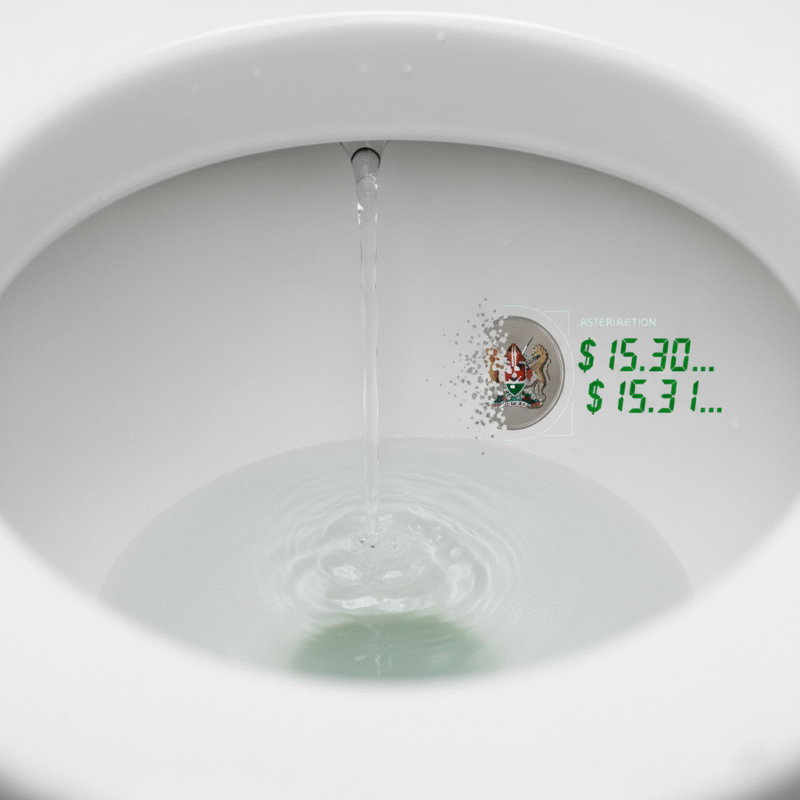
- Water Waste: A single dripping faucet can waste over 30 liters of water a day, while a silently running toilet can waste hundreds. This directly translates to higher water bills.
- Hidden Damage: A continuous drip under a sink can cause wood rot in your cabinetry, create mold, and attract pests, all without being immediately visible.
- Early Warning: Small leaks can be a warning sign your pipes are failing or that components are wearing out.
Your Step-by-Step Inspection
- Faucets: Visually inspect all faucets in your kitchen, bathrooms, and utility areas. Look for any drips around the handles or from the spout. Pay attention to any signs of corrosion or mineral buildup around the base. Feel for moisture under the sink, particularly around the supply lines and drain connections.
- Toilets: This is often where “silent” leaks occur.
- The Dye Test: Add a few drops of food coloring to your toilet tank. Wait for 15-20 minutes without flushing. If any color appears in the toilet bowl, you have a leak, most likely from a faulty flapper valve or fill valve.
- Listen: Listen closely for any faint hissing or trickling sounds coming from the toilet when it’s not being used.
If Something Looks Wrong: Your Next Steps
- Faucets: For a dripping faucet, you might need to replace a washer, O-ring, or cartridge.
- Toilets: A running toilet typically needs a new flapper or a replacement fill valve. Check out this article for a detailed guide on how to fix toilets.
- Hidden Leaks: If you suspect a leak but can’t find it, consider calling a plumber to prevent serious damage and protect your home from plumbing disaster.
2. Check Drains for Slow Drainage and Odors
Slow drains are more than just an annoyance; they’re a common sign of developing clogs or other issues within your plumbing system. Addressing them as part of your Annual Plumbing Checklist can prevent major backups.
The Risk Factor
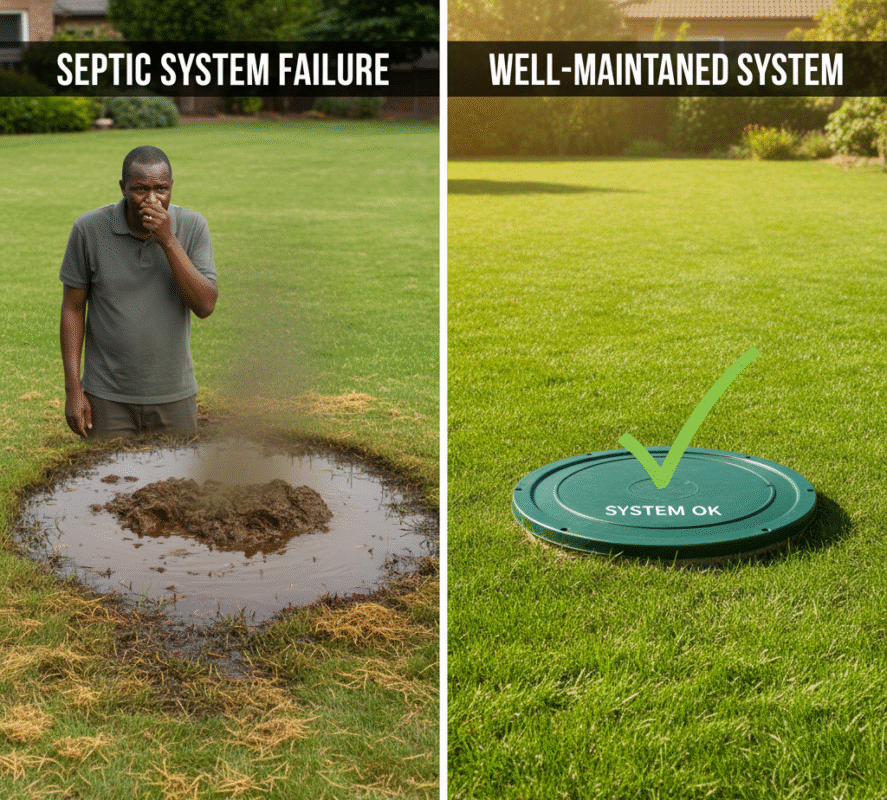
- Preventing Backups: A slow drain is a precursor to a full clog. A complete blockage, especially in a main drain, can lead to raw sewage backing up into your sinks, tubs, and toilets – a truly disastrous scenario.
- Identifying Larger Issues: Persistent slow drains across multiple fixtures can indicate a more serious problem in your main sewer line, such as tree root intrusion or a sagging pipe, which are signs of aging plumbing.
- Health and Safety: Foul odors often indicate the presence of sewer gas, which can contain harmful and flammable gases like methane and hydrogen sulfide.
Actionable DIY Steps
- Test All Drains: Run water in all sinks, showers, and bathtubs. Note how quickly the water drains. If it takes longer than a few seconds to clear, it’s slow.
- Listen and Smell: Pay attention to any gurgling sounds coming from drains (especially after flushing a toilet) or any foul, sewage-like odors. Gurgling often indicates a venting issue, which can lead to P-trap siphonage and allow sewer gas into your home.
- Check Floor Drains: In basements or utility rooms, ensure floor drains are clear of debris and have water in their P-traps (pour a bucket of water down them if they’re dry).
The Fix: Repair or Replace?
- Minor Clogs: For localized slow drains, try a plunger or a simple drain snake. Avoid harsh chemical drain cleaners, as they can damage pipes over time and often only provide temporary relief. If you suspect a clogging, learn how to safely unclog your drains before calling a professional.
- Persistent Slow Drains/Odors: If multiple drains are slow, or if you detect strong sewer odors, it’s a significant indicator that a larger problem exists. This could be a main line clog, a blocked vent, or even a damaged sewer pipe. This is a situation when to replace pipes might be necessary, and you should call a plumber for a camera inspection.
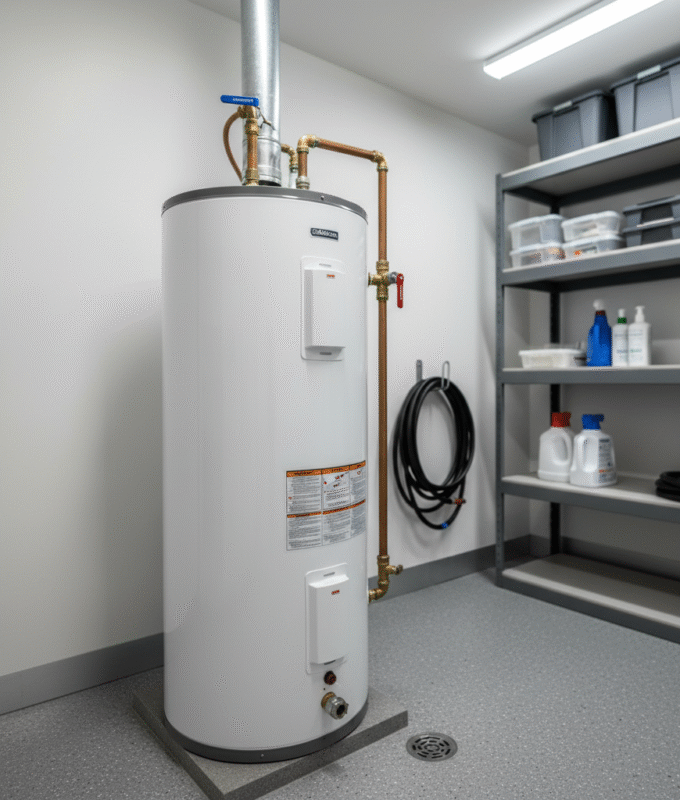
3. Test Your Water Heater
Your water heater works tirelessly, day in and day out. Regular maintenance, as part of your Annual Plumbing Checklist, is crucial for its efficiency, longevity, and to protect your home from plumbing disaster.
Why This Check is Essential
- Prevent Sediment Buildup: Sediment (mineral deposits) collects at the bottom of the tank, reducing heating efficiency, causing noisy operation (popping/rumbling), and shortening the heater’s lifespan.
- Safety: The Temperature and Pressure (T&P) relief valve is a critical safety device that prevents the tank from over-pressurizing and potentially exploding. It needs to be checked annually.
- Extend Lifespan: Proper maintenance can significantly extend the life of your water heater, delaying costly replacement.
Actionable DIY Steps
- Flush the Tank:
- Turn off the cold water supply to the water heater.
- Turn off the power/gas.
- Attach a garden hose to the drain valve and run it to a drain.
- Open a hot water faucet inside to relieve pressure.
- Open the drain valve and let the water (and sediment) drain until it runs clear.
- Close the drain valve, disconnect the hose, and turn the cold water supply and power/gas back on. For a more comprehensive visual guide, watch this video on how to flush a water heater tank.
- Test the T&P Relief Valve:
- Place a bucket under the T&P valve’s discharge pipe.
- Gently lift the lever on the T&P valve for a few seconds. Water should flow out of the discharge pipe.
- Release the lever. If water continues to drip, the valve might need replacement.
Next Moves for Faulty Findings
- Leaking T&P Valve: If the T&P valve doesn’t seal after testing, it needs to be replaced immediately.
- Persistent Noises/Efficiency Issues: If flushing doesn’t quiet a noisy heater or if you notice decreasing hot water capacity, it might be time for a professional assessment or replacement. This is part of proactive plumbing maintenance checklist.
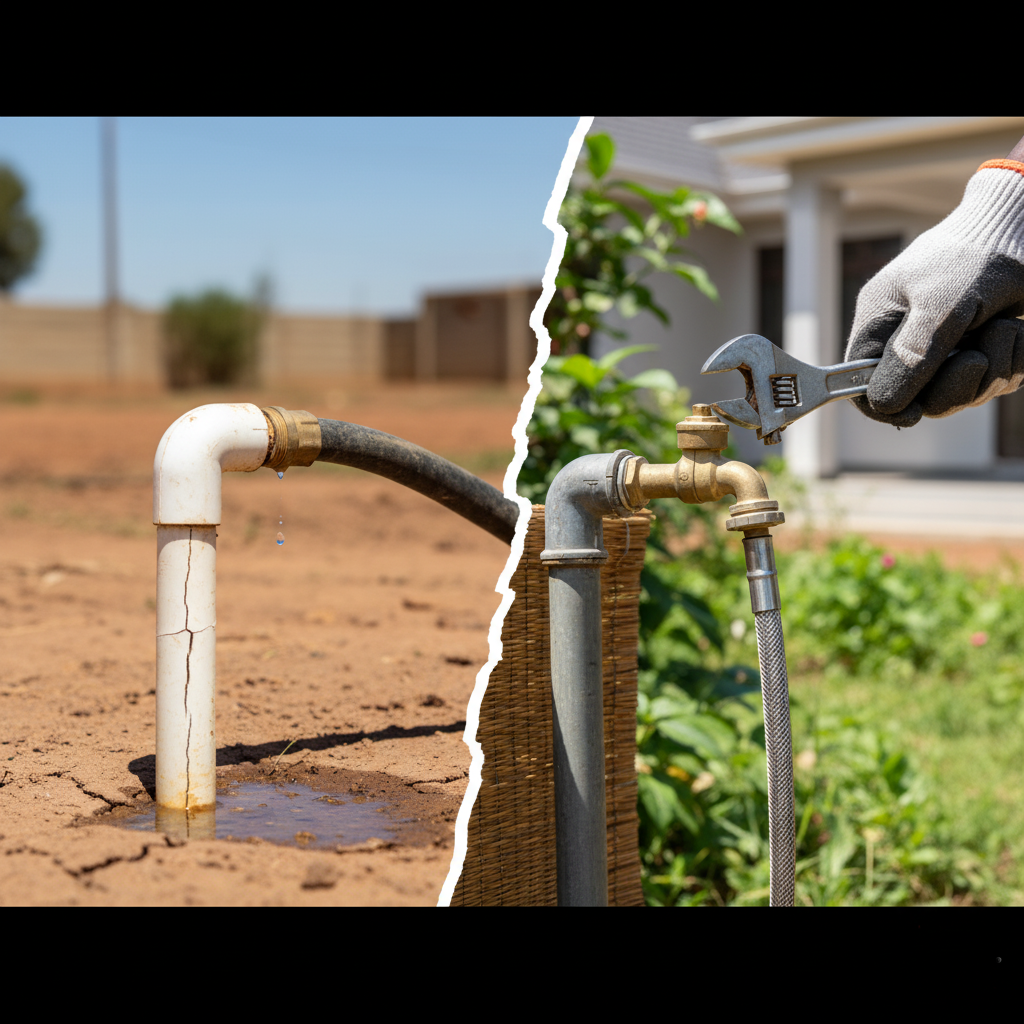
4. Inspect Exposed Pipes, Hoses, and Connectors
Many pipes are hidden, but those that are visible (in basements, utility rooms, under sinks, behind appliances) offer crucial clues about the health of your entire system. This is an easy but critical item on your Annual Plumbing Checklist.
The Stakes: Why This Matters
- Early Leak Detection: Visible pipes can show signs of corrosion, drips, or weak points before they become major leaks within walls.
- Prevent Catastrophic Failure: Appliance hoses (for washing machines, dishwashers) are notorious for bursting, causing massive floods. Regular inspection can prevent this.
- Identifying Signs of Aging Plumbing: Seeing rust, lime buildup, or discoloration on exposed pipes often means similar, or worse, conditions exist in hidden sections, indicating your pipes are failing.
Your Step-by-Step Inspection
- Visual Scan: Walk through your home, paying close attention to pipes in your basement, utility room, under sinks, and behind major appliances.
- Look for Signs of Trouble:
- Corrosion/Rust: Any green patina on copper pipes, red rust on galvanized steel, or white powdery buildup (lime/calcium) can indicate a slow leak.
- Drips/Moisture: Even slight dampness around pipe joints or connections.
- Appliance Hoses: Inspect washing machine and dishwasher hoses for bulges, cracks, fraying, or stiff spots.
- Feel for Dampness: Run your hand along pipes and around connections, especially in hard-to-see areas.
The Fix: Repair or Replace?
- Minor Leaks/Corrosion: For small drips at connections, try tightening the fitting or replacing the gasket. If the pipe itself is corroded, it’s likely time for professional replacement.
- Worn Hoses: Replace old, rubber washing machine hoses with reinforced stainless steel hoses. Most appliance hoses should be replaced every 3-5 years.
- Serious Corrosion/Multiple Issues: If you see widespread corrosion or multiple points of concern, it’s a strong indicator that your pipes are failing and you should call a plumber to discuss repiping options. This proactive step helps protect your home from plumbing disaster.
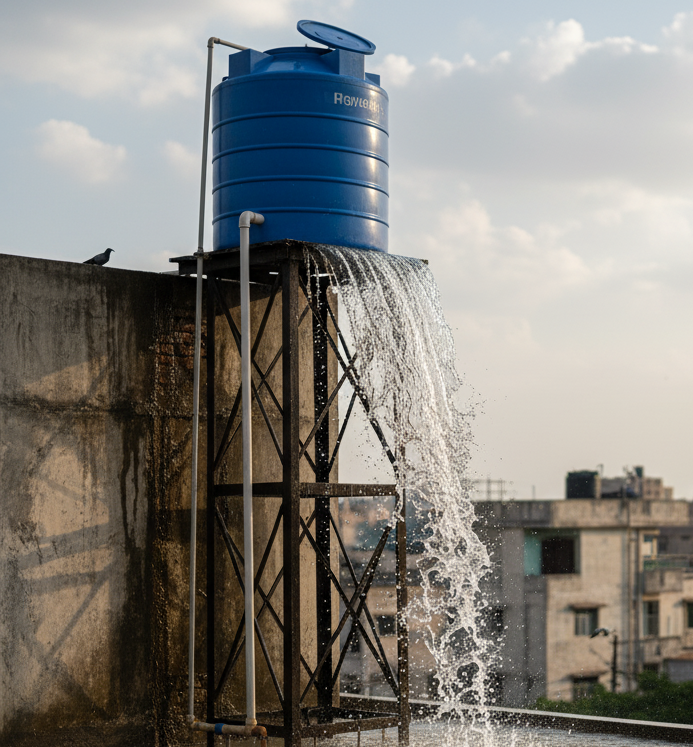
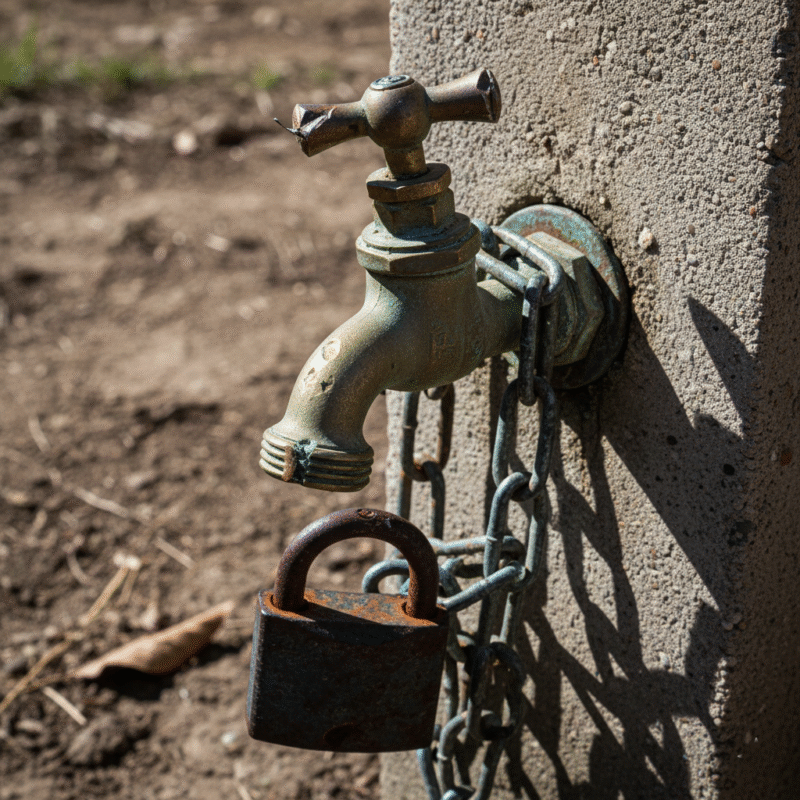
5. Check Outdoor Plumbing and Water Shut-Offs
Outdoor plumbing is particularly vulnerable to weather extremes—be it intense sun or heavy rains—and often gets neglected because it’s “out of sight, out of mind.” Incorporating this into your Annual Plumbing Checklist is crucial for preventing water loss and managing high-pressure situations.
The Risk Factor
- Protect from Sun and Heat Damage: Prolonged exposure to intense dry-season sun can cause plastic pipes (PVC, PEX) and rubber components to become brittle, crack, and fail, leading to burst pipes when water pressure returns.
- Identify Water-Wasting Leaks: Outdoor spigots, gate valves, and connections to irrigation or rainwater harvesting systems can develop leaks that go unnoticed, leading to significant water loss during dry periods.
- Emergency Preparedness: Knowing where your main water shut-off valve is, and ensuring it works, is critical in any plumbing emergency, such as a pipe bursting due to sudden pressure from a supply resumption.
Actionable DIY Steps
- Outdoor Faucets/Hoses:
- Inspect for Heat Damage: Check all exposed pipes and hoses for signs of sun damage (discoloration, stiffness, or cracks). If hoses are old or cracked, replace them.
- Test Gate Valves: If you have gate valves for controlling water to external areas, turn them fully off and on once a year to ensure they do not seize up.
- Main Water Shut-Off Valve:
- Locate and Test: Locate your home’s main water shut-off valve (usually near the meter or where the main line enters the compound).
- Exercise the Valve: Gently turn the valve completely off, then back on. This ensures it’s not seized and can function in an emergency. If it’s difficult to turn, or if it doesn’t completely stop the water flow, it needs immediate attention.
- Other Shut-Offs: Also, check individual shut-off valves for sinks, toilets, and appliances to ensure they turn freely and effectively.
Time to Call the Experts
- Stuck/Leaking Shut-Off: If your main shut-off valve doesn’t work, it’s an emergency waiting to happen. Call a plumber to have it repaired or replaced.
- Leaking Spigots: Replace old outdoor spigots if they drip or leak.
- Heat-Damaged Pipes: If you notice significant brittleness or cracking in exposed PVC pipes, have a plumber inspect and potentially insulate or shade them to prevent failure during peak heat.
6. Check Your Water Pressure
While a low water pressure might be annoying, excessively high water pressure can be extremely damaging to your entire plumbing system and appliances. Including this in your Annual Plumbing Checklist is a smart preventative measure.
The Stakes: Why This Matters
- Prevent Damage: High water pressure (above 80 psi) can stress pipes, prematurely wear out fixtures, damage water heaters, and even cause washing machine hoses to burst. This is a common factor in pipes are failing.
- Efficiency and Longevity: Maintaining optimal water pressure (typically 40-60 psi) ensures your appliances function correctly and extends the life of your plumbing components.
What You Need to Do
- Use a Water Pressure Gauge: Purchase an inexpensive water pressure gauge.
- Attach and Test: Screw the gauge onto an outdoor faucet or a laundry tub faucet. Ensure no water is running inside or outside the house, then open the faucet completely.
- Read the Gauge: Note the pressure reading. If it’s consistently above 80 psi, your home has high water pressure.
Beyond the DIY: Professional Help
- High Pressure: If your pressure is too high, you likely need a pressure-reducing valve (PRV) installed on your main water line or an existing one might be failing. This is a job for a qualified plumber.
- Low Pressure: Consistently low pressure can be a sign of mineral buildup in pipes, a faulty PRV, or a problem with your water supply. This is one of the signs of aging plumbing that may indicate your pipes are failing.
7. Test Your Sump Pump (If Applicable)
For homes with basements, a sump pump is a silent guardian against flooding. Ensuring it’s in top working condition is a crucial, non-negotiable part of your Annual Plumbing Checklist, especially before rainy seasons.
Why This Check is Essential
- Flood Prevention: A functioning sump pump prevents basement flooding due to heavy rains or groundwater seepage, saving you from thousands of shillings in damage.
- Mold Prevention: By keeping your basement dry, it prevents the growth of mold and mildew.
- Protect Your Home from Plumbing Disaster: A failed sump pump is one of the most common causes of preventable basement flooding.
Your Step-by-Step Inspection
- Remove Debris: Ensure the sump pit is clear of any debris or obstructions that could interfere with the float switch.
- Test the Float Switch: Slowly pour a bucket of water into the sump pit. The water level should rise, causing the float switch to activate the pump.
- Observe Operation: The pump should turn on, quickly pump the water out, and then shut off automatically once the water level drops and the float switch disengages.
- Check Discharge Line: Ensure the discharge pipe is not blocked and directs water away from your foundation. [Diagram of the sump pump]
Time to Call the Experts
- Pump Fails to Activate: Check its power source. If power is fine, the pump motor or float switch might be faulty.
- Pump Runs but Doesn’t Pump Water: The impeller might be clogged, or the check valve might be stuck closed.
- Pump Short Cycles: The float switch might be set too low or be faulty.
If your sump pump fails to operate correctly after you’ve checked the power, it’s time to call a plumber.
Conclusion: Proactive Plumbing Means Peace of Mind
Your home’s plumbing system works hard for you every single day. By diligently following this 7-Point Annual Plumbing Checklist, you’re not just performing routine chores; you’re actively safeguarding your home against potential damage, costly repairs, and significant inconvenience.
Remember, identifying signs of aging plumbing early, like a silent leak or a noisy water heater, is crucial. Proactive plumbing maintenance checklist items are your best allies in extending the life of your system and ensuring a consistent, healthy water supply.
For all your yearly plumbing checks and any necessary repairs, Winstar Hardware is your trusted partner. We offer a comprehensive range of high-quality plumbing supplies, tools, and expert advice to help you tackle these tasks with confidence. Don’t wait for a drip to become a flood – take control of your home’s plumbing health today and protect your home from plumbing disaster!