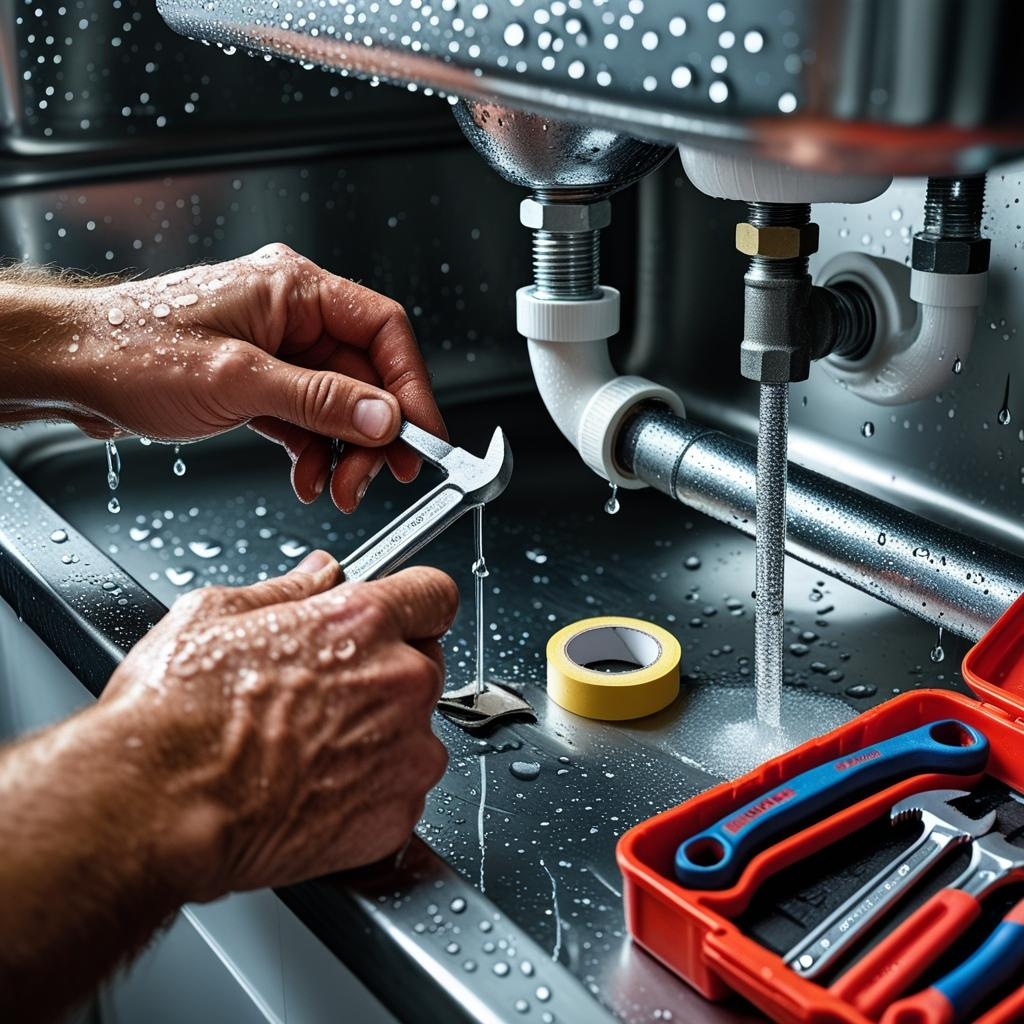
Tired of plumbing problems? You’ve found the solution. Welcome to the Winstar Hardware Ltd blog, where we turn plumbing headaches into simple fixes. There’s nothing quite as unsettling (or wallet-draining) as the persistent drip, drip, drip of a leaky pipe. Not only does it waste precious water – a valuable resource we all appreciate here in Kenya – but it can also lead to water damage, mold growth, and a steadily increasing water bill. The good news? Many minor pipe leaks can be tackled with a bit of know-how and the right tools, saving you time, money, and the hassle of waiting for a plumber for a simple fix. In this comprehensive guide, we’ll walk you through the step-by-step process of a DIY Leaky Pipe Repair in your home. So, grab your toolbox, and let’s get started on silencing that annoying drip for good!
First Things First: Safety and Preparation
Before you even think about reaching for a wrench, safety should be your top priority.
- Identify the Leak and Assess the Situation: Carefully examine the leaking pipe. Where is the water coming from? Is it a slow seep, a steady drip, or a more significant stream? Knowing the nature of the leak will help you determine the best course of action.
- Turn Off the Water Supply! This is the MOST crucial step. Locate the shut-off valve that controls water flow to the affected pipe. This could be a local valve directly on the pipe, or your main water shut-off valve for the entire house. If you’re unsure, it’s always safer to turn off the main supply. Familiarize yourself with the location of your main shut-off valve before an emergency occurs – it could save you a lot of trouble! For more detailed safety tips, you can read this guide on plumbing safety for homeowners.
- Relieve Water Pressure: Once the water supply is off, turn on the tap connected to the leaky pipe. This will help to relieve any residual water pressure in the line.
- Gather Your Tools and Materials: Having everything you need within reach will make the repair process much smoother. We’ll cover the essential tools in the next section.
- Wear Appropriate Protection: Depending on the location and severity of the leak, consider wearing gloves and eye protection.
Your DIY Leaky Pipe Repair Toolkit: Essential Tools You’ll Need
Having the right tools makes all the difference. Most minor pipe repairs require just a few basic items.
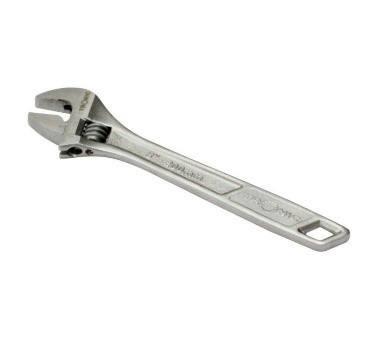
- Adjustable Wrench (Spanner): Essential for tightening or loosening nuts and fittings. Having a couple of different sizes can be helpful.
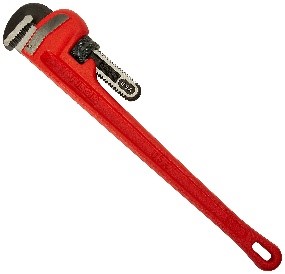
- Pipe Wrench: For gripping and turning pipes. These are particularly useful for threaded connections.
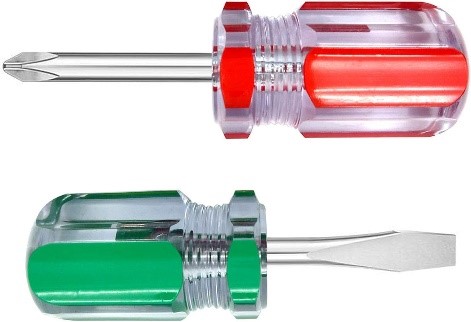
- Screwdrivers (various types): You might need both flathead and Phillips head screwdrivers depending on the type of pipe clamps or fittings involved.
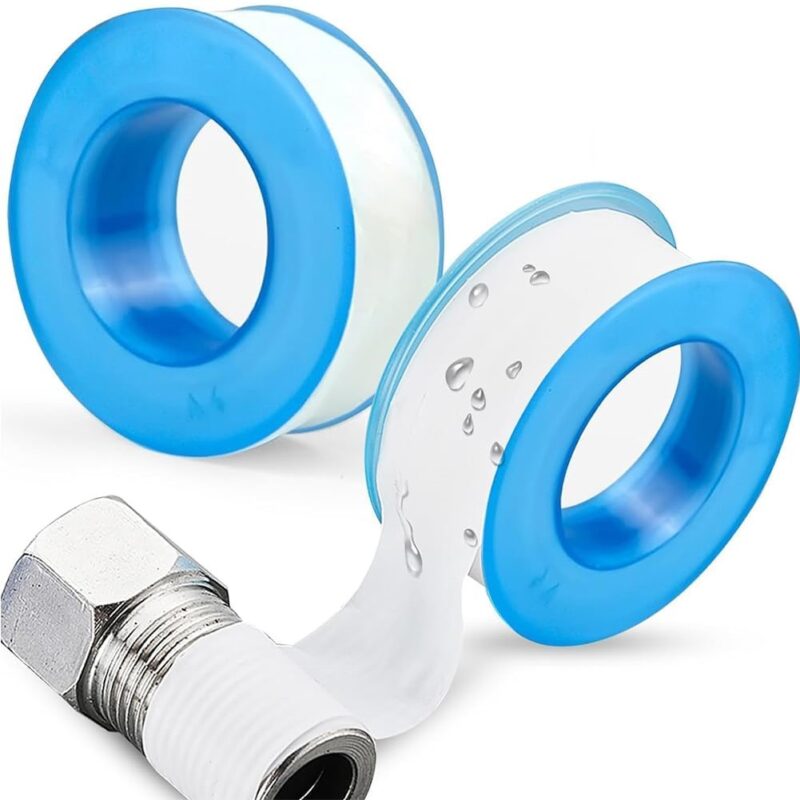
- Plumber’s Tape (PTFE Tape or Teflon Tape): Used to create a watertight seal on threaded connections. It’s inexpensive and a must-have for any DIY plumber
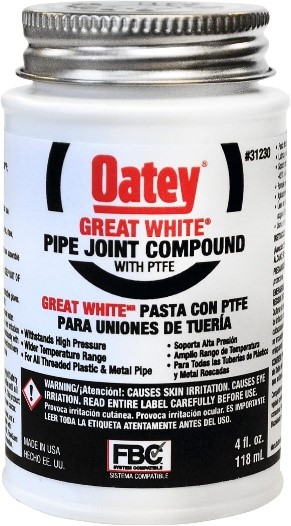
- Pipe Joint Compound (Pipe Dope): Another sealant for threaded connections, often used in conjunction with Teflon tape for extra security.
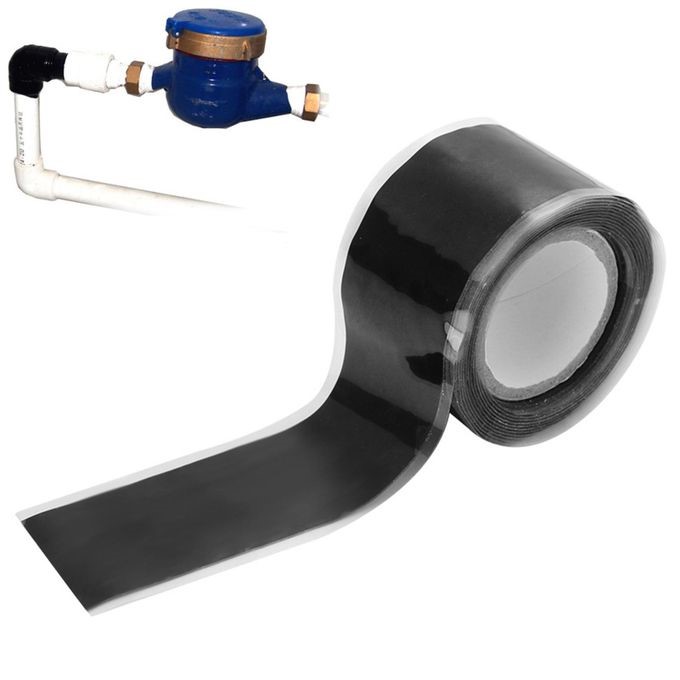
- Rubber and Silicone Repair Tape (Self-Fusing Silicone Tape): A versatile, stretchy tape that creates a watertight seal when wrapped tightly around a leak. It’s excellent temporary fixes on straight sections of pipe.
- Epoxy Putty or Stick: A two-part putty that, when mixed, creates a strong, waterproof bond. Ideal for small holes or cracks in pipes.
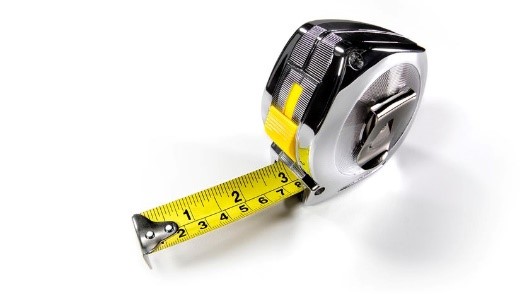
- Measuring Tape: To measure the size of the pipe or any sections you might need to replace.
- Clean Rags or Towels: To dry the area and clean up any spills.
- Bucket or Container: To catch any remaining water when you open the pipe or work on the leak.
- Safety Glasses: To protect your eyes from splashes or debris.
- Gloves: To keep your hands clean and protected.
Step-by-Step Guide to a Leaky Pipe repair
Now that you’re prepared and have your tools ready, let’s dive into the repair process for some common types of leaks.
1. Tightening Loose Fittings
Often, a leak at a pipe joint isn’t due to a crack in the pipe itself, but rather a loose connection.
Steps:
- Identify the Leaky Fitting: Pinpoint exactly where the water is seeping from the joint.
- Dry the Area Thoroughly: Use a clean rag to dry the fitting and the surrounding pipe completely.
- Use the Correct Wrench: Select a wrench that fits the nut or fitting snugly. An adjustable wrench is usually suitable.
- Gently Tighten: Carefully tighten the nut or fitting in a clockwise direction. Avoid over-tightening, as this can damage the fitting or the pipe itself, making the leak worse. A slight turn might be all it takes.
- Turn the Water Supply Back On (Gradually!): Slowly turn the water supply back on and check for leaks. If the drip persists, turn the water off again and try tightening the fitting a little more.
2. Repairing Pinholes or Small Cracks with Repair Tape
For small pinhole leaks or minor cracks on straight sections of pipe, self-fusing silicone repair tape can provide a quick and effective temporary fix.
Steps:
- Clean and Dry the Pipe: Thoroughly clean the area around the leak with a rag and ensure it is completely dry.
- Prepare the Tape: Remove the protective backing from the silicone repair tape.
- Wrap Tightly: Starting a few inches before the leak, begin wrapping the tape tightly around the pipe, stretching it as you go. Overlap each layer of tape by about half its width.
- Continue Wrapping: Continue wrapping several layers of tape, extending a few inches beyond the leak. The tight wrapping and the self-fusing nature of the tape will create a watertight seal.
- Turn the Water Supply Back On: Once you’ve applied a sufficient number of layers, carefully turn the water supply back on and monitor the repair for any leaks.
3. Sealing Leaks with Epoxy Putty
Epoxy putty is another excellent option for sealing small holes, cracks, or even slightly larger leaks in various types of pipes (copper, PVC, etc.).
Steps:
- Clean and Dry the Pipe: Thoroughly clean the area around the leak and ensure it is completely dry. You might need to lightly roughen the surface with sandpaper for better adhesion.
- Prepare the Epoxy Putty: Most epoxy putties come as a two-part stick. Cut off the required amount and knead the two parts together thoroughly with your fingers until the color is uniform. This activates the epoxy. Check out this video on how to use epoxy putty.
- Apply the Putty: Firmly press the mixed epoxy putty onto the leak, ensuring it fills any holes or cracks and extends beyond the damaged area.
- Shape and Smooth: Use your fingers (you can wet them slightly to prevent sticking) to shape and smooth the putty around the pipe for a good seal.
- Allow to Cure: Let the epoxy putty cure completely according to the manufacturer’s instructions (usually several hours). Avoid applying pressure to the repaired area during this time.
- Turn the Water Supply Back On: Once the putty is fully cured, carefully turn the water supply back on and check for leaks.
4. Addressing Leaks at Threaded Connections
Leaks at threaded connections often occur due to worn-out or improperly applied sealant. For a visual guide on this, you can watch a video on how to properly apply plumber’s tape.
Steps:
- Turn Off the Water Supply: As always, start by turning off the water to the affected pipe.
- Disconnect the Joint: Use the appropriate wrenches to carefully loosen and disconnect the threaded joint. Have a bucket ready to catch any residual water.
- Clean the Threads: Thoroughly clean both male and female threads with a wire brush or a clean rag to remove any old sealant or debris.
- Apply New Sealant:
- Teflon Tape: Wrap plumber’s tape clockwise around the male threads, overlapping each layer slightly. Apply 2-3 layers for most applications.
- Pipe Joint Compound: Apply a thin, even layer of pipe joint compound to the male threads over the Teflon tape (or directly on the threads if not using tape, though combining them often provides the best seal).
- Reassemble the Joint: Carefully re-tighten the threaded connection using your wrenches. Tighten firmly but avoid over-tightening.
- Turn the Water Supply Back On (Gradually!): Slowly turn the water back on and check for leaks. If the leak persists, turn off the water again and try tightening the connection a little more.
When to Call the Plumbing Professionals
While a DIY leaky pipe repair can be effective for minor leaks, there are situations where it’s crucial to call a qualified plumber. Ignoring these warning signs can lead to more significant damage and higher repair costs in the long run. To understand the full benefits, you can read more about why you should hire a professional plumber.
- Significant Leaks or Burst Pipes: If you have a large, uncontrolled leak or a burst pipe, turn off the main water supply immediately and call a plumber. This is an emergency situation that requires professional expertise.
- Leaks in Inaccessible Areas: If the leak is behind a wall, under the floor, or in another hard-to-reach area, it’s best left to a professional who has the tools and experience to access and repair it without causing further damage.
- Multiple or Recurring Leaks: If you’re experiencing multiple leaks or if a leak you’ve repaired keeps coming back, it could indicate a more systemic problem with your plumbing that requires professional diagnosis.
- You’re Unsure or Uncomfortable: If you’re not confident in your ability to tackle the repair safely and effectively, don’t hesitate to call a plumber. It’s better to be safe than sorry and potentially cause more damage.
- Signs of Corrosion or Old Pipes: If your pipes are old, corroded, or showing significant signs of wear and tear, a leak might be a symptom of a larger issue. A plumber can assess the overall condition of your plumbing and recommend the best course of action.
Your Trusted Partner for Plumbing Supplies
At Winstar Hardware Limited, we’re committed to providing Kenyans with high-quality plumbing supplies at affordable prices. Whether you need Teflon tape, a sturdy adjustable wrench, reliable repair tape, or even advice on your DIY leaky pipe repair project, our friendly and knowledgeable team is here to help.
Stop by our store today to stock up on the tools and materials you need to tackle those pesky leaky pipes and keep your home in top shape. And remember, while DIY is empowering, knowing when to call a professional is just as important. We’re here to support you every step of the way!
Have you successfully used DIY methods for a leaky pipe repair? Share your tips and experiences in the comments below!


2 thoughts on “Leaky Pipe Repair DIY Step-by-Step Instructions”