In a country as dynamic and resource-conscious as Kenya, every shilling saved and every drop of water conserved contributes significantly to household well-being and national sustainability. For homeowners across Nairobi, Mombasa, Kisumu, and beyond, plumbing maintenance often feels like an unavoidable expense, sometimes a lurking disaster waiting to happen. But what if we told you that smart practices and proactive care could transform your plumbing from a money pit into a source of savings? At Winstar Hardware, we believe in empowering our community with knowledge, and today, we’re diving deep into cost-effective plumbing tips designed specifically for Kenyan homes.
The reality of plumbing in Kenya – from varying water pressure in different regions to the impact of hard water and occasional infrastructure challenges – means that being informed isn’t just a luxury; it’s a necessity. This comprehensive guide will arm you with the plumbing maintenance tips you need to prevent costly repairs, reduce your water bills, and ensure your home’s plumbing system runs smoothly for years to come. Forget the fear of sudden bursts and overflowing tanks; it’s time to take control and learn how to save money on plumbing the smart way.
The True Cost of Neglecting Your Plumbing in Kenya
Before we get to the solutions, let’s briefly understand the problem. Why is it so crucial to embrace cost-effective plumbing tips?
Skyrocketing Water Bills:
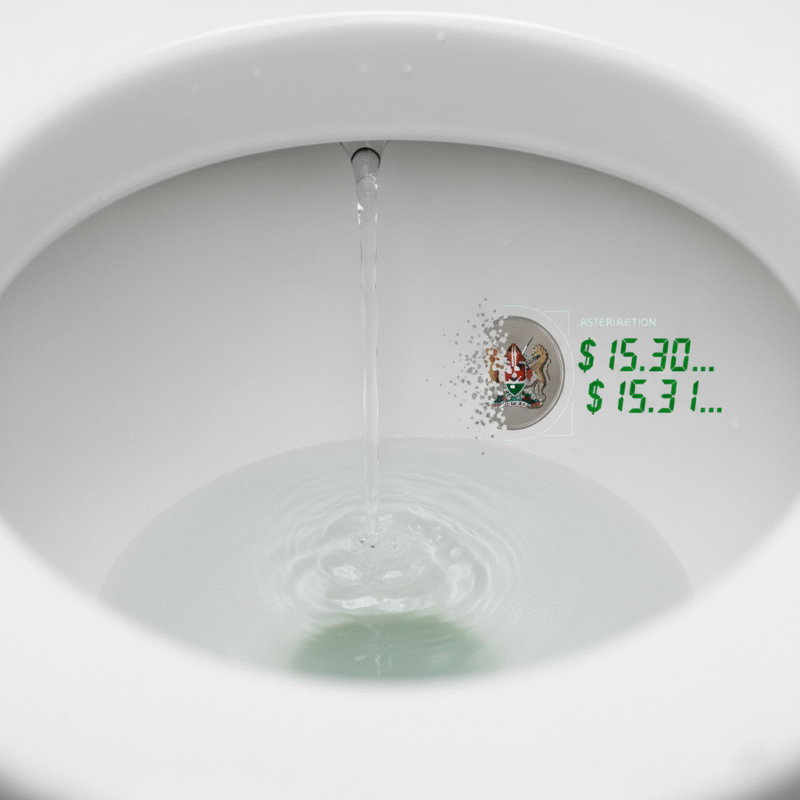
Kenya’s urban and rural areas often grapple with water scarcity, leading to higher tariffs. A persistent leak, even a seemingly minor one, can waste thousands of liters annually, turning your utility bill into a financial burden. Imagine the impact of a constantly cistern leaking (as we discussed in our previous blog) – it adds up quickly!
Expensive Emergency Repairs:
Neglecting small issues often escalates them into major emergencies. A slow drain can become a complete blockage, a dripping tap can lead to a burst pipe, and a minor leak can cause extensive water damage. Emergency call-out fees for plumbers, especially after hours, are significantly higher than planned maintenance.
Property Damage:
Unaddressed leaks can cause severe damage to your home’s structure, ceilings, floors, and walls. Mould and mildew thrive in damp conditions, posing health risks and requiring costly remediation.
Reduced Appliance Lifespan:
Your water heater, washing machine, and other water-dependent appliances work harder and wear out faster when faced with issues like hard water buildup or fluctuating pressure, leading to premature replacement.
Environmental Impact:
Beyond personal costs, wasting water impacts our collective natural resources, particularly vital in a nation where water conservation is a critical agenda.
By adopting cost-effective plumbing tips, you’re not just saving money; you’re investing in your home’s longevity and contributing to a more sustainable Kenya. Let’s explore how.
Master the Art of Leak Detection – Your First Line of Defense
One of the most impactful cost-effective plumbing tips is learning to identify leaks early. Many leaks are hidden, silently draining your resources. Knowing how to spot them can save you thousands of shillings and prevent extensive damage.
The Water Meter Test: Your Ultimate Leak Detector
This is the golden rule for finding hidden leaks anywhere in your system.
- Stop All Water Usage: Ensure no taps are running, no toilets are flushed, no washing machine is on, and no irrigation system is active for at least 30-60 minutes.
- Read Your Water Meter: Locate your home’s water meter (often found near your boundary or outside your gate). Take a precise reading of the numbers, including any small red dials or rotating triangles that indicate even minimal flow.
- Wait Patiently: Do not use any water for another 1-2 hours. The longer you wait, the more accurate the test will be.
- Re-read Your Water Meter: Check the meter again. If the numbers have changed or the small flow indicator is moving, you have a leak somewhere in your plumbing system.
If your water meter reading has changed, but you can’t see an obvious leak (like a dripping tap), the culprit could be a cistern leaking into the toilet bowl, an underground pipe leak, or a leak in your main supply line before it enters the house.
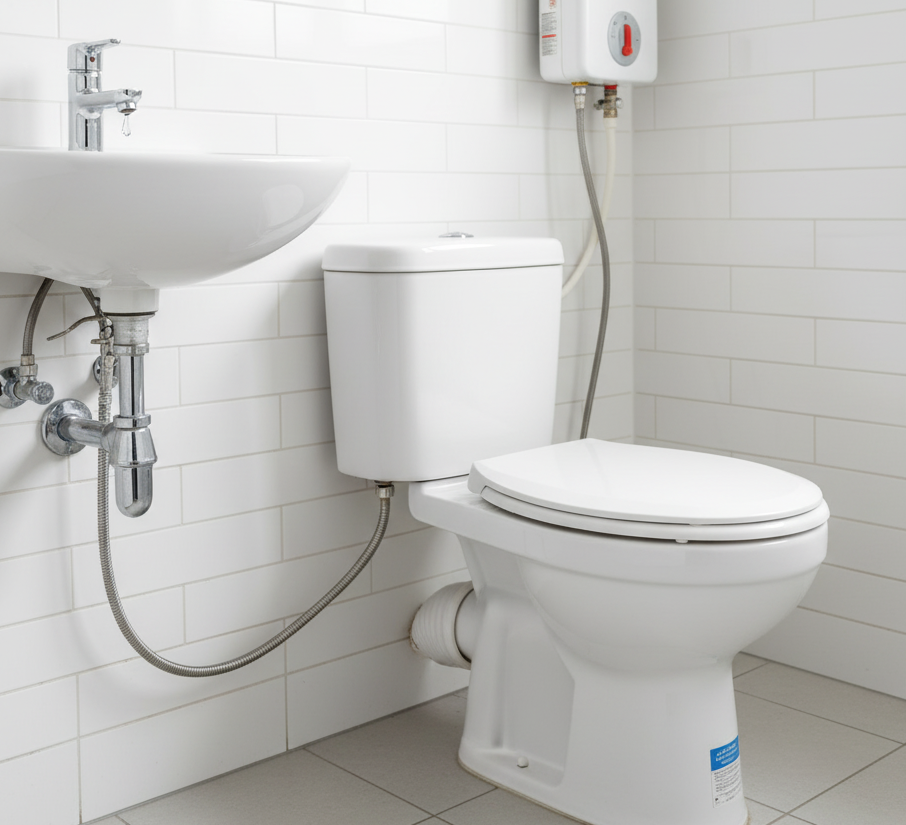
The Toilet Dye Test: Pinpointing Cistern Leaks
As discussed in our “Why Is My Cistern Leaking?” blog, the toilet is a notorious source of hidden water waste.
- Add Colour: Drop a few drops of food colouring (or a teabag/coffee grounds) into your toilet cistern water (the tank behind the bowl).
- Wait and Watch: Do not flush the toilet for at least 15-20 minutes.
- Check the Bowl: If you see coloured water appearing in the toilet bowl, your flapper or seal is faulty, and your cistern leaking is wasting water.
This simple test is one of the most effective cost-effective plumbing tips to identify a common, insidious leak.
Visual Inspections: Look, Listen, and Feel
Regular visual checks can catch minor issues before they become major problems.
- Under Sinks and Around Toilets: Look for puddles, dampness, water stains, or mildew. Check the connections to taps, supply lines, and drainpipes.
- Water Heater: Inspect the base of your water heater for any signs of rust or leaks. Check the pressure relief valve (T&P valve) for drips.
- Exposed Pipes: In basements, utility rooms, or outdoor areas, check exposed pipes for corrosion, drips, or wet spots.
- Outdoor Taps/Hoses: Especially in areas exposed to the elements, check garden taps and hose connections for drips or cracks.
- Listen for Sounds: A constant faint hissing sound from behind a wall or under the floor could indicate a hidden pipe leak. The sound of a constantly running toilet is a dead giveaway for a cistern leaking.
A quick reference table for leak detection methods.
| Leak Detection Method | Where to Use | What it Identifies | Winstar Hardware Relevance |
| Water Meter Test | Whole House | Hidden leaks (pipes, appliances) | Follow-up with parts for specific fixes |
| Toilet Dye Test | Toilet Cistern | Leaky flapper/seal | Flappers, syphon kits, fill valves |
| Visual Inspection | Visible areas (sinks, taps, water heater) | Drips, puddles, corrosion | Washers, sealants, replacement pipes |
| Auditory Check | Walls, floors | Hidden pipe leaks | Professional plumbing advice/parts for major repairs |
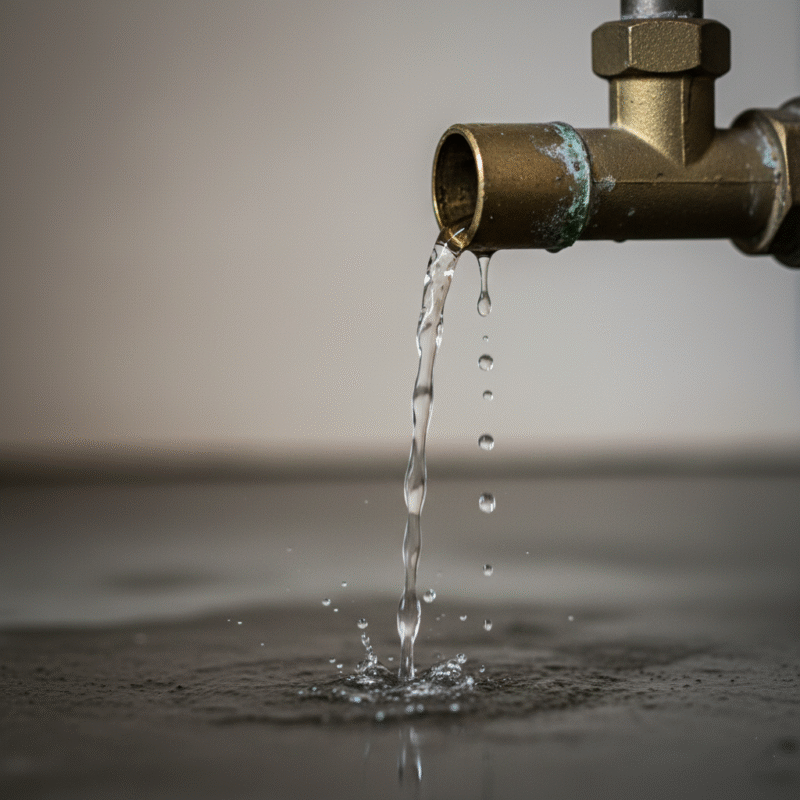
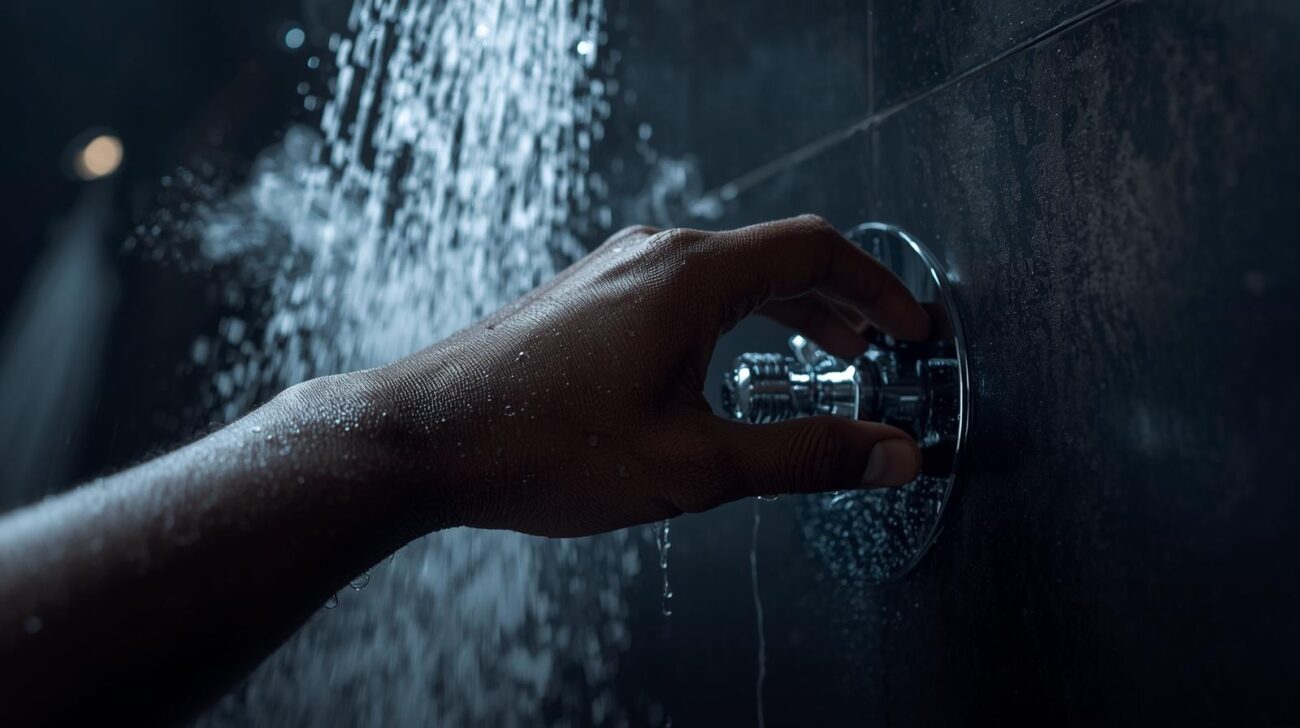
Conquer Dripping Taps and Showerheads – Small Drips, Big Savings
A dripping tap might seem insignificant, but that constant “drip, drip, drip” adds up to a surprising amount of wasted water over a month. Fixing these issues is one of the easiest and most impactful cost-effective plumbing tips.
Why Taps Drip (and How to Fix Them)
Most dripping taps are due to worn-out rubber washers or O-rings. In Kenya, hard water can accelerate this wear by causing mineral buildup.
- Turn Off Water Supply: Crucial first step! Locate the isolation valve under the sink or the main stopcock for the entire house.
- Disassemble the Tap:
- Compression Taps (Older Style): Remove the decorative cap (often plastic), unscrew the screw holding the handle, and pull off the handle. Use a spanner to loosen the packing nut, then unscrew the valve stem. You’ll find a rubber washer at the bottom.
- Disc, Cartridge, or Ball Taps (Newer Style): These are more complex but usually involve removing the handle and then the cartridge or ball assembly. Consult your tap’s specific manual or look up a guide for your model.
- Replace Worn Parts: For compression taps, replace the old rubber washer with a new one of the same size. You might also replace the O-rings if they look worn. For cartridge taps, you’ll likely need a new cartridge.
- Reassemble and Test: Put everything back together, turn on the water supply, and check for drips.
Watch this video for a step-by-step guide on how to replace a worn washer in a tap to stop leak.
Fixing Leaky Showerheads
Similar to taps, leaky showerheads often result from worn washers or mineral buildup.
- Turn Off Water Supply: Again, isolate the water supply to the shower.
- Remove Showerhead: Unscrew the showerhead from the shower arm (it’s usually just hand-tight or requires a spanner).
- Check Washer/O-ring: Inside the showerhead connection, you’ll find a small rubber washer. Replace it if it’s flattened or cracked. If the leak is from the joint with the wall, you might need to re-wrap the threads of the shower arm with PTFE tape (also known as plumber’s tape).
- Clean Nozzles: If water sprays unevenly, soak the showerhead in white vinegar for a few hours (or overnight) to dissolve mineral buildup, then scrub clean with an old toothbrush.
- Reassemble and Test: Secure the showerhead back in place, turn on the water, and check for leaks and even spray.
We have high-quality PTFE tape and a range of replacement showerhead washers to help you fix these common leaks, demonstrating how cost-effective plumbing tips can prevent constant waste.
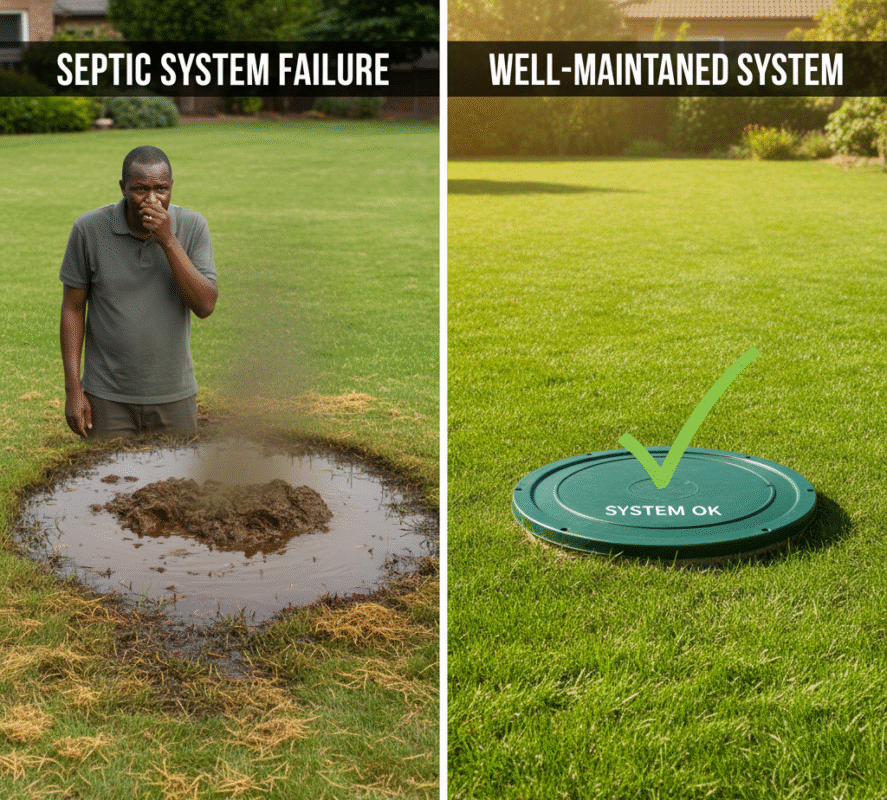
Tame Your Drains – Preventing Clogs and Blockages
Blocked drains are not only messy and inconvenient but can also lead to foul odours, slow drainage, and, if left unaddressed, burst pipes or sewage backups, resulting in very costly plumbing repairs. Prevention is key when it comes to drain care.
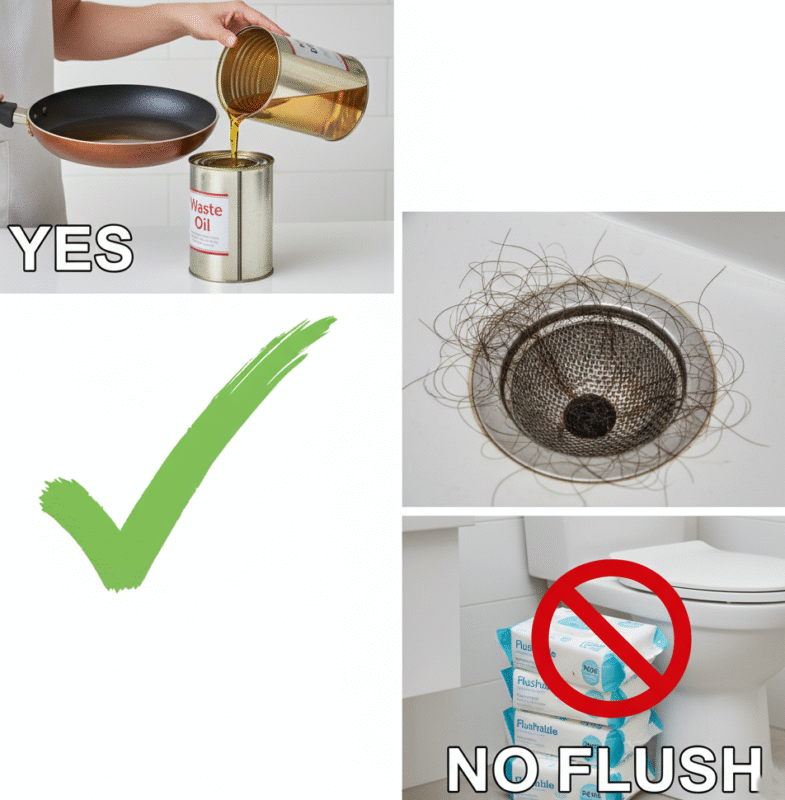
The Golden Rule: What NOT to Pour Down the Drain
Many blockages are caused by everyday items we carelessly dispose of.
- Grease and Oil: Never pour cooking oil, fat, or grease down the kitchen sink. In Kenya’s often warmer climate, it might seem liquid, but it solidifies as it cools in your pipes, creating stubborn blockages. Collect it in an old bottle or tin and dispose of it with solid waste.
- Coffee Grounds: While seemingly small, coffee grounds clump together and don’t dissolve, creating thick sludge in pipes.
- Hair: Especially in showers and bathroom sinks, hair combines with soap scum to form tough clogs.
- Food Scraps: Even with a garbage disposal, large food scraps, fibrous vegetables, and rice/pasta (which expand with water) should go into the compost or bin.
- “Flushable” Wipes: Despite marketing claims, most “flushable” wipes do not break down like toilet paper and are a major cause of blockages in home pipes and municipal sewer systems. Always dispose of them in a bin.
Invest in drain strainers for all your sinks and shower drains. These simple, cost-effective plumbing tips are incredibly effective at catching hair and food particles before they enter your pipes.
Regular Drain Maintenance for Clear Pipes
Even with careful disposal, some buildup is inevitable. Regular drain maintenance is one of the most proactive cost-effective plumbing tips.
- Hot Water Flush: After washing dishes or showering, flush drains with very hot water for a minute or two. This can help melt minor grease buildup.
- Baking Soda and Vinegar: A classic, eco-friendly drain cleaner. Pour half a cup of baking soda down the drain, followed by half a cup of white vinegar. Let it sit for 30 minutes to an hour (you’ll hear fizzing!), then flush with hot water. Repeat monthly.
- Use a Plunger: For slow drains, a good quality plunger can often dislodge minor blockages. Ensure you get a good seal over the drain.
- Drain Snake/Auger: For more stubborn clogs, a manual drain snake (or auger) can be a highly cost-effective plumbing tip. These tools allow you to physically break up or retrieve blockages without harsh chemicals.
Winstar Hardware Tip: Avoid chemical drain cleaners unless absolutely necessary, as they can be corrosive and harmful to both your pipes and the environment.
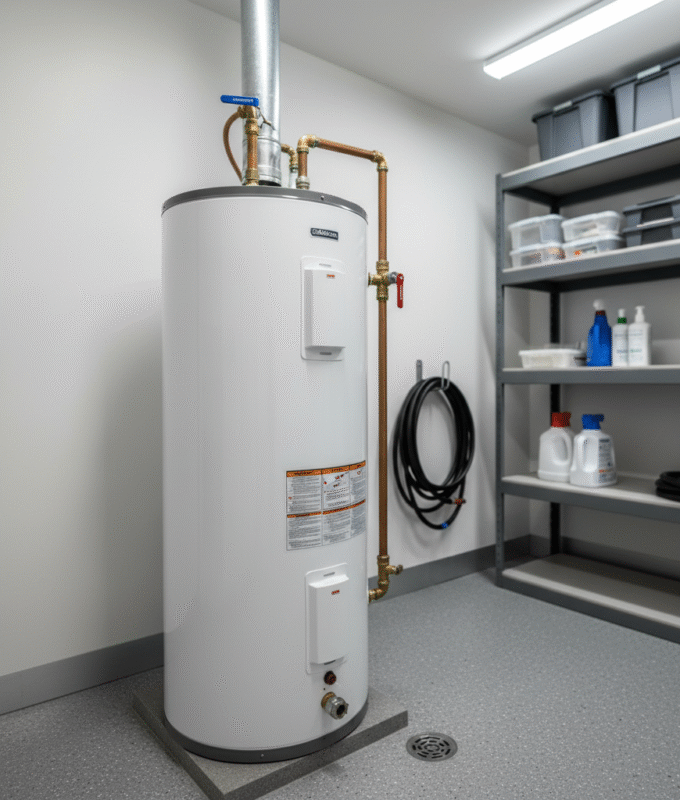
Guarding Your Water Heater – Longevity and Efficiency
Your water heater is one of the most hardworking appliances in your home. Proper maintenance can significantly extend its lifespan and improve its energy efficiency, leading to substantial plumbing savings.
Flushing Your Water Heater: The Annual Ritual
Sediment buildup at the bottom of your water heater tank can reduce its efficiency, cause noisy operation, and even lead to premature failure. This is especially true in areas of Kenya with hard water.
- Turn Off Power/Gas: Crucially, turn off the power to electric water heaters at the breaker and turn off the gas supply to gas water heaters.
- Turn Off Cold Water Supply: Locate the cold water inlet valve at the top of the heater and turn it off.
- Connect a Hose: Attach a garden hose to the drain valve located near the bottom of the water heater. Run the other end of the hose to a floor drain or outside.
- Open Hot Water Tap (Somewhere in the House): This allows air into the system, preventing a vacuum and helping the water drain.
- Open the Drain Valve: Carefully open the drain valve on the water heater. Be cautious; the water will be hot.
- Flush Until Clear: Let the water drain until it runs clear, indicating most of the sediment has been flushed out. This might take 10-20 minutes.
- Close Valves and Refill: Close the drain valve on the water heater. Remove the hose. Close the opened hot water tap inside the house. Turn on the cold water supply to the heater. Let it refill completely (you’ll hear water flowing).
- Bleed Air and Restore Power: Once full, open a hot water tap in the house again until water flows smoothly (to release any trapped air). Only then, restore power or gas to the water heater.
Performing an annual flush is one of the most effective cost-effective plumbing tips for water heater longevity. We also stock replacement drain valves and hoses if yours are old or corroded. For a visual guide, watch this video on how to flush your water heater tank.
Inspecting the Pressure Relief Valve (T&P Valve)
The Temperature and Pressure Relief (T&P) valve is a critical safety device that prevents your water heater from exploding if pressure or temperature gets too high.
- Test Annually: Carefully lift the lever on the T&P valve for a few seconds. Water should flow out of the discharge pipe. If no water comes out or it continues to drip afterwards, the valve may be faulty and needs replacement.
- Caution: The water will be hot. Have a bucket ready. If you are unsure or uncomfortable performing this test, especially on older units, it’s best to consult a professional.
Smart Water Usage – Beyond Just Leaks
While fixing leaks is paramount, how you use water daily also significantly impacts your bills. These are everyday cost-effective plumbing tips for sustainable living.
Install Water-Saving Fixtures
- Low-Flow Showerheads: Modern low-flow showerheads provide excellent pressure while using significantly less water than older models.
- Aerators for Taps: Small, inexpensive aerators can be screwed onto most taps, mixing air into the water flow. This reduces water consumption without sacrificing pressure.
- Dual-Flush Toilets: If you’re replacing a toilet, opt for a dual-flush model. They offer a half-flush for liquid waste and a full-flush for solid waste, drastically cutting down on water per flush.
We offer a range of water-efficient showerheads, tap aerators, and dual-flush toilet mechanisms. Upgrading fixtures is a fantastic long-term cost-effective plumbing tip for reducing your water footprint and bills.
Mindful Water Habits
These simple habits are free and immediately reduce your water consumption.
- Turn Off the Tap: Don’t leave the tap running while brushing teeth, shaving, or scrubbing dishes.
- Shorter Showers: Aim for shorter showers instead of long ones or baths.
- Full Loads: Only run washing machines and dishwashers when they have a full load.
- Watering Gardens: Water your garden early in the morning or late in the evening to minimize evaporation, especially relevant in Kenya’s sunny climate. Consider using greywater systems for irrigation if feasible and permitted.
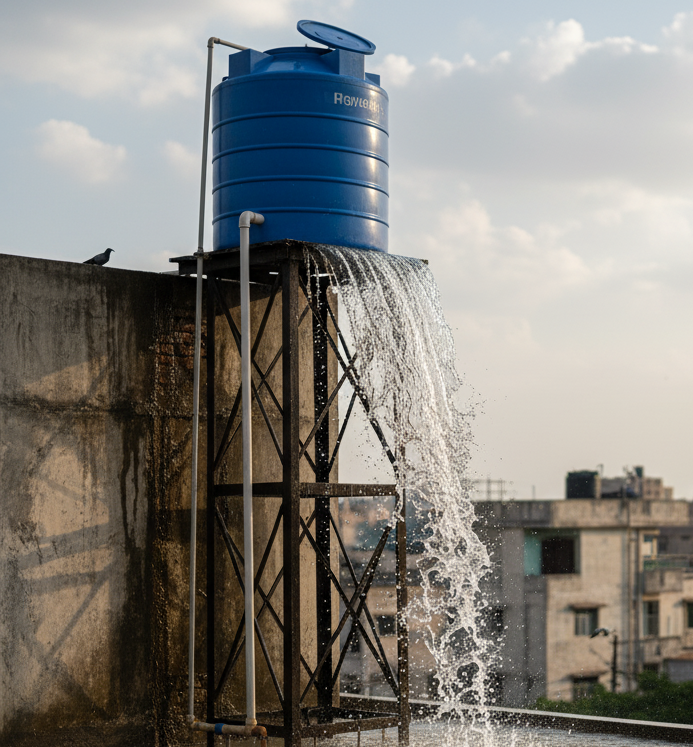
- Collect Rainwater: Explore simple rainwater harvesting systems. Even a basic setup can provide water for gardening or external cleaning, reducing reliance on treated municipal water.
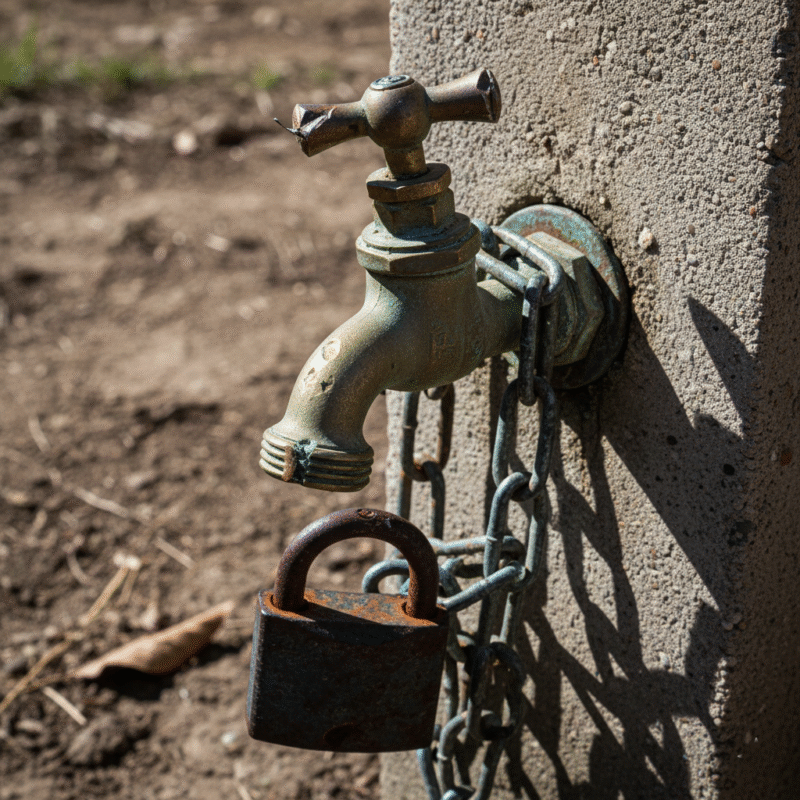
Protecting Your Pipes – Dealing with Pressure and External Factors
Pipe protection is crucial for preventing leaks and bursts, especially with varying conditions in Kenyan homes.
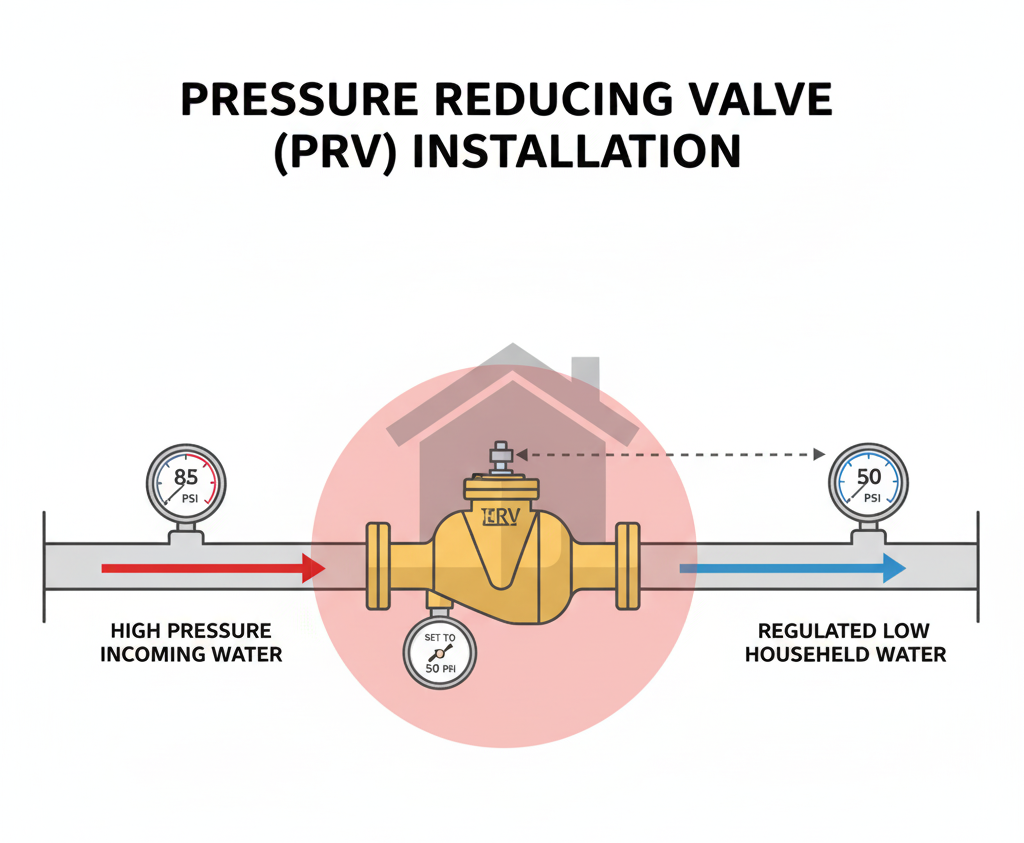
Understanding Water Pressure
While many homes in Kenya face low water pressure, some areas can experience excessively high pressure, which stresses your entire plumbing system and can lead to leaks and appliance damage.
- Test Your Pressure: You can buy a simple water pressure gauge at Winstar Hardware that screws onto an outdoor tap. A healthy home pressure is typically between 40-60 PSI (pounds per square inch).
- High Pressure Solutions: If your pressure is consistently above 80 PSI, consider installing a Pressure Reducing Valve (PRV). This is a significant but worthwhile investment that can prevent premature failure of pipes, taps, and appliances, making it a sound cost-effective plumbing tip in the long run.
Protecting Against External Damage
- Exposed Pipes: In cooler areas (like parts of the Kenyan highlands), exposed pipes (especially those outside) should be insulated to prevent freezing and bursting, though less common in most of Kenya. Ensure they are also protected from physical damage.
- Tree Roots: Be mindful of planting large trees near underground water lines. Their roots are notorious for seeking out moisture and infiltrating pipes, causing severe blockages and damage that require costly plumbing repairs.
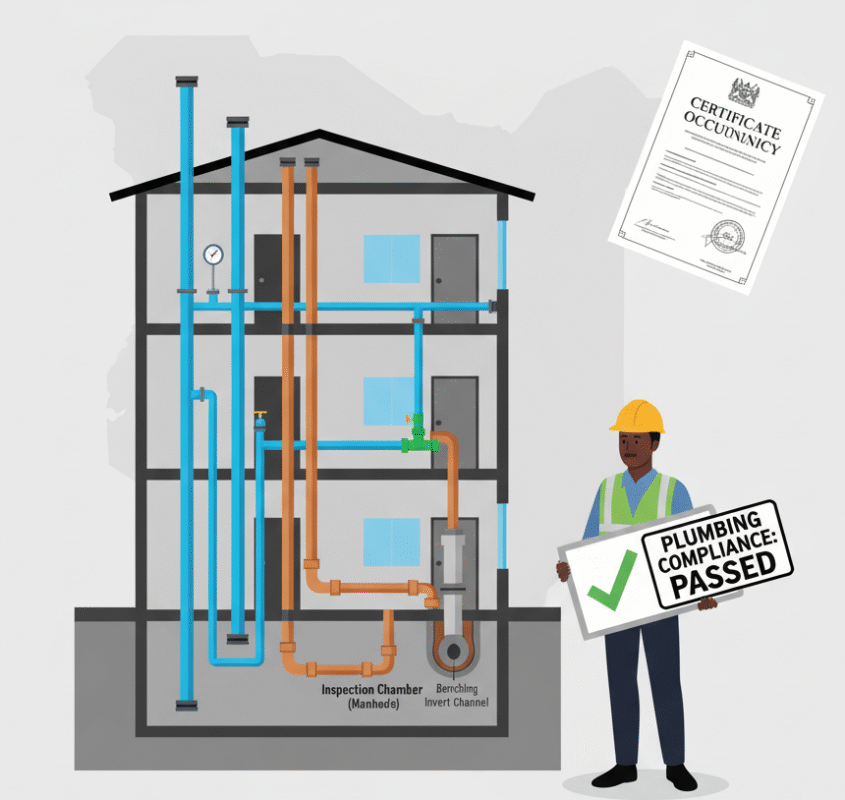
Knowing When to DIY vs. When to Call a Pro – Avoiding Costly Mistakes
Embracing cost-effective plumbing tips doesn’t mean you should tackle every plumbing issue yourself. Knowing your limits is crucial to avoid turning a small problem into an even bigger, more expensive one.
When to Confidently DIY (with Winstar Hardware’s Help!)
You can typically handle these tasks yourself:
- Replacing a worn tap washer or cartridge.
- Clearing minor drain clogs with a plunger or small drain snake.
- Fixing a cistern leaking by replacing a flapper or adjusting a fill valve.
- Replacing a worn showerhead washer.
- Flushing your water heater.
- Tightening loose visible connections.
For all these, Winstar Hardware provides quality parts and expert advice!
When to Call a Licensed Professional Plumber
Don’t hesitate to call a professional for:
- Major Pipe Bursts or Leaks: If you have water gushing, especially from a hidden location.
- No Water or Very Low Pressure: This could indicate a major blockage in your main line, municipal issues, or a serious PRV problem.
- Sewage Backups: Any sign of sewage backing up into your drains is a health hazard and requires immediate professional attention.
- Water Heater Replacement or Major Repair: Beyond flushing, if your water heater needs complex repairs or replacement, especially involving gas lines, always hire a licensed professional.
- Gas Leaks: If you smell gas near any gas appliance, shut off the gas supply immediately and call a professional.
- Recurring Clogs: If a drain consistently clogs after you’ve tried DIY methods, there might be a deeper issue (like tree root intrusion) that requires professional tools (e.g., power augers, camera inspections).
- New Installations: Installing new water lines, gas lines, or major appliances.
Calling a professional for these issues is often the most cost-effective plumbing tip in the long run, as it prevents botched DIY attempts that lead to more severe damage and even higher repair bills.
Conclusion: Empowering Your Home with Winstar Hardware’s Cost-Effective Plumbing Tips
Maintaining your home’s plumbing system doesn’t have to be a source of stress or exorbitant expense. By adopting these cost-effective plumbing tips, Kenyan homeowners can significantly reduce water wastage, lower their utility bills, and prevent the headache of sudden, expensive repairs. From mastering leak detection to smart drain care and proactive water heater maintenance, every action you take contributes to a more efficient and sustainable household.
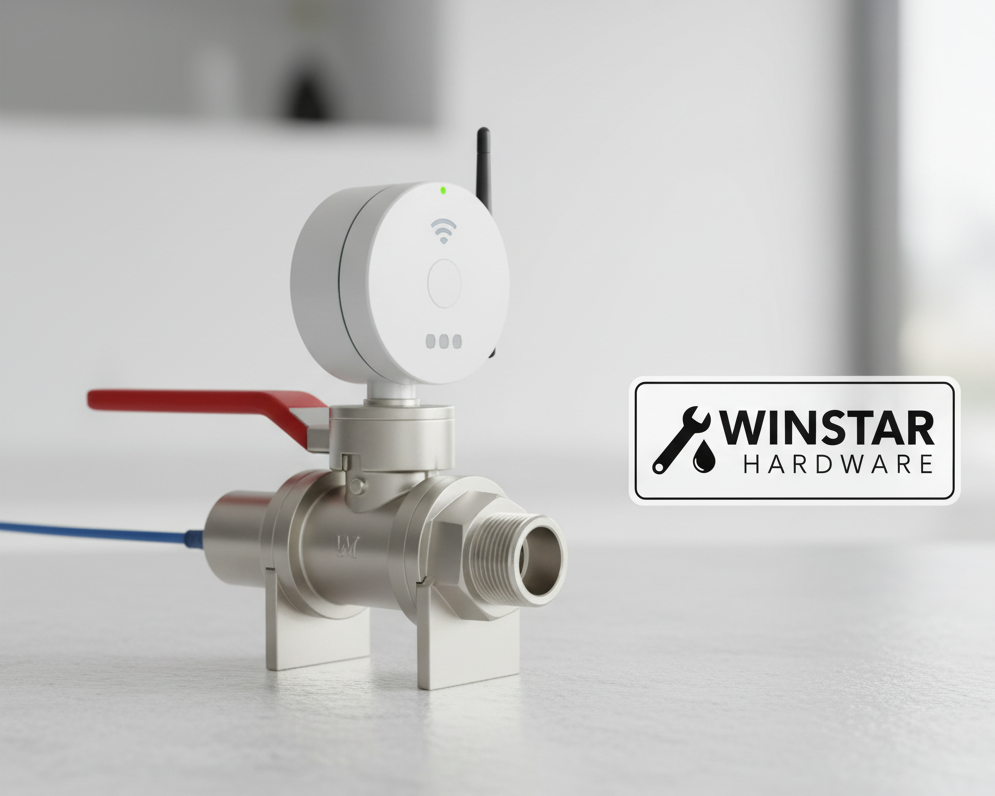
At Winstar Hardware, we are more than just a supplier; we are your partners in home maintenance. We stock a comprehensive range of high-quality, durable plumbing parts – from flappers and washers to pipes, fittings, and water-saving fixtures – all suited for Kenyan standards and conditions. Our knowledgeable team is always on hand to provide expert advice, helping you choose the right tools and components to tackle your plumbing tasks with confidence.
Don’t wait for a small drip to become a flood. Start implementing these cost-effective plumbing tips today. Visit Winstar Hardware for all your plumbing needs and take the first step towards a more efficient, economical, and worry-free home!