Are you tired of lackluster showers that leave you feeling less than refreshed? Does your current showerhead barely drip, or is it perpetually clogged with mineral deposits? You’re not alone! Many homeowners overlook the humble showerhead, yet it’s one of the most impactful fixtures for your daily comfort. The good news? Achieving a better, more invigorating shower experience doesn’t require a full bathroom renovation. In fact, one of the easiest and most satisfying home improvements you can undertake is showerhead upgrades.
At Winstar Hardware, we believe everyone deserves a fantastic shower. This ultimate guide is designed to transform your daily routine, showing you how simple and affordable showerhead upgrades can be. We’ll dive deep into the diverse world of showerheads, helping you choose the perfect type for your needs, explaining the benefits of modern features, and providing clear, step-by-step instructions for installation. Get ready to elevate your bathroom and discover the joy of truly better showers!
Why Consider Showerhead Upgrades?
Before we explore the exciting world of different showerhead types, let’s understand why focusing on showerhead upgrades is such a smart move for any homeowner. It’s about much more than just a new look; it’s about enhancing your daily life, saving money, and even improving your home’s value.
Enhancing Your Daily Comfort and Well-being
Your shower is often the start and end of your day. A weak, inconsistent spray can turn this essential ritual into a chore.
- Invigorating Experience: Modern showerhead upgrades offer a variety of spray patterns, from powerful massage jets that soothe sore muscles to soft, rain-like cascades that provide a spa-like experience. This personalized comfort can significantly improve your mood and reduce stress.
- Improved Hygiene: A stronger, more consistent water flow ensures better rinsing of soap and shampoo, leading to a cleaner feel. Clogged or low-pressure showerheads can leave residue, impacting hair and skin health.
- Personalization: With countless styles and features, showerhead upgrades allow you to tailor your shower to your specific preferences, creating a truly customized space.
Boosting Water Efficiency and Saving Money
Older showerheads can be surprisingly wasteful. Upgrading to a WaterSense-certified model is one of the quickest ways to reduce your household’s water and energy consumption.
- Reduced Water Usage: According to the Environmental Protection Agency(EPA), an average household could save 10,000 liters of water per year by installing WaterSense-labeled showerheads. That’s enough to do 90 loads of laundry!
- Lower Energy Bills: Less hot water used means less energy spent heating that water. Since water heating accounts for a significant portion of household energy use, efficient showerhead upgrades directly translate to lower gas or electricity bills.
- Environmental Impact: Saving water and energy isn’t just good for your wallet; it’s also good for the planet. Reducing demand on water and power utilities contributes to a more sustainable lifestyle.
- Long-Term Savings: While there’s an initial cost, the savings on your utility bills often mean that efficient showerhead upgrades pay for themselves over time.
Addressing Common Showerhead Problems
Many homeowners consider showerhead upgrades because their current one is failing or underperforming.
- Low Water Pressure: This is a common complaint. It can be due to mineral buildup, flow restrictors, or simply an inefficient old design. A new showerhead can often dramatically improve perceived pressure.
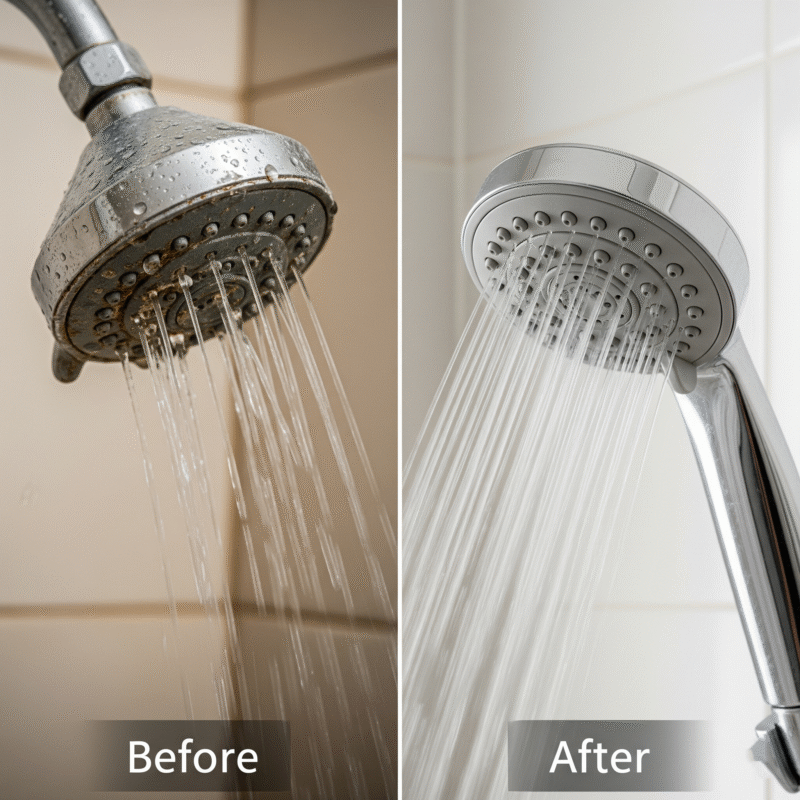
- Mineral Buildup and Clogging: Hard water leaves behind mineral deposits (limescale) that clog the spray nozzles, leading to erratic spray patterns and reduced flow. While some can be cleaned, an old, heavily clogged head might be beyond repair.
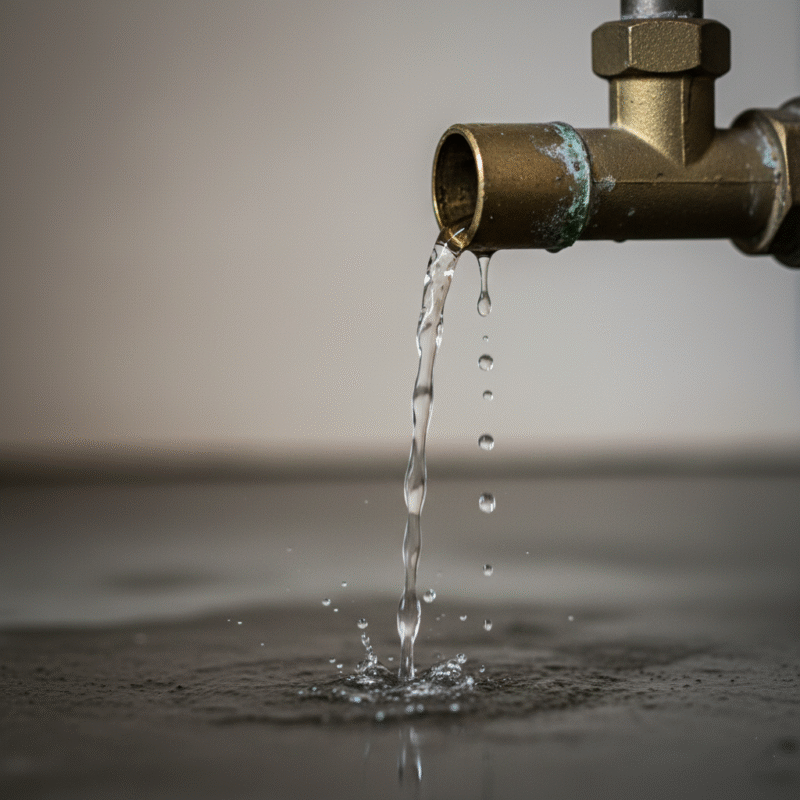
- Leaks and Drips: An aging showerhead can develop leaks around the connection point or drip constantly, wasting water and potentially causing damage over time.
- Outdated Aesthetics: A worn-out or unfashionable showerhead can detract from an otherwise updated bathroom. New showerhead upgrades offer a quick and inexpensive way to refresh your bathroom’s look.
Exploring the Diverse World of Showerhead Types
The market for showerhead upgrades has exploded with innovation, offering a vast array of styles, features, and functionalities. Understanding these different showerhead types is crucial to selecting the perfect one for your specific needs, bathroom style, and desired showering experience. Let’s explore the most popular options in detail.
Fixed Showerheads (Wall-Mounted)
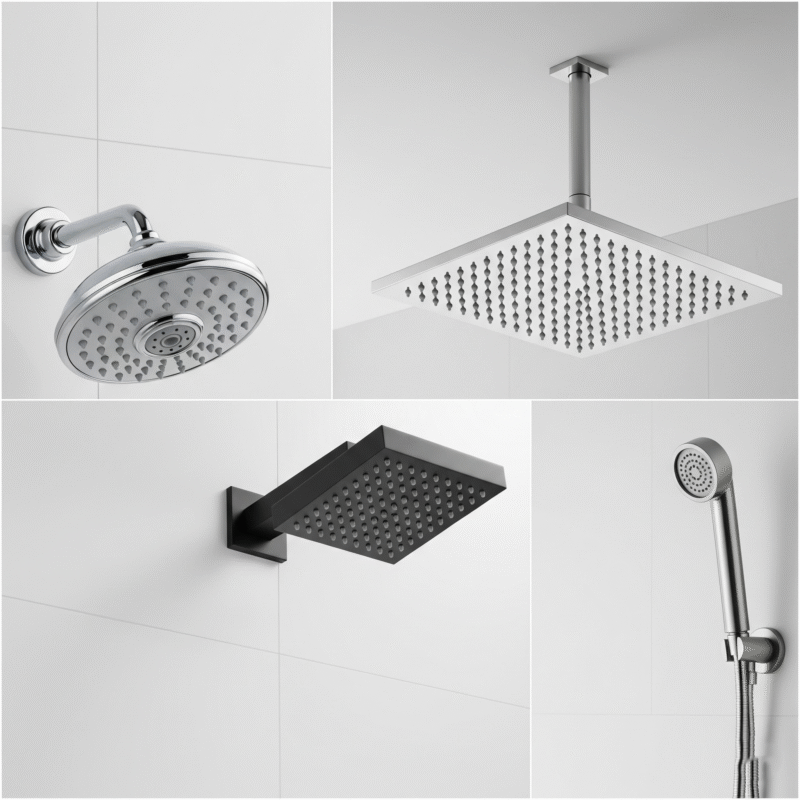
This is the most traditional and common type of showerhead. As the name suggests, it’s permanently mounted to the shower arm extending from your wall.
- Description: Fixed showerheads offer a wide range of spray patterns and styles, from basic single-spray to multi-function heads with various settings. They come in virtually every finish imaginable, from chrome and brushed nickel to matte black and oil-rubbed bronze.
- Best For:
- Those who prefer a straightforward, hands-free showering experience.
- Bathrooms with a minimalist aesthetic.
- Homeowners on a budget, as they tend to be the most affordable showerhead upgrades.
- Key Considerations:
- Spray Patterns: Look for models with adjustable spray patterns (e.g., full body, massage, mist, rain) to add versatility.
- Flow Rate: Modern fixed showerheads are often rated for efficiency (e.g., 6.7 LPM or 9.4 LPM).
- Material: Opt for durable materials that resist corrosion and are easy to clean.
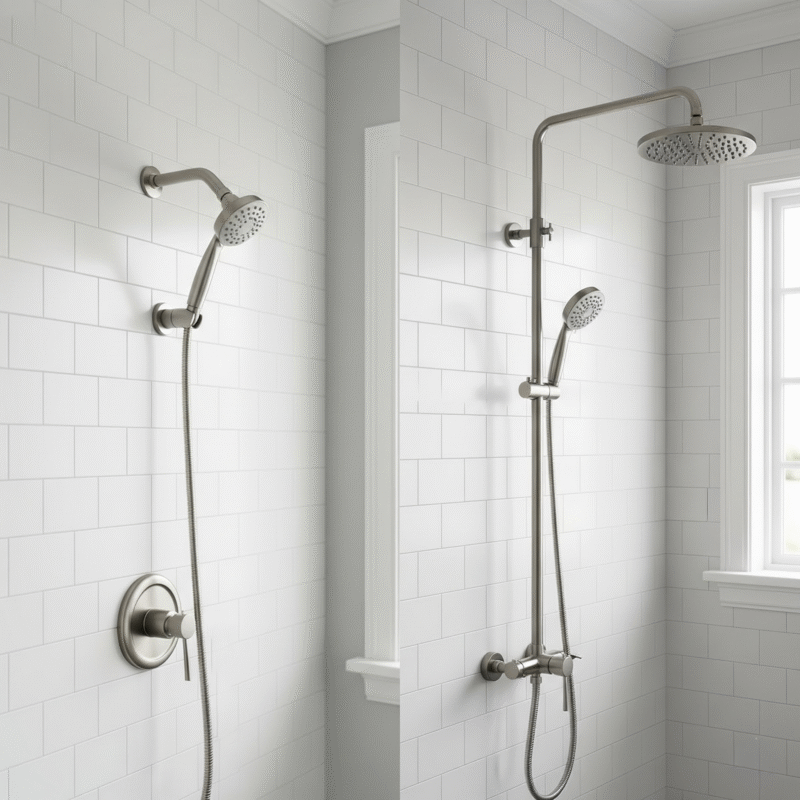
Handheld Showerheads
Handheld showerheads combine the benefits of a fixed showerhead with the added flexibility of a removable spray wand. They are one of the most versatile showerhead upgrades.
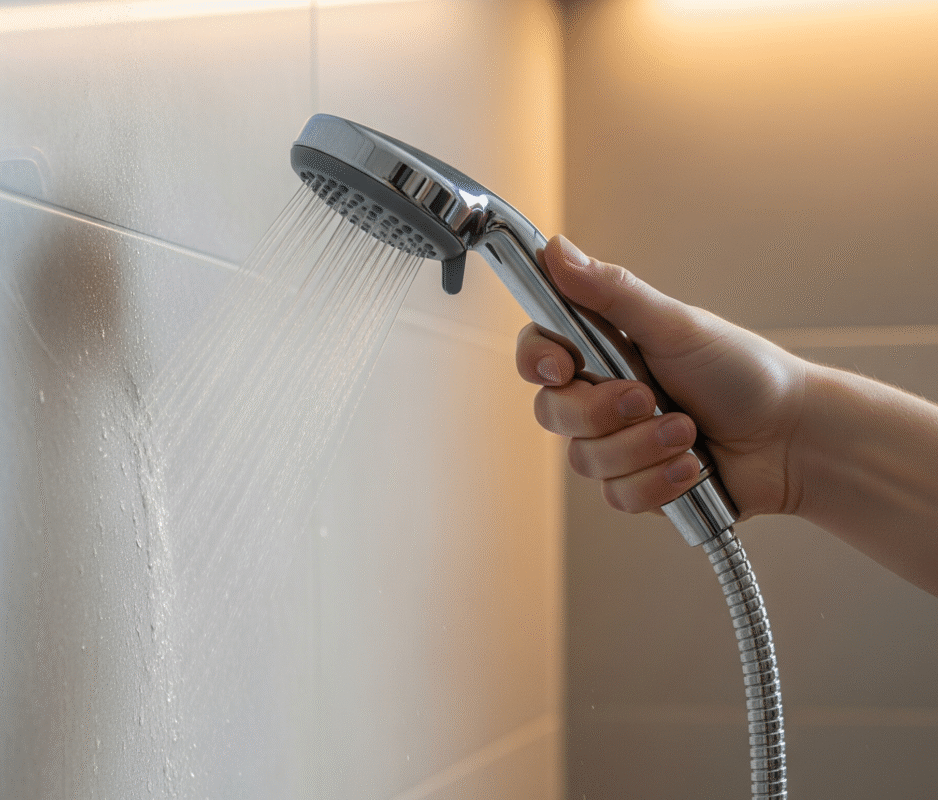
- Description: A handheld showerhead is connected to the water supply by a flexible hose and typically rests in a bracket or holder when not in use. This allows you to remove it from the wall and direct the water exactly where you need it.
- Best For:
- Families with children or pets (makes rinsing easy).
- Assisted bathing or individuals with limited mobility.
- Rinsing down the shower walls or tub.
- Anyone desiring ultimate flexibility in their shower.
- Key Considerations:
- Hose Length: Consider the length of the hose – too short can be frustrating, too long can be cumbersome.
- Hose Material: Look for tangle-free and durable hose materials (e.g., metal-wrapped or flexible polymer).
- Mounting Bracket: Ensure the bracket is sturdy and easy to adjust or detach the handheld unit.
- Diverter: If you’re replacing a fixed showerhead with a handheld, you’ll likely need a diverter that switches water flow between the fixed head and the handheld, or a combination unit.
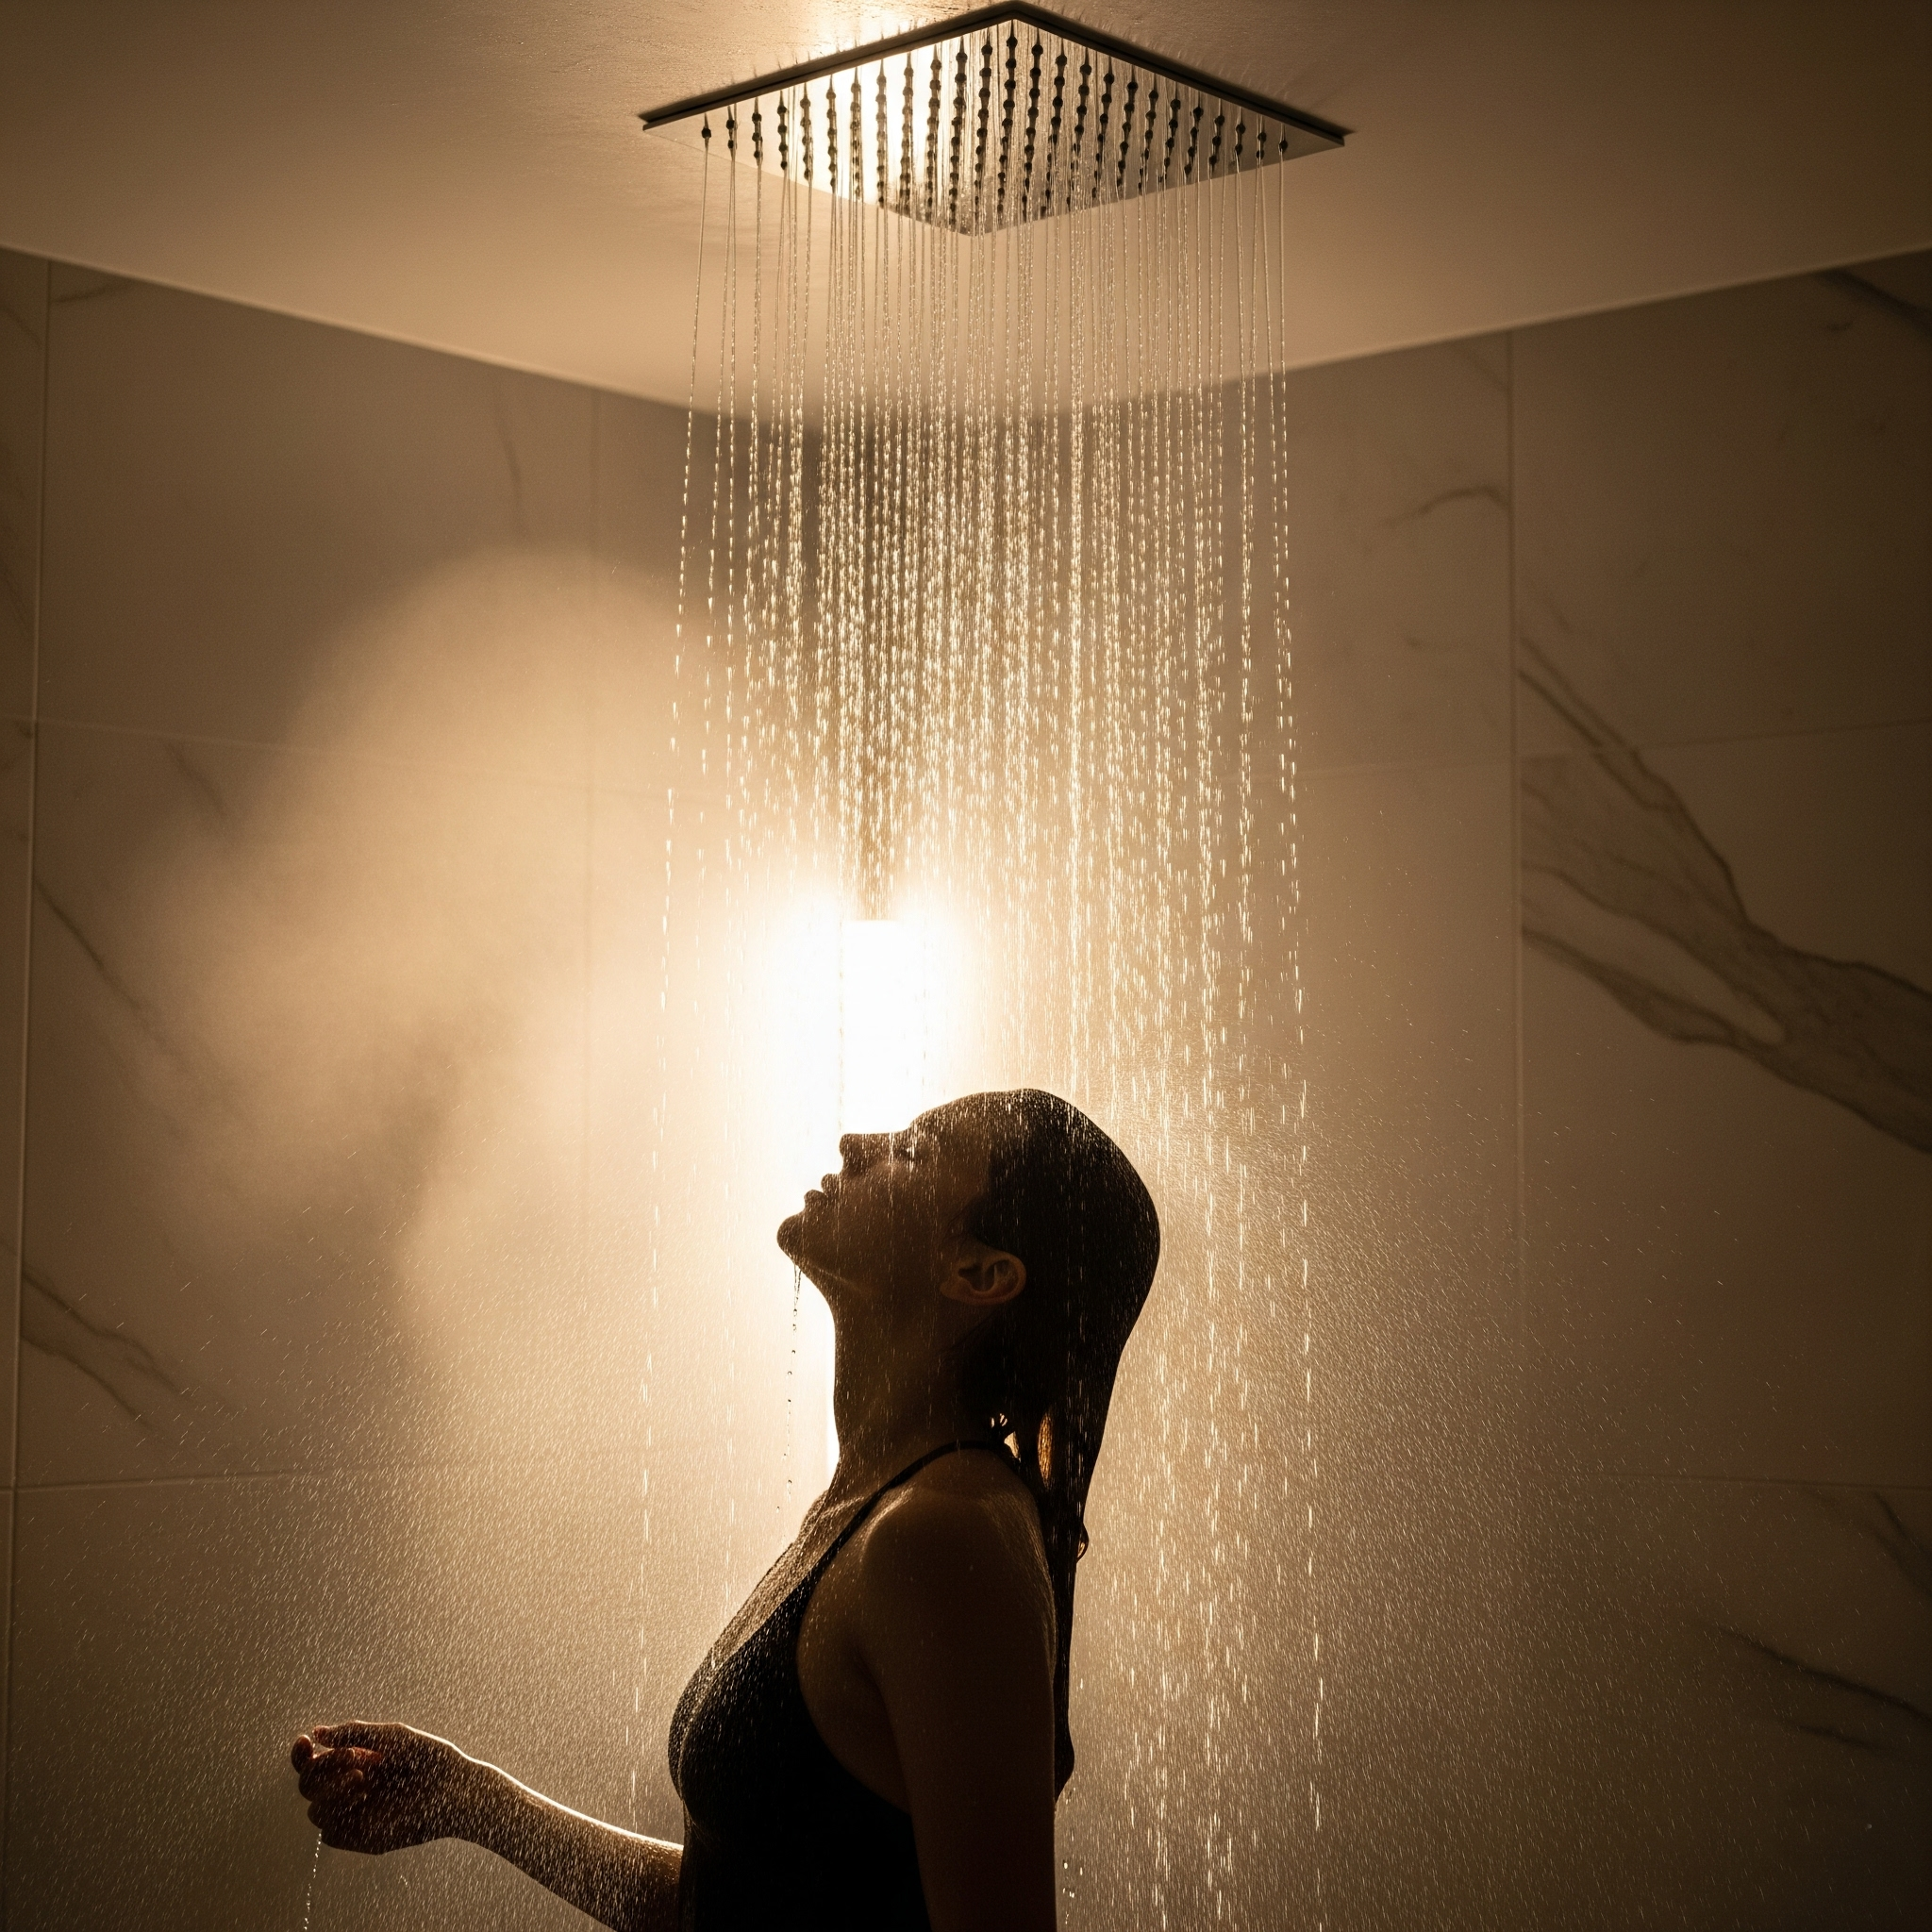
Rain Showerheads
Designed to mimic the experience of standing in a gentle, warm rain, these showerhead upgrades are all about luxurious relaxation.
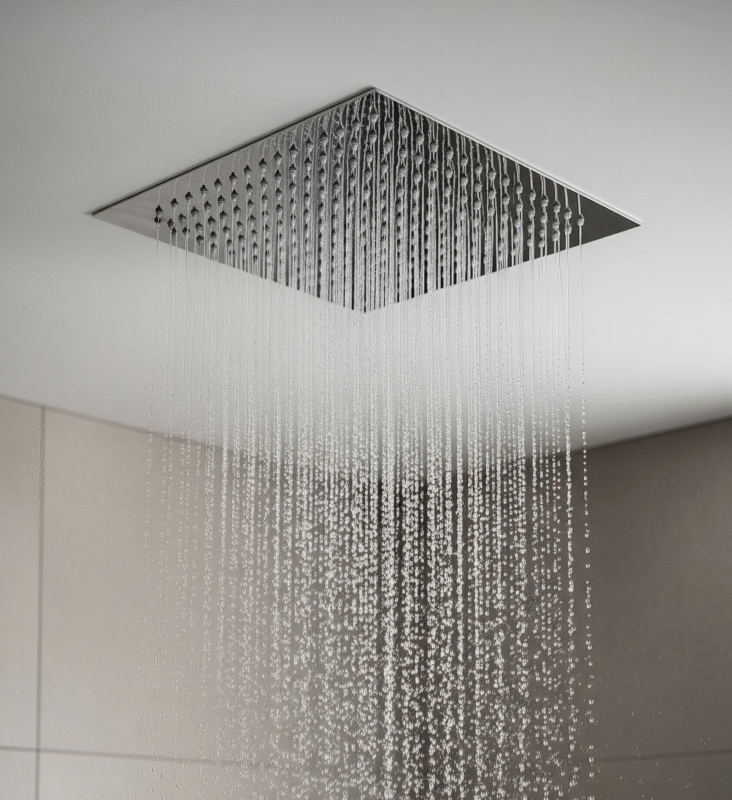
- Description: Rain showerheads are typically larger than standard showerheads and deliver water from overhead, often straight down, in a drenching, low-pressure flow. They can be ceiling-mounted or wall-mounted with an extended arm.
- Best For:
- Creating a spa-like, luxurious bathroom experience.
- Relaxation and gentle rinsing.
- Larger shower enclosures.
- Key Considerations:
- Water Pressure: While the flow is drenching, the actual pressure can feel lower due to the wider spray. Ensure your home has adequate water pressure to support a large rain head.
- Mounting: Ceiling-mounted options require more complex plumbing during installation.
- Size: The larger the head, the more immersive the rain effect.
Dual/Combo Shower Systems
Why choose one when you can have both? Dual or combo systems combine multiple showerhead types for the ultimate versatile experience.
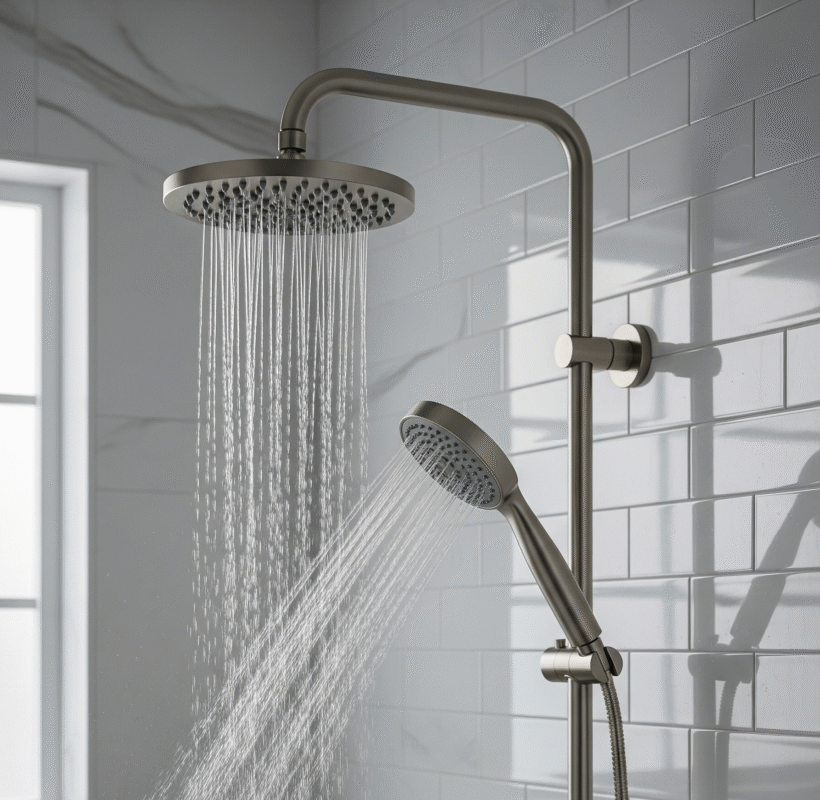
- Description: These systems typically feature a fixed showerhead and a handheld showerhead, often integrated into a single unit or mounted on a slide bar. A diverter valve allows you to switch between the two or use both simultaneously.
- Best For:
- Couples who have different showering preferences.
- Maximum versatility and functionality.
- Those who want the benefits of both fixed and handheld options.
- Key Considerations:
- Water Pressure: Running both heads at once can sometimes reduce the pressure of each, depending on your home’s water supply.
- Installation: Can be slightly more involved than single showerhead upgrades.
Low-Flow/Water-Saving Showerheads
These showerhead upgrades are designed specifically to conserve water without sacrificing perceived pressure.
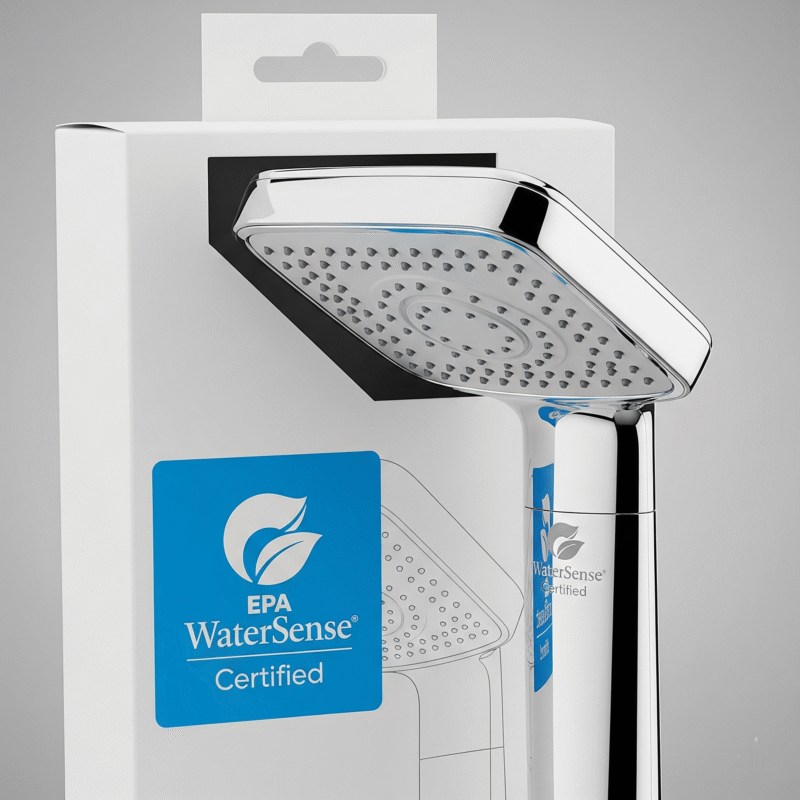
- Description: While many modern showerheads are inherently water-saving, dedicated low-flow models use advanced technology (like aerators or pulsating sprays) to deliver a satisfying shower with less water (typically 7.5 LPM or less, down to 5.6 LPM).
- Best For:
- Environmentally conscious homeowners.
- Anyone looking to significantly reduce water and energy bills.
- Areas with water restrictions.
- Key Considerations:
- Perceived Pressure: High-quality low-flow heads are engineered to feel like they have more pressure than they actually do. Read reviews to ensure satisfaction.
- WaterSense Certification: Look for the EPA WaterSense label for guaranteed efficiency and performance.
High-Pressure Showerheads
For those who crave an intense, powerful spray, high-pressure showerhead upgrades are the answer.
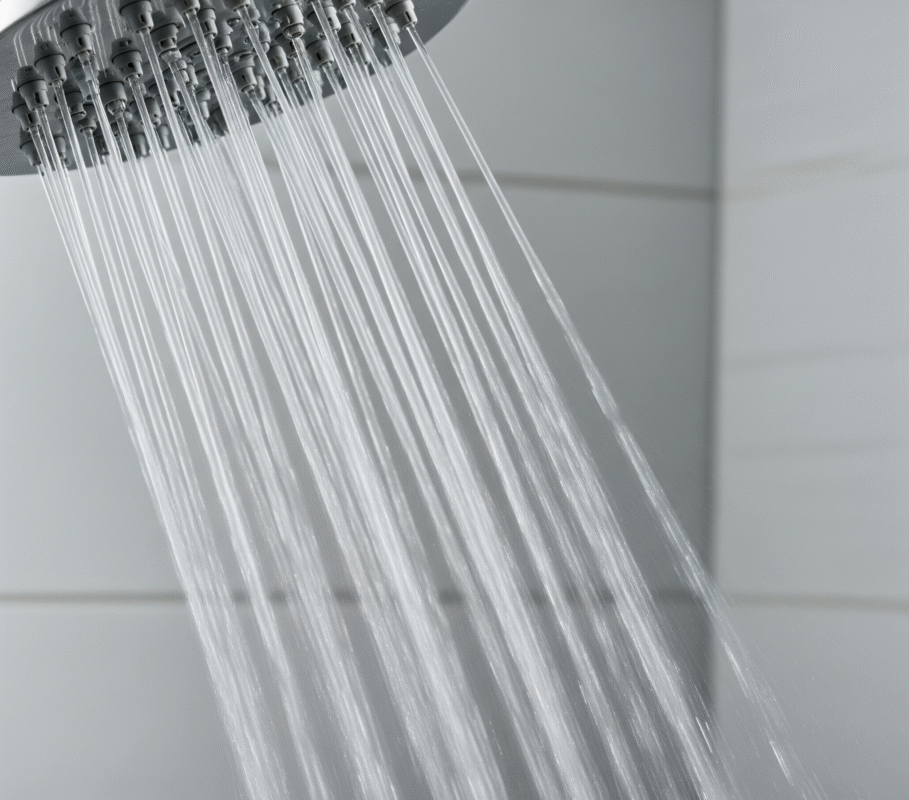
- Description: These showerheads are specifically designed to optimize and boost water pressure, often through smaller orifices, advanced nozzle designs, or air-induction technology. They are excellent for invigorating showers and rinsing thick hair quickly.
- Best For:
- Homes with inherently low water pressure (they can sometimes compensate, but won’t magically create pressure if the supply is truly inadequate).
- Anyone who loves a strong, massaging spray.
- Key Considerations:
- Actual vs. Perceived Pressure: Be aware that some may simply restrict flow to increase pressure, which can still use a lot of water if not efficient. Look for truly optimized designs.
- Flow Rate: Many high-pressure models still adhere to standard LPM limits, achieving pressure through design, not just excessive water use.
Essential Features and Technologies to Look For
Beyond the basic showerhead types, modern designs come packed with features that can further enhance your showering experience, improve durability, and simplify maintenance. When considering showerhead upgrades, keep an eye out for these valuable innovations.
Adjustable Spray Settings
This is a fundamental feature that adds incredible versatility to your shower.
- Description: Most showerheads offer multiple spray patterns, allowing you to customize the water flow to your preference. Common settings include:
- Full Body/Wide Spray: A classic, even distribution for overall rinsing.
- Massage/Jet Spray: Concentrated, pulsating streams for soothing sore muscles.
- Rain/Mist: A softer, drenching flow for relaxation.
- Pause Feature: Temporarily reduces water to a trickle to conserve water while lathering or shaving.
- Benefits: Allows every user in the household to find their preferred setting, turning a single showerhead into a multi-functional device.
Easy-Clean Nozzles
Mineral buildup is the enemy of a good shower. This feature combats it directly.
- Description: Many modern showerhead upgrades come with rubber or silicone spray nozzles. These flexible materials make it incredibly easy to clean away mineral deposits.
- Benefits: You can simply rub your finger or a cloth over the nozzles to dislodge limescale, maintaining a consistent spray pattern and extending the life of your showerhead without harsh chemicals. This is a huge time-saver in areas with hard water.
Flow Rate (LPM)
The flow rate dictates how much water your showerhead uses per minute.
- Description: Measured in Litters Per Minute (LPM), this indicates water consumption. Federal standards cap flow rates at 9.4 LPM, but many efficient showerhead upgrades are rated at 7.5 LPM or even 6.8 LPM (WaterSense certified).
- Benefits: Lower LPM means less water used, directly translating to lower water bills and reduced energy consumption for heating that water. Don’t worry, a lower LPM doesn’t necessarily mean less pressure; efficient designs maintain a satisfying spray.
WaterSense Certification
Look for this label if efficiency is a priority.
- Description: The WaterSense label, issued by the EPA, identifies products that meet strict water efficiency and performance criteria.
- Benefits: Guarantees that the showerhead will save water (at least 20% less than standard models) without compromising on the quality of your shower experience. It’s a quick way to identify genuinely efficient showerhead upgrades.
| Flow Rate (LPM) | Annual Water Usage (Liters, 5 min shower/day) | Approx. Annual Savings (vs. 9.4 LPM) |
| 9.4 (Standard) | 17,272 | – |
| 7.5 (Efficient) | 13,816 | 3,456 liters |
| 6.8(WaterSense) | 12,435 | 4,837 liters |
Materials and Finishes
Durability and aesthetics go hand-in-hand.
- Description: Showerheads are made from various materials, including plastic (affordable), brass (durable, corrosion-resistant), or a combination. Finishes range from classic chrome and brushed nickel to trendy matte black and bronze.
- Benefits:
- Durability: Solid brass cores generally offer the best longevity.
- Corrosion Resistance: High-quality finishes protect the underlying material.
- Aesthetics: Choose a finish that complements your existing bathroom fixtures. Chrome is the most common and versatile.
Preparing for Your Showerhead Upgrade: Tools and Pre-Checks
Before you jump into installing your new showerhead, a little preparation goes a long way. Gathering the right tools and performing a few quick checks will ensure a smooth and successful installation. This section will guide you through getting ready for your showerhead upgrades.
Gathering Your Essential Tools
You won’t need a massive toolbox for most showerhead upgrades, but having these items on hand will make the job much easier:
- Adjustable Wrench or Pliers: To loosen and tighten the showerhead. Consider covering the jaws with a cloth to protect the finish.
- Teflon Tape (Plumber’s Tape): Absolutely essential for creating a watertight seal around the threads. Do NOT skip this!
- Pipe Wrench (Optional): Only if the existing shower arm is loose or you plan to replace it.
- Old Cloth or Towel: To catch drips and protect your shower floor.
- Vinegar and an Old Toothbrush (Optional): For cleaning the shower arm threads if they’re heavily corroded.
Performing Pre-Installation Checks
A few quick checks can prevent headaches later on.
Check Water Pressure
If you’re upgrading specifically for better pressure, it’s wise to test your home’s actual water pressure. You can buy a simple water pressure gauge at Winstar Hardware that attaches to an outdoor spigot. Ideal pressure is between 40-80 PSI. If it’s consistently below 40 PSI, even a high-pressure showerhead might not fully solve your problem; you might need to investigate your home’s main water supply.
Inspect the Shower Arm
This is the pipe extending from your wall.
- Is it sturdy? Gently wiggle it. If it moves excessively, it might need to be secured or replaced, which is a more involved plumbing task.
- Are the threads clean? Remove the old showerhead and inspect the threads on the shower arm. If they’re caked with mineral buildup, clean them with an old toothbrush and vinegar.
Measure for Compatibility (for specific showerhead upgrades)
- Rain Showerheads: If opting for a large rain head, ensure your shower space can accommodate it without hitting the opposite wall or creating an awkward angle. If ceiling-mounted, confirm the ceiling height.
- Handhelds: Consider the length of the hose you’ll need and the placement of the mounting bracket.
A checklist table for pre-installation tools and checks.
| Tool / Item | Purpose | Checked? |
| Adjustable Wrench | Loosening/Tightening | [ ] |
| Teflon Tape | Sealing threads | [ ] |
| Old Cloth/Towel | Catching drips/Protection | [ ] |
| Water Pressure Gauge (Optional) | Measure home’s water pressure | [ ] |
| Shower Arm Inspection | Check for sturdiness & clean threads | [ ] |
| Compatibility Check | For rain/handheld heads (size, hose length) | [ ] |
Step-by-Step Guide to Installing Your New Showerhead
Installing most showerhead upgrades is a straightforward DIY project that typically takes less than 30 minutes. Follow these steps carefully for a leak-free and satisfying installation.
Removing Your Old Showerhead
- Prepare the Area: Lay an old towel on your shower floor or tub to catch any drips and protect the surface.
- Turn Off Water (Optional but Recommended): While not strictly necessary for most showerhead swaps, turning off the main water supply to your house or just to the bathroom provides extra peace of mind and prevents unexpected sprays.
- Loosen the Old Showerhead:
- Most showerheads can be unscrewed by hand. Turn counter-clockwise.
- If it’s stuck, use an adjustable wrench or pliers. Wrap a cloth around the base of the old showerhead to protect its finish (or the shower arm’s finish) before applying the wrench.
- Turn counter-clockwise until it loosens. Be careful not to twist the entire shower arm. If the arm starts to move, hold it firmly with your other hand or a second wrench.
- Clean the Shower Arm Threads: Once the old showerhead is off, inspect the threads on the shower arm. Use an old toothbrush and a little vinegar to scrub away any old Teflon tape, mineral buildup, or rust. A clean surface is crucial for a good seal with your new showerhead.
Applying Teflon Tape
This small step is critical for preventing leaks after showerhead upgrades. Do NOT skip it!
- Get Your Tape Ready: Take your roll of Teflon tape.
- Wrap Clockwise: Starting at the end of the shower arm, wrap the Teflon tape around the threads 3-5 times in a clockwise direction. It’s crucial to wrap clockwise so that the tape tightens onto the threads as you screw on the new showerhead, rather than unraveling.
- Ensure Full Coverage: Make sure the tape covers all the threads completely.
- Tear Off Excess: Once wrapped, tear off the tape.
For a visual guide, watch this video on the proper way to use Teflon tape.
Installing Your New Showerhead
Now for the exciting part – seeing your new showerhead upgrades come to life!
- Hand-Tighten First: Take your new showerhead and carefully align its threads with the taped threads of the shower arm. Begin turning the showerhead clockwise by hand. It should screw on smoothly. If it feels like it’s cross-threading or gets stuck, stop, unscrew it, re-tape the threads, and try again.
- Snug with a Wrench (Gently!): Once the showerhead is hand-tight, give it another quarter to half turn with your adjustable wrench. Again, wrap a cloth around the base of the showerhead to protect its finish.
- Important: Do not overtighten! Overtightening can strip the threads on the shower arm, crack the new showerhead, or damage the internal washers, leading to leaks. It just needs to be snug.
- Adjust Direction: Position the showerhead to face the desired direction.
Testing for Leaks
The moment of truth!
- Turn Water On: Slowly turn the main water supply back on (if you turned it off).
- Inspect All Connections: Look closely at the connection point between the new showerhead and the shower arm. Check for any drips or trickles.
- Run the Shower: Turn on the shower and let it run for a minute or two. Again, inspect the connection point.
- Tighten if Necessary: If you notice a leak, turn off the water, give the showerhead another small snug with the wrench (no more than an eighth of a turn), and re-test. If the leak persists, you might need to remove the showerhead, re-tape the threads more thoroughly, and reinstall.
Final Touches (For Specific Showerhead Upgrades)
- Handheld Showerheads: If you installed a handheld unit, securely place it in its mounting bracket. Check the hose connections at both ends for leaks.
- Dual/Combo Systems: Test the diverter valve to ensure water flows correctly to each showerhead. Check all connections.
Maintaining Your New Showerhead for Lasting Performance
Your new showerhead upgrades will provide years of enjoyment, but only if you give them a little tender loving care. Regular, simple maintenance will prevent mineral buildup, keep your spray patterns consistent, and ensure your showerhead performs optimally for its entire lifespan.
Regular Cleaning of Nozzles
This is the easiest and most frequent maintenance task.
For Easy-Clean Nozzles (Rubber/Silicone):
Simply run your hand or a soft cloth over the nozzles after each shower, or at least once a week. This dislodges any mineral deposits before they can harden and cause clogs.
For Standard Nozzles:
- Weekly Wipe-Down: Use a soft cloth and a mild bathroom cleaner to wipe the face of the showerhead.
- Monthly De-scaling (Vinegar Method):
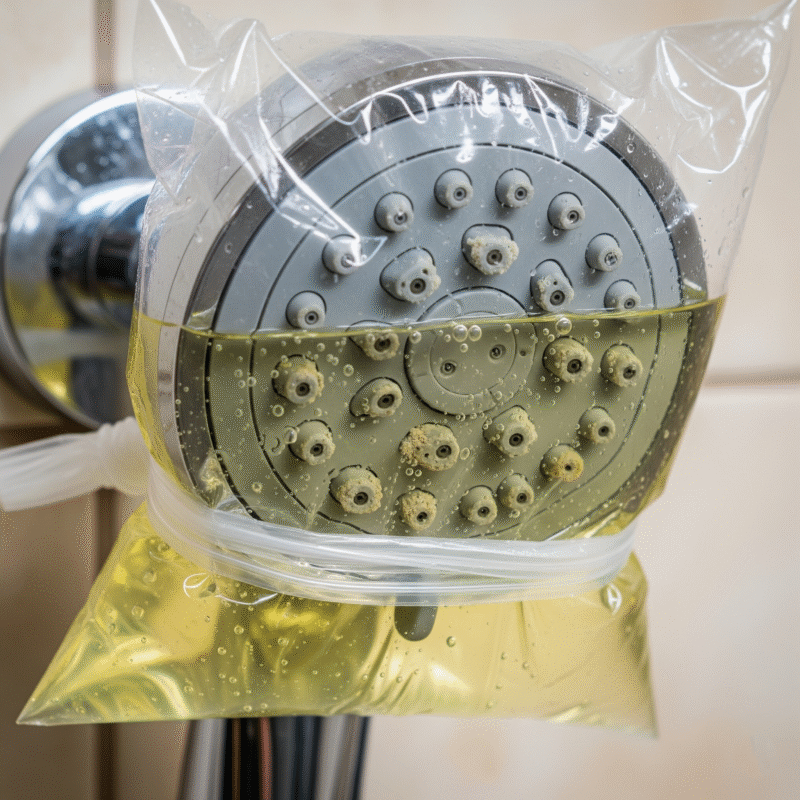
- Fill a plastic bag (like a sandwich bag) with white vinegar.
- Position the bag over the showerhead so the nozzles are submerged in the vinegar.
- Secure the bag with a rubber band.
- Let it soak for a few hours or overnight for stubborn buildup.
- Remove the bag, turn on the shower to flush out loosened deposits, and use an old toothbrush to scrub away any remaining residue.
- Monthly De-scaling (Vinegar Method):
Cleaning the Showerhead Filter Screen
Sometimes, debris can get past your pipes and clog an internal filter.
- Description: Many showerheads have a small mesh filter screen located inside the connection point (where it screws onto the shower arm). This screen catches larger particles.
- How to Clean:
- Turn off the water supply.
- Unscrew the showerhead from the shower arm.
- Carefully remove the small filter screen (you might need tweezers or a small screwdriver).
- Rinse the screen under running water, scrubbing gently with an old toothbrush to remove debris.
- Reinsert the screen and re-install the showerhead, ensuring to use new Teflon tape.
Addressing Low Water Pressure (Beyond Cleaning)
If your pressure issues persist even after cleaning and ensuring your new showerhead upgrades are not clogged, consider these points:
- Flow Restrictor Removal (Caution!): Many showerheads come with a flow restrictor (a small plastic or rubber disc inside the connection) to meet water efficiency standards. While removing it can increase flow, it will also increase water consumption and may void your warranty. Only do this if you understand the implications.
- Whole-Home Pressure Issues: If the low pressure is affecting all faucets in your home, the problem lies with your main water supply or a faulty pressure regulator, not just your showerhead. Consult a plumber.
Regular Inspection
A quick visual check can catch problems early.
- Look for Leaks: Periodically check around the connection point for any drips or moisture.
- Check for Cracks: Inspect the showerhead body for any hairline cracks that could worsen over time.
- Hose Condition (for handhelds): Ensure the hose isn’t kinked, cracked, or showing signs of wear.
Advanced Showerhead Upgrades & Considerations
Once you’ve mastered the basics and are enjoying your improved shower, you might want to explore even more advanced showerhead upgrades and considerations.
Shower Arm Upgrades
Sometimes, the arm itself needs attention or an upgrade.
- Longer/Taller Shower Arms: If you’re tall or want a rain shower effect from a wall-mounted head, a longer or taller shower arm can reposition the spray for better coverage.
- Adjustable Shower Arms: These allow you to change the height and angle of your showerhead, ideal for households with varying heights.
- Replacing a Loose Shower Arm: If your current shower arm wiggles in the wall, it needs to be properly secured to prevent damage to your plumbing. This might involve opening the wall for a more secure installation.
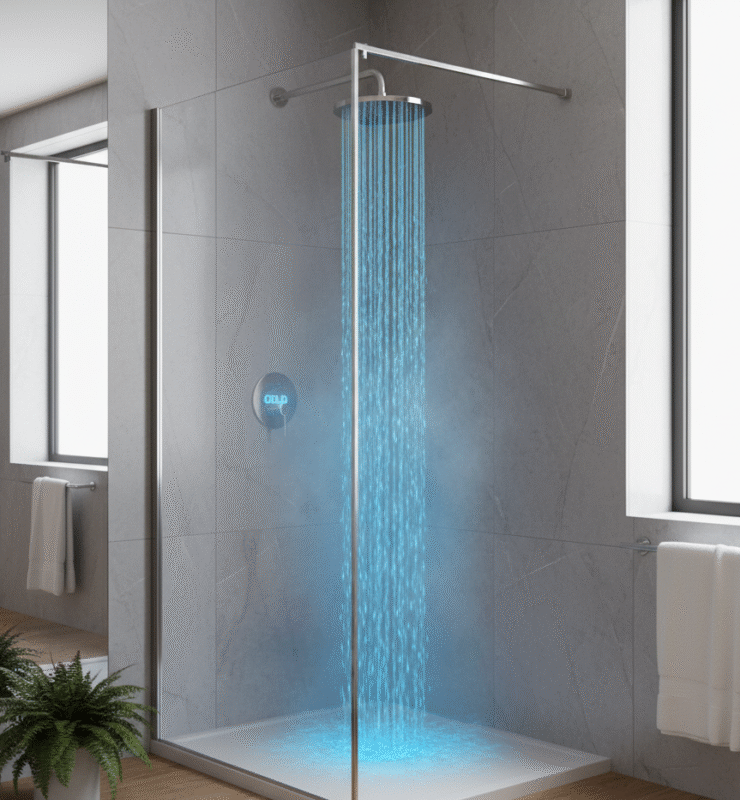
Thermostatic Shower Valves
For ultimate temperature control and safety.
- Description: A thermostatic mixing valve maintains a precise water temperature, regardless of changes in the hot or cold water supply. It prevents scalding by automatically compensating for pressure drops (e.g., if someone flushes a toilet).
- Benefits: Enhanced safety (especially for children and the elderly), consistent comfort, and luxury.
- Considerations: Requires more complex installation, often involving opening the wall, and is a more significant investment than just showerhead upgrades.
Integrating with Smart Home Systems
Bring your shower into the 21st century.
- Description: Some high-end shower systems can be integrated into smart home platforms, allowing for voice control, personalized temperature settings, and even music streaming.
- Benefits: Ultimate convenience and a truly modern showering experience.
- Considerations: Significant cost, requires a robust smart home setup.
Water Filtration Showerheads
Combatting hard water at the source.
- Description: These showerhead upgrades include built-in filters designed to remove chlorine, sediment, and heavy metals from your shower water.
- Benefits: Can improve skin and hair health, reduce mineral buildup on the showerhead itself, and eliminate odors from chlorine.
- Considerations: Filters need regular replacement, which is an ongoing cost.
Conclusion: Your Path to Perfect Showers Starts Now
From understanding the myriad showerhead types to confidently tackling DIY installation and essential maintenance, you’re now equipped with the knowledge to revolutionize your daily routine. Gone are the days of enduring weak, sputtering streams; a world of invigorating, efficient, and luxurious showers awaits.
A simple showerhead upgrade is a powerful investment in your comfort, your home’s efficiency, and your well-being. It’s an easy project that delivers significant returns, proving that you don’t need a full renovation to make a big difference in your bathroom.
Ready to take the plunge? Visit Winstar Hardware today. Our extensive selection of showerheads and all the necessary tools and accessories will help you choose the perfect upgrade. Our knowledgeable team is always here to provide expert advice and ensure your path to better showers is a resounding success!




One thought on “Easy Showerhead Upgrades: A Guide to Better Showers”