In Kenya, managing our precious water resources is more critical than ever. Whether you rely on municipal supply, boreholes, or embrace rainwater harvesting, every drop counts. Yet, one of the most common and frustrating sources of water loss in homes across the country is the overflowing water tank. That continuous gush of water, often going unnoticed for hours, is not just wasteful; it drains your finances through higher utility bills and reduces the valuable reserves you depend on. The good news is that preventing this common problem is surprisingly simple and affordable. The solution lies in installing a Water Tank Overflow Alarm. This clever device acts as your silent guardian, alerting you the moment your tank reaches its capacity, allowing you to turn off the pump or divert the supply before a single drop is wasted. It’s a small investment that yields significant savings and promotes responsible water use.
At Winstar Hardware, we are committed to helping Kenyan homeowners implement smart, efficient, and sustainable plumbing solutions. This comprehensive guide will walk you through everything you need to know about a water tank level indicator or water level sensor installation – from understanding different types to step-by-step instructions. By the end, you’ll be well-equipped to install your own water tank overflow alarm, ensuring your water stays where it belongs: in your tank.
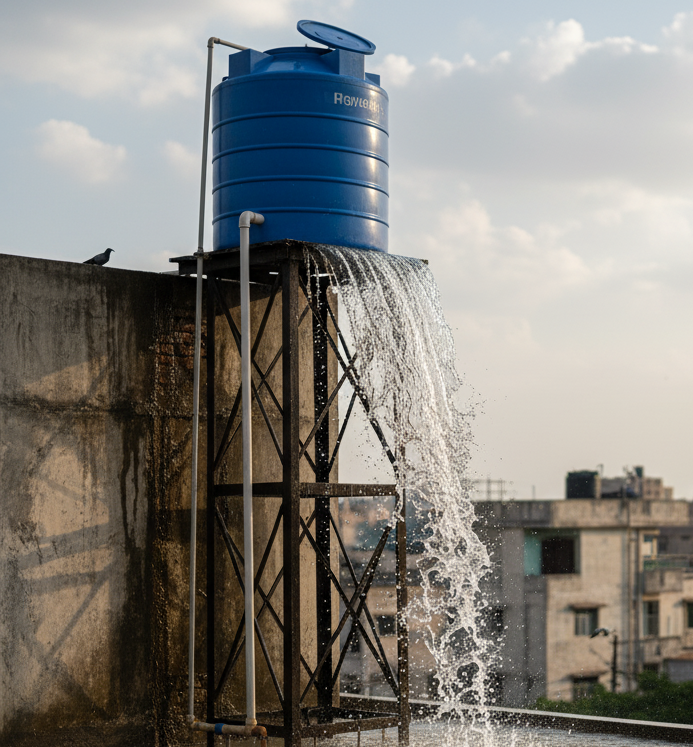
The Problem: Why Water Tanks Overflow in Kenya
Understanding the root causes of overflow emphasizes why a Water Tank Overflow Alarm is an essential upgrade.
The Stakes: The Hidden Costs of Overflow
- Financial Drain: Wasted water means higher utility bills (for municipal supply) or increased electricity costs (for pumping borehole water).
- Resource Depletion: In a water-stressed nation like Kenya, every liter wasted impacts collective resources.
- Property Damage: Constant overflow can erode foundations, damage landscaping, and create damp conditions around your home, leading to mold or structural issues.
- Pump Burnout: If a pump runs continuously, pushing against a full tank, it can overheat and burn out, leading to costly water pump replacement.
Common Causes of Overflow
- Faulty Float Valves: These are the most common culprits. Over time, plastic float valves can stick, get misaligned, or wear out, failing to shut off the water supply when the tank is full.
- Human Error: For manual pumping from a borehole or reliance on intermittent municipal supply, it’s easy to forget to turn off the pump or valve in time.
- Pressure Fluctuations: Sudden increases in municipal water pressure can sometimes overpower a weak float valve, causing it to fail.
- No Monitoring System: Simply put, without a water tank level indicator, you can’t know when your tank is full until water starts gushing out.
Understanding Water Tank Overflow Alarms
Before installation, it’s helpful to know the types of water tank overflow alarms available and how they function. This will help you choose the right water level sensor for your specific needs.
Basic Types of Overflow Alarms
- Simple Float Switch Alarms (Most Common DIY):
- How it Works: A buoyant float (like a small ball) is connected to a switch. As the water level rises, the float lifts, triggering an electrical circuit that activates a buzzer or light.
- Pros: Inexpensive, easy to install, reliable for basic overflow detection.
- Cons: Only provides an “overflow” alert; doesn’t show intermediate levels.
- Electronic Water Level Sensors (Basic):
- How it Works: Uses probes or electrodes placed at different tank levels. When water touches a probe, it completes a circuit, signaling the water level.
- Pros: Can offer multiple level indications (e.g., 25%, 50%, 75%, Full) depending on the number of probes.
- Cons: More complex wiring, probes can be affected by mineral buildup.
- Ultrasonic/Radar Level Sensors (Advanced):
- How it Works: A sensor emits sound waves or radar pulses that bounce off the water surface. The time it takes for the echo to return indicates the water level.
- Pros: Highly accurate, non-contact (no parts in the water), can integrate with smart home systems.
- Cons: Most expensive, requires more technical setup, often overkill for basic home overflow prevention.
- Wired vs. Wireless:
- Wired: Direct electrical connection from the tank sensor to the alarm unit (buzzer/light) inside the house. More reliable, no batteries to replace in the sensor.
- Wireless: Sensor transmits a signal wirelessly to a receiver. Easier installation (no long wires), but relies on battery life and signal strength.
(For this guide, we’ll focus on the simple, reliable, and widely adopted Float Switch Alarm, which is highly practical for DIY installation in Kenyan homes.)
Planning Your Water Tank Overflow Alarm Installation
A little planning goes a long way to ensure your water tank level indicator is installed correctly and effectively.
Key Planning Considerations
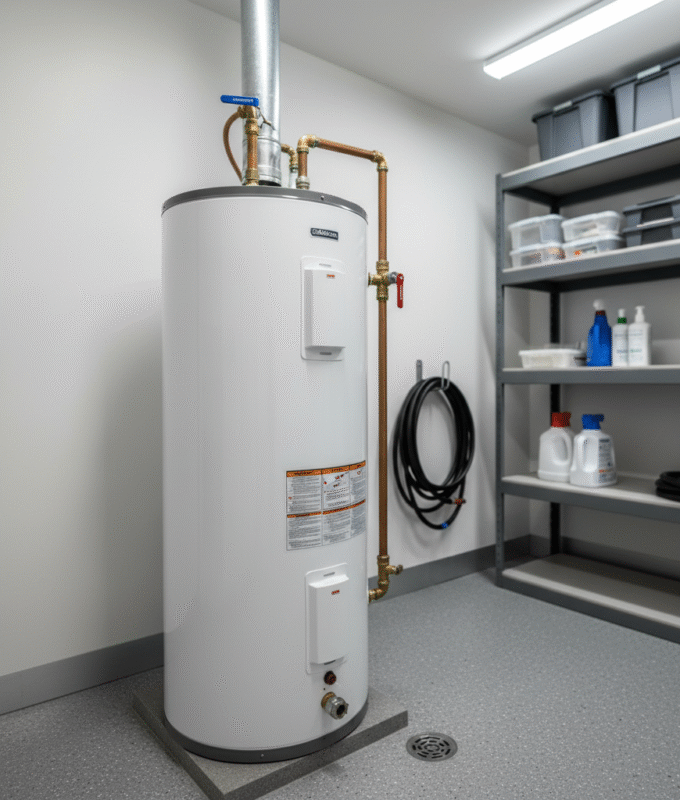
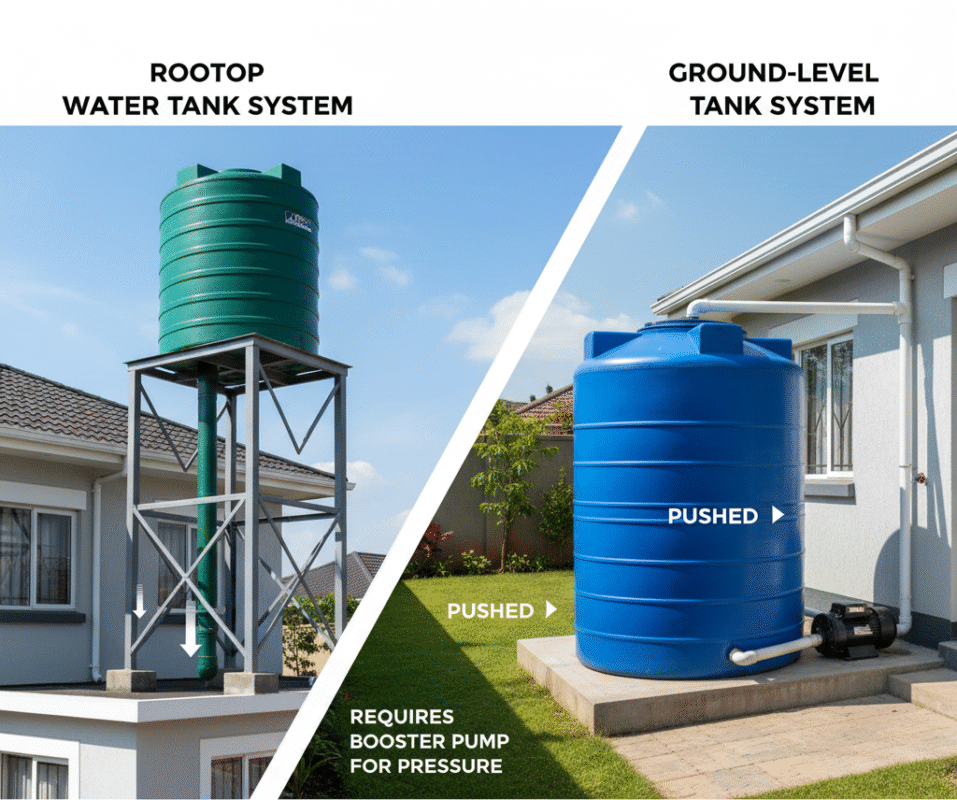
- Location of Water Heater: Is your tank on the roof, on a stand, or at ground level? This impacts wiring length and complexity.
- Alarm Unit Placement: Where in your house will you best hear the alarm? Common spots include the kitchen, living room, or a frequently trafficked hallway.
- Power Source: Will your alarm run on batteries or connect to mains electricity? Mains-powered alarms are generally more reliable as they don’t depend on battery changes.
- Cable Route: How will you safely run the cable from the tank to the alarm unit without exposing it to damage or tampering?
- Tank Access: Ensure you have safe access to the top of your water tank for sensor installation.
Tools and Materials You’ll Need
Before you begin, gather these items from Winstar Hardware:
| Item | Purpose | |
| Water Tank Overflow Alarm Kit (Float Switch Type) | The main alarm unit and float switch | |
| Electrical Cable (Appropriate Length) | To connect the float switch to the alarm unit | |
| Cable Clips/Conduit | To secure and protect the cable | |
| Drill and Drill Bits (Matching Float Switch Stem) | For mounting the float switch | |
| Spanners/Wrenches | For tightening float switch nuts | |
| Screwdriver Set | For wiring connections | |
| Silicone Sealant | To waterproof the float switch entry point | |
| Measuring Tape & Marker | For accurate placement |
Step-by-Step Installation of a Float Switch Overflow Alarm
This guide assumes you are installing a standard, wired float switch water tank overflow alarm that operates on low voltage (e.g., 12V DC via an adapter) for safety. If you are dealing with mains voltage directly, ALWAYS consult a qualified electrician.
Safety First!
- Ensure all power sources are off when working with electrical connections.
- Work safely when on a ladder or on the rooftop.
Installation Steps
Mount the Float Switch on the Water Tank
- Determine Alarm Level: Decide how high you want the water level to be before the alarm sounds. This is usually 5-10 cm below the actual overflow pipe to give you a buffer.
- Drill Hole: Using a drill bit slightly smaller than the threaded stem of your float switch, carefully drill a hole at your chosen alarm level on the side or top of the tank. Ensure no drilling debris falls into the tank. If drilling on the side, ensure the float can move freely without hitting the tank wall.
- Secure the Switch: Insert the threaded stem of the float switch into the drilled hole. Use the rubber washer (for waterproofing) and the nut provided to securely fasten the switch from the inside or outside of the tank.
- Seal: Apply a generous bead of silicone sealant around the base of the float switch (both inside and outside if possible) to ensure a watertight seal. Let it cure as per product instructions.
- Orientation: Ensure the float mechanism (the actual “float” part) is oriented correctly so it can move up and down freely as the water level changes. Most float switches have an arrow or indicator for the “up” position.
Run the Electrical Cable from Tank to Alarm Unit
- Measure & Cut: Measure the distance from the float switch to where you want to mount the alarm unit, adding extra length for slack and routing. Cut the appropriate electrical cable.
- Secure Routing: Route the cable along the tank, down its stand (if applicable), and along the exterior of your house. Use cable clips every 50-100 cm to securely fasten the cable and prevent it from sagging or being damaged.
- Protection: Where the cable is exposed to sun or potential physical damage, consider running it through PVC electrical conduit for added protection. This is crucial given Kenya’s weather conditions.
- Entry Point: Carefully route the cable into your house. If drilling a new entry hole, ensure it’s above ground level and seal it with silicone sealant after the cable is through.
Connect the Float Switch to the Cable
- Consult Diagram: Refer to the wiring diagram provided with your Water Tank Overflow Alarm kit. Float switches usually have two wires.
- Splice & Connect: Carefully strip the ends of the float switch wires and the cable wires. Use electrical connectors (e.g., terminal blocks or wire nuts) to make secure, insulated connections.
- Waterproof: If the connections are exposed to moisture, use waterproof connectors or enclose them in a small, sealed junction box.
Mount and Wire the Alarm Unit
- Mount Unit: Choose a discreet yet audible location inside your house. Mount the alarm unit securely to the wall using screws.
- Wire Alarm: Connect the other end of the cable (coming from the float switch) to the designated terminals on the alarm unit. Again, follow the manufacturer’s wiring diagram precisely. Most alarms will have terminals for the sensor input and a power input.
- Connect Power: If the alarm is mains-powered, connect its power adapter to a wall socket. If it’s battery-powered, insert the batteries.
Test the Water Level Sensor
- Manual Test: Before filling the tank, manually lift the float switch. The alarm should sound.
- Fill Tank Test: Start filling your water tank. As the water level rises and lifts the float, the alarm should activate. This confirms your water tank level indicator is working correctly.
- Adjust if Needed: If the alarm sounds too early or too late, you may need to adjust the position of the float switch.
Maintenance and Troubleshooting Your Overflow Alarm
A Water Tank Overflow Alarm is a set-and-forget device for the most part, but occasional checks ensure its continued reliability.
Ongoing Maintenance
- Annual Test: Once a year, manually lift the float switch to ensure the alarm still sounds.
- Battery Check: If your alarm is battery-powered, replace batteries annually or as recommended by the manufacturer.
- Inspect Wiring: Periodically check the external wiring for any signs of damage (fraying, cracks from sun exposure, rodent damage). Replace damaged sections promptly.
- Clean Float Switch: During routine tank cleaning, inspect the float switch for mineral buildup or debris that might impede its movement. Clean it gently with water and a brush.
Troubleshooting Common Issues
| Symptom | Possible Cause | Solution |
| Alarm not sounding when tank is full | 1. Power off (for mains unit). 2. Dead batteries (for battery unit). 3. Faulty float switch. 4. Disconnected wiring. | 1. Check power supply. 2. Replace batteries. 3. Test/replace float switch. 4. Check all connections. |
| Alarm sounds when tank is NOT full | 1. Float switch stuck in “up” position. 2. Faulty float switch. | 1. Inspect float for obstruction/debris; clean. 2. Test/replace float switch. |
| Weak alarm sound | 1. Low batteries. 2. Faulty buzzer. | 1. Replace batteries. 2. Replace alarm unit. |
| Water leaking from float switch hole | 1. Inadequate sealant. 2. Loose nut. | 1. Re-apply silicone sealant generously. 2. Tighten the nut. |
For general electrical safety guidelines in Kenya, refer to the Kenya Power & Lighting Company (KPLC) website.
Conclusion: Your Partner in Water Conservation and Efficiency
Installing a Water Tank Overflow Alarm is a simple yet powerful step towards greater water conservation, financial savings, and peace of mind in your Kenyan home. No more guessing when your tank is full, no more wasted water, and no more worries about pump burnout or property damage. This small investment enhances your water management strategy significantly.
Whether you’re looking for a basic water tank level indicator or advanced solutions, Winstar Hardware has everything you need. From reliable overflow alarm kits and durable electrical cables to the tools for safe installation, we are your trusted partner in creating a more efficient and secure home. Take control of your water supply today and experience the difference a well-managed system can make!