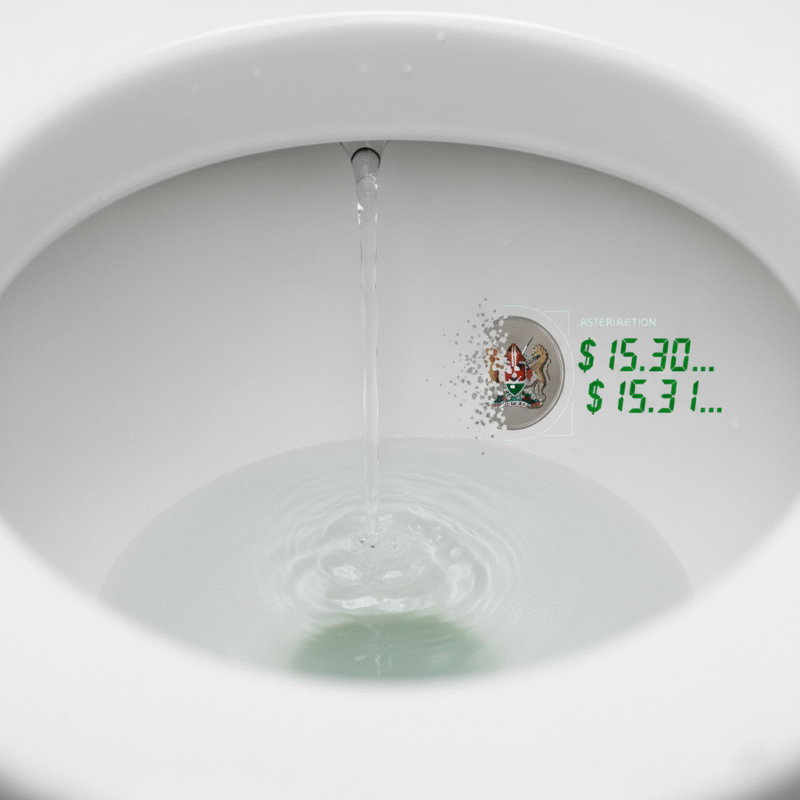
Thinking about renovating your bathroom? Installing a new shower yourself can be a rewarding project that saves you money on labor costs. While it requires careful planning and precision, a DIY approach is achievable for many Kenyan homeowners with some basic plumbing knowledge and the right tools.
At Winstar Hardware, we’re passionate about empowering you to tackle your home projects. This guide will walk you through the entire process of how to install a shower in Kenya, from initial planning to the final, satisfying moment of a fully installed shower. If you are not comfortable with plumbing or electrical work, it is always best to consult a qualified professional. Ensure you comply with all local building codes and regulations.
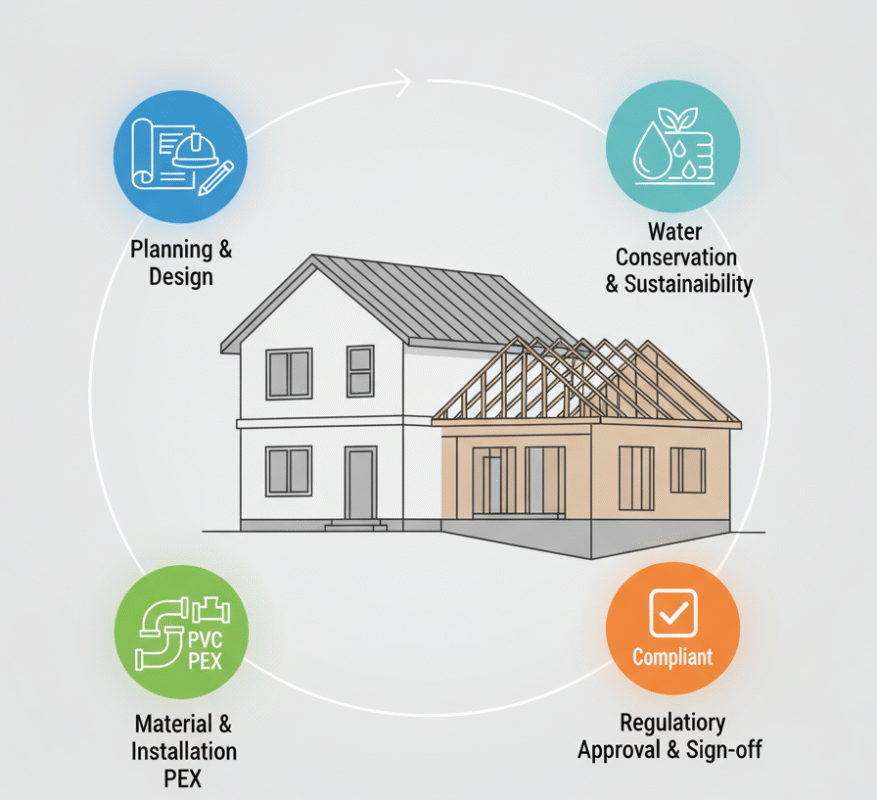
1 Step: Planning and Preparation
Proper planning is the foundation of a installing a new shower successfully. Taking the time to get this right will prevent costly mistakes down the line.
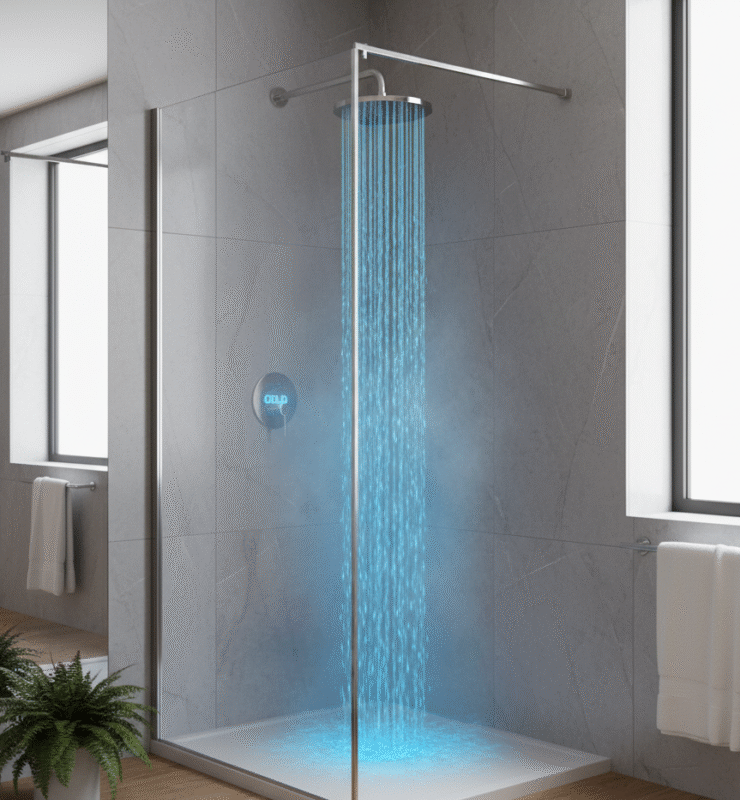
Choose Your Shower:
Decide on the type of shower that fits your needs and space. Options include a standard showerhead and faucet for a bathtub, a standalone shower stall with a shower pan, or a more elaborate shower cabin.
Take Precise Measurements:
Measure the space where the shower will be installed. Pay attention to the height, width, and depth. This will help you select the correct size for your shower pan, door, and wall panels.
Gather All Your Materials:
Nothing is more frustrating than having to stop midway through a project to buy a small part. Before you start, ensure you have everything you need:
- Shower components: Showerhead, valve, spout, and handle.
- Piping: Hot and cold water pipes, and drain pipes. To learn more about common pipes used in plumbing, see this guide on choosing the right pipes for your home.
- Shower pan/tray: The base of the shower.
- Wall material: Waterproof backerboard, tiles, or shower wall panels. You can find more information from this source about the different types of backerboard and their pros and cons.
- Sealants: Waterproof caulk, mortar, or grout.
- Hardware: Screws, anchors, and fittings.
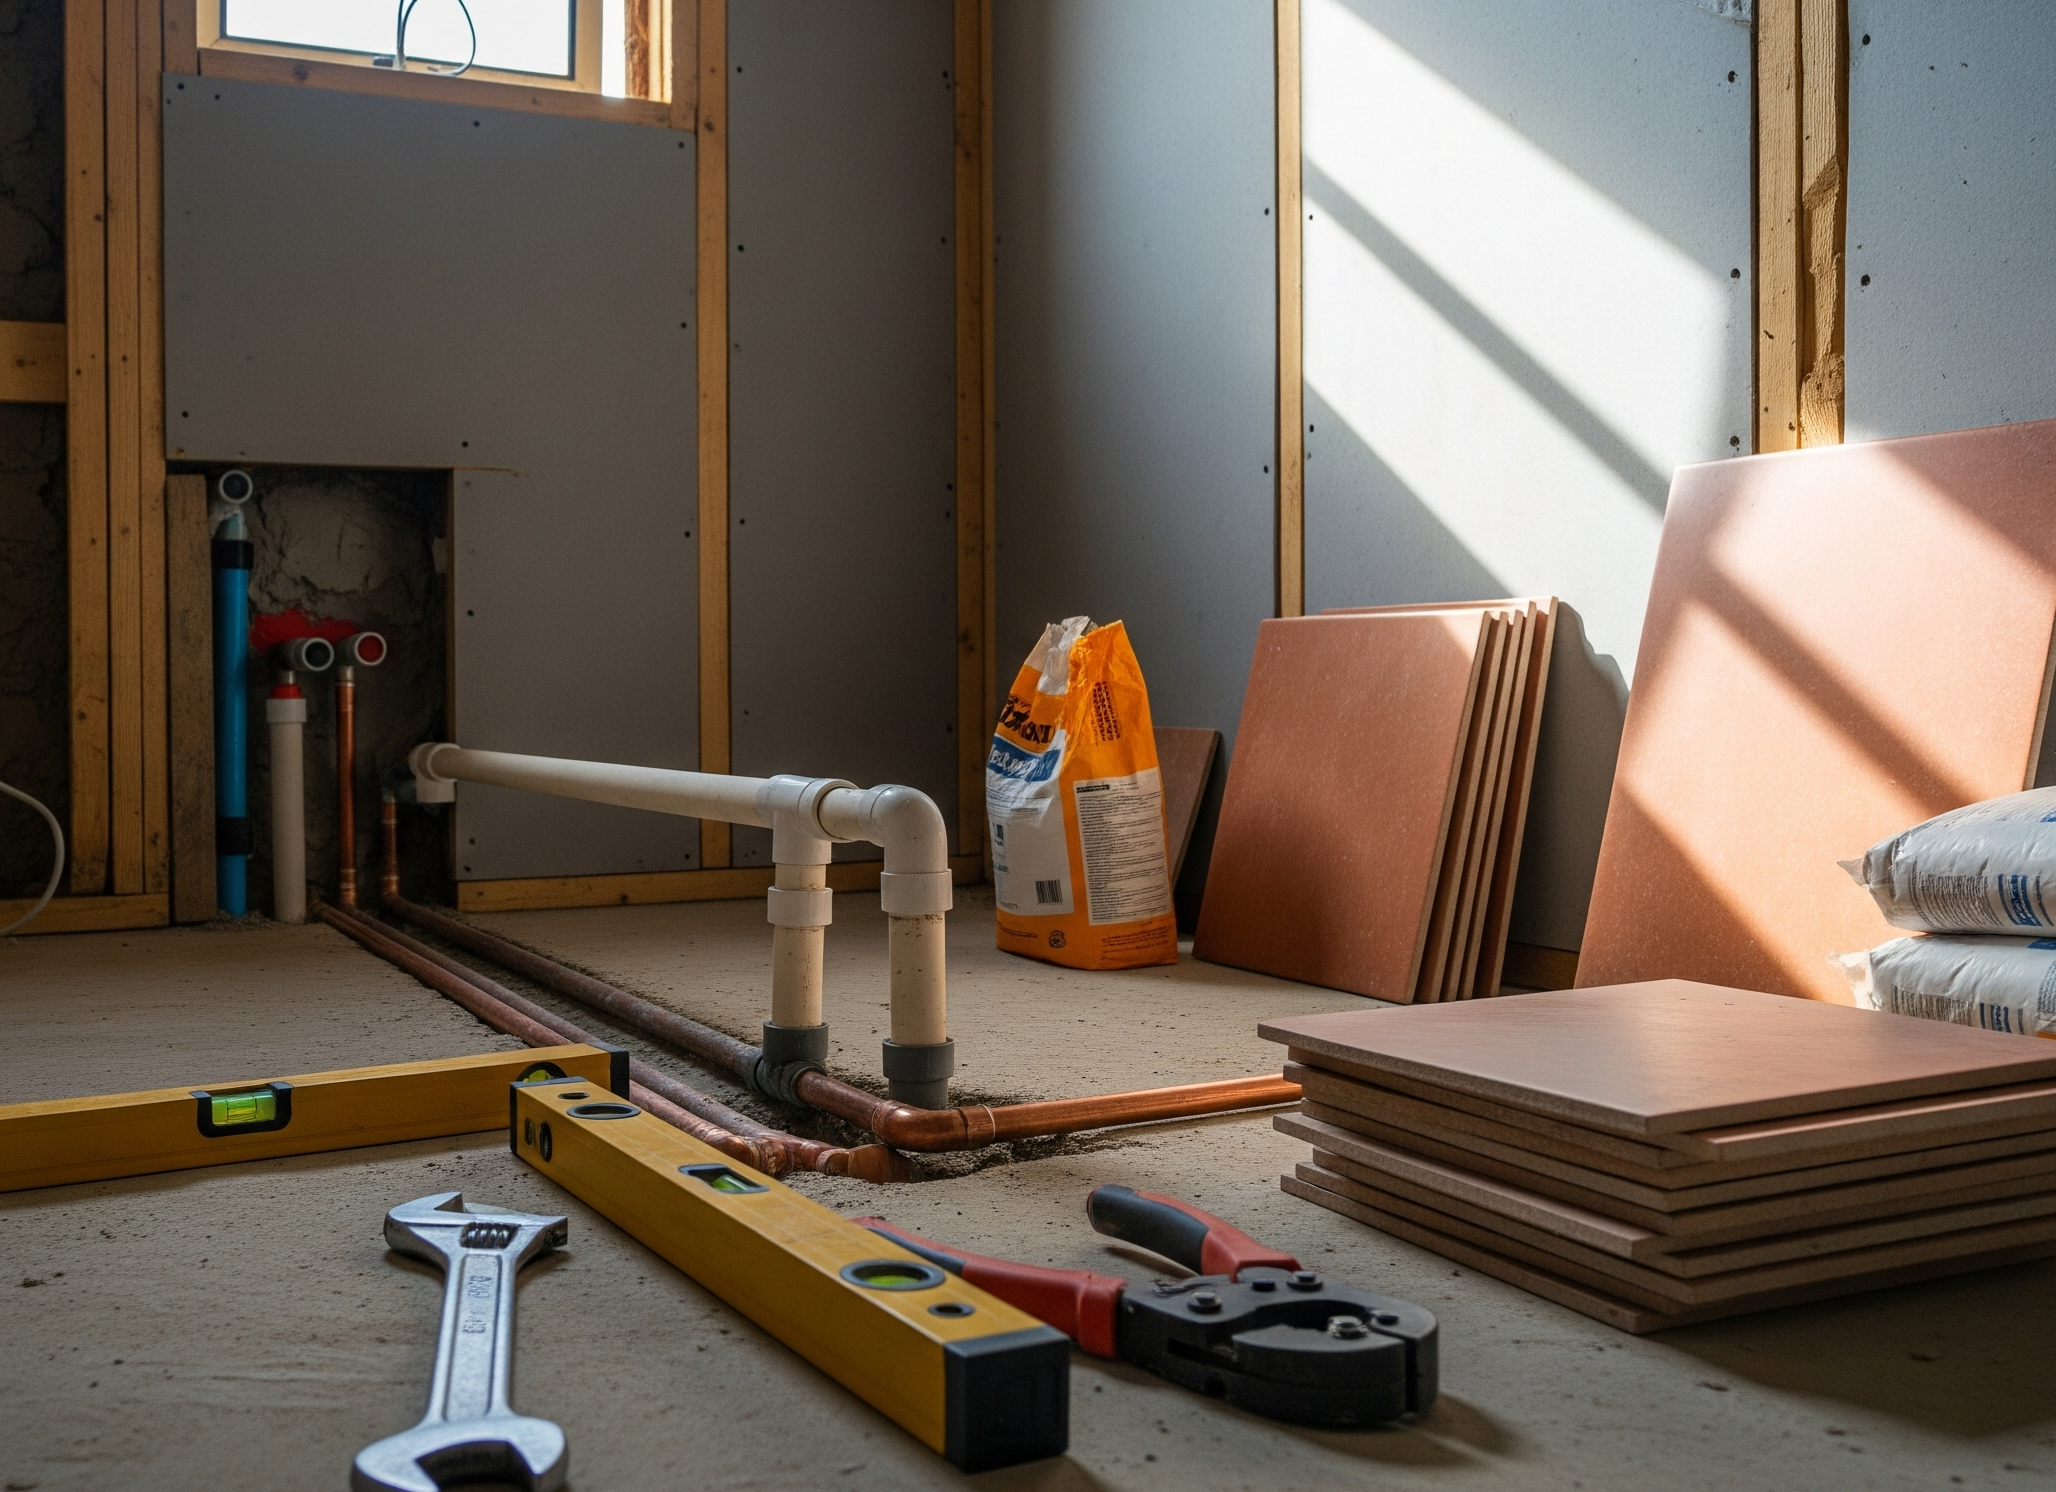
Assemble Your Tools:
Having the right tools on hand will make the job much easier and safer. You’ll need:
- Drill and various drill bits
- Level
- Tape measure
- Pipe cutter or hacksaw
- Wrenches (adjustable and specific for fittings)
- Screwdrivers
- Caulking gun
- Safety gloves and goggles
2nd Step: The Plumbing Phase
This stage involves installing the concealed plumbing. It is crucial to get this right before you seal the walls.
Shut Off the Water Supply:
Before you touch any pipes, locate your main water valve and turn it off completely. Open a few faucets to drain any remaining water from the pipes.
Install the Shower Valve:
The shower valve controls the flow and temperature of the water. This is the most critical part of the installation.
- Mark the location on the wall for the valve, ensuring it’s at a comfortable height (typically around waist level).
- Cut a hole in the wall to access the studs.
- Securely mount the valve to a wooden stud using screws, ensuring it is perfectly level. For more detailed instructions on how to install a shower valve, this video from SharkBite provides a good visual guide.
Run the Water Lines:
Connect the hot and cold water pipes from your main supply lines to the valve. Use the appropriate fittings and seals to prevent leaks. The hot water line is usually on the left and the cold on the right.
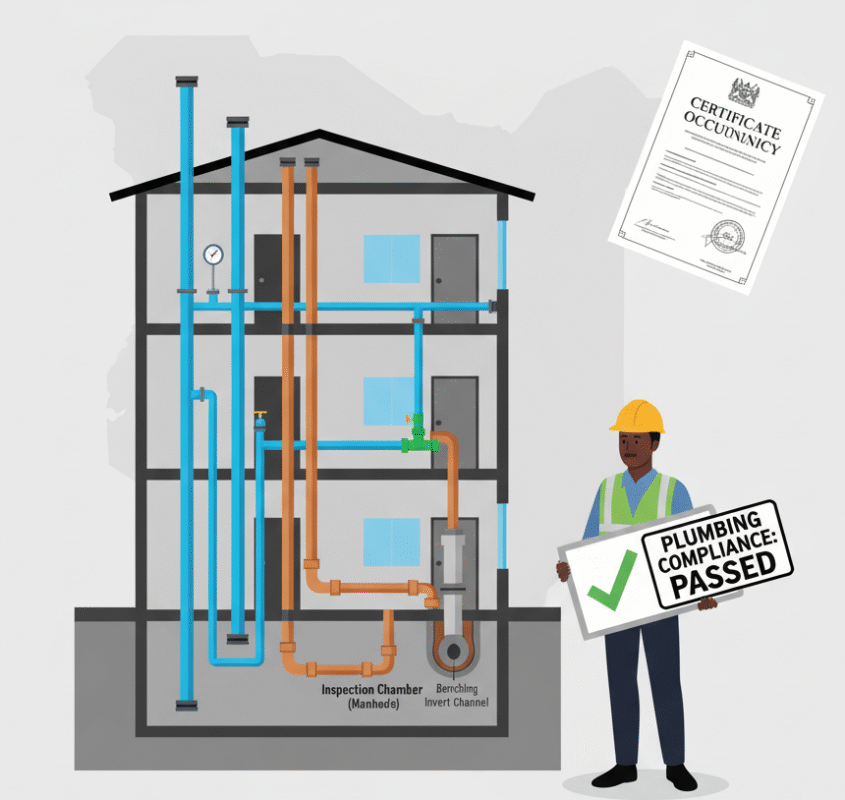
Install the Drain Pipe:
For a new shower, you’ll need to install a new drain.
- Position the drain flange in the floor where the shower pan will sit.
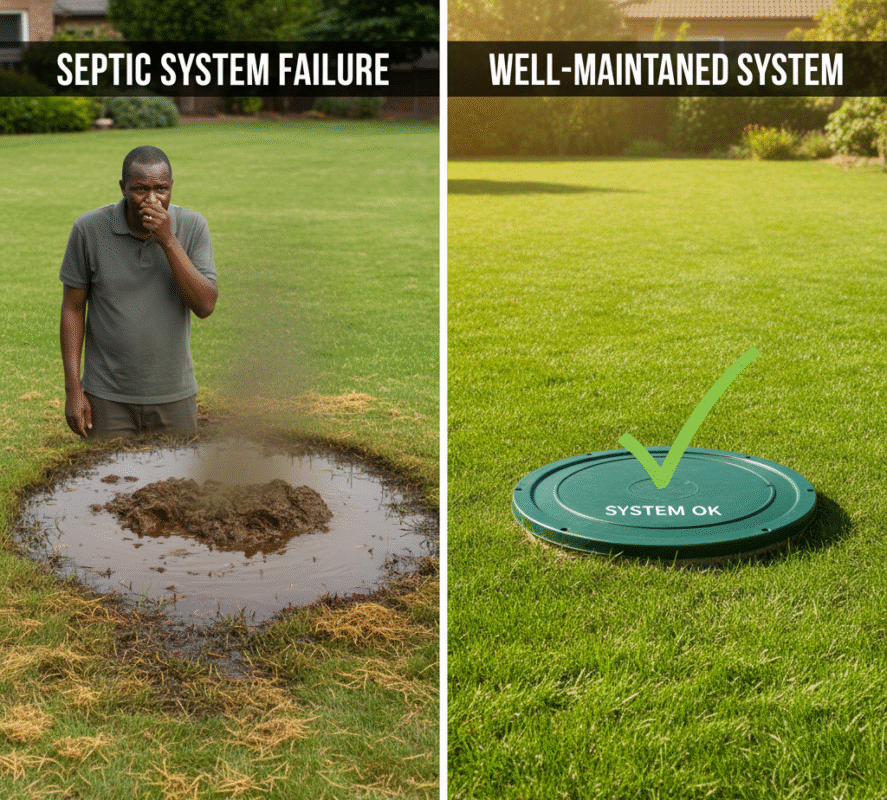
- Connect the drain pipe to your main wastewater line, ensuring a slight downward slope for proper drainage. Use a trap (like a P-trap) to prevent sewer gases from entering your bathroom. Learn more about what a P-trap is and why it’s so important here.
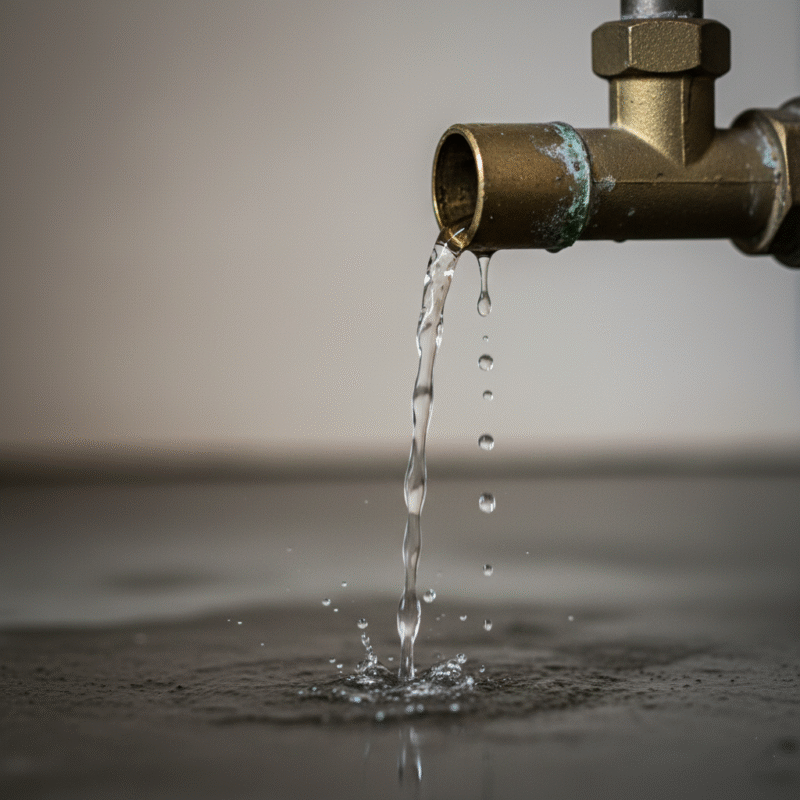
Once the “rough-in” is complete, turn the water supply back on and check for leaks. Address any leaks immediately.
3rd Step: Shower Pan and Wall Preparation
With the pipes securely in place, you can now build the physical structure of the shower.
Install the Shower Pan:
The shower pan is the waterproof base of your shower.
- Clean and prepare the subfloor.
- Apply a bed of mortar or a waterproof adhesive to the subfloor to create a solid base for the pan.
- Carefully place the shower pan on the mortar bed, ensuring it is level and securely connected to the drain.
- Wipe away any excess mortar or adhesive and let it dry completely.
Install Backerboard:
This is a crucial step for preventing water damage.
- Cut the waterproof backerboard (cement board is a common choice) to fit the shower walls.
- Attach the backerboard to the studs with screws, making sure there are no gaps.
- Cover the seams between the backerboard panels with waterproof tape and apply a thin layer of waterproof membrane or sealant.
4th Step: Final Installation and Finishing Touches
This is the final phase where your shower comes to life.
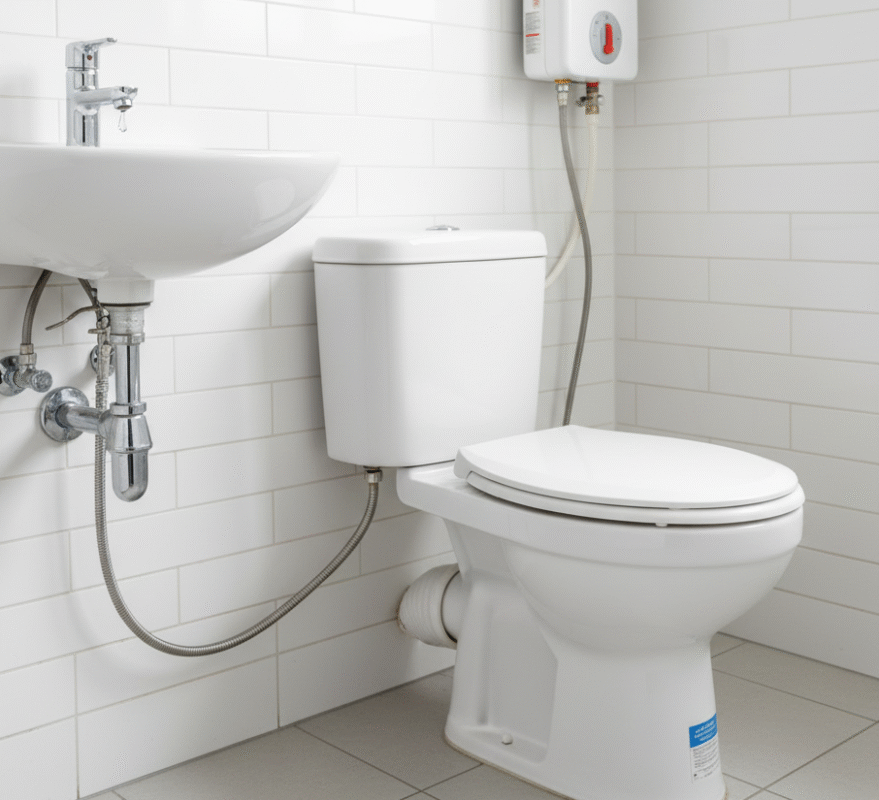
Install the Shower Head and Faucet:
To install a shower in Kenya, screw the shower arm into the outlet pipe in the wall, making sure to use Teflon tape on the threads for a watertight seal. Then, screw the showerhead onto the arm. Install the faucet handle and any other trim plates according to the manufacturer’s instructions.
Tile or Panel the Walls:
If you’re tiling, apply the tiles to the backerboard using a waterproof adhesive. Once the adhesive is dry, apply grout to the joints and seal it to prevent water from seeping through. Alternatively, install your chosen shower wall panels, following the specific instructions.
Caulk All Seams:
This is a non-negotiable step for a watertight shower.
- Apply a continuous bead of silicone caulk along all seams, especially where the walls meet the shower pan.
- Also, caulk around the shower valve and any other penetrations in the wall. This will prevent water from leaking behind the shower and causing structural damage.
Install the Shower Door (if applicable):
If you’re installing a shower door, follow the manufacturer’s instructions to mount the frame and door panels.
5th Step: The Final Test and Cleanup
Before you celebrate, it’s time for one last check.
- Turn on the water and run the shower for a few minutes. Check all connections, including the valve, showerhead, and drain, for any signs of leaks.
- Inspect the drain to ensure water is flowing away correctly.
- Clean up your workspace, remove all tools, and let any sealants or grout cure fully before using the shower.
Congratulations! You’ve successfully installed your new shower. At Winstar Hardware, we are here to support your home projects with quality tools and plumbing supplies. Visit us at our store in Nairobi, Nakuru or Naivasha to get started!