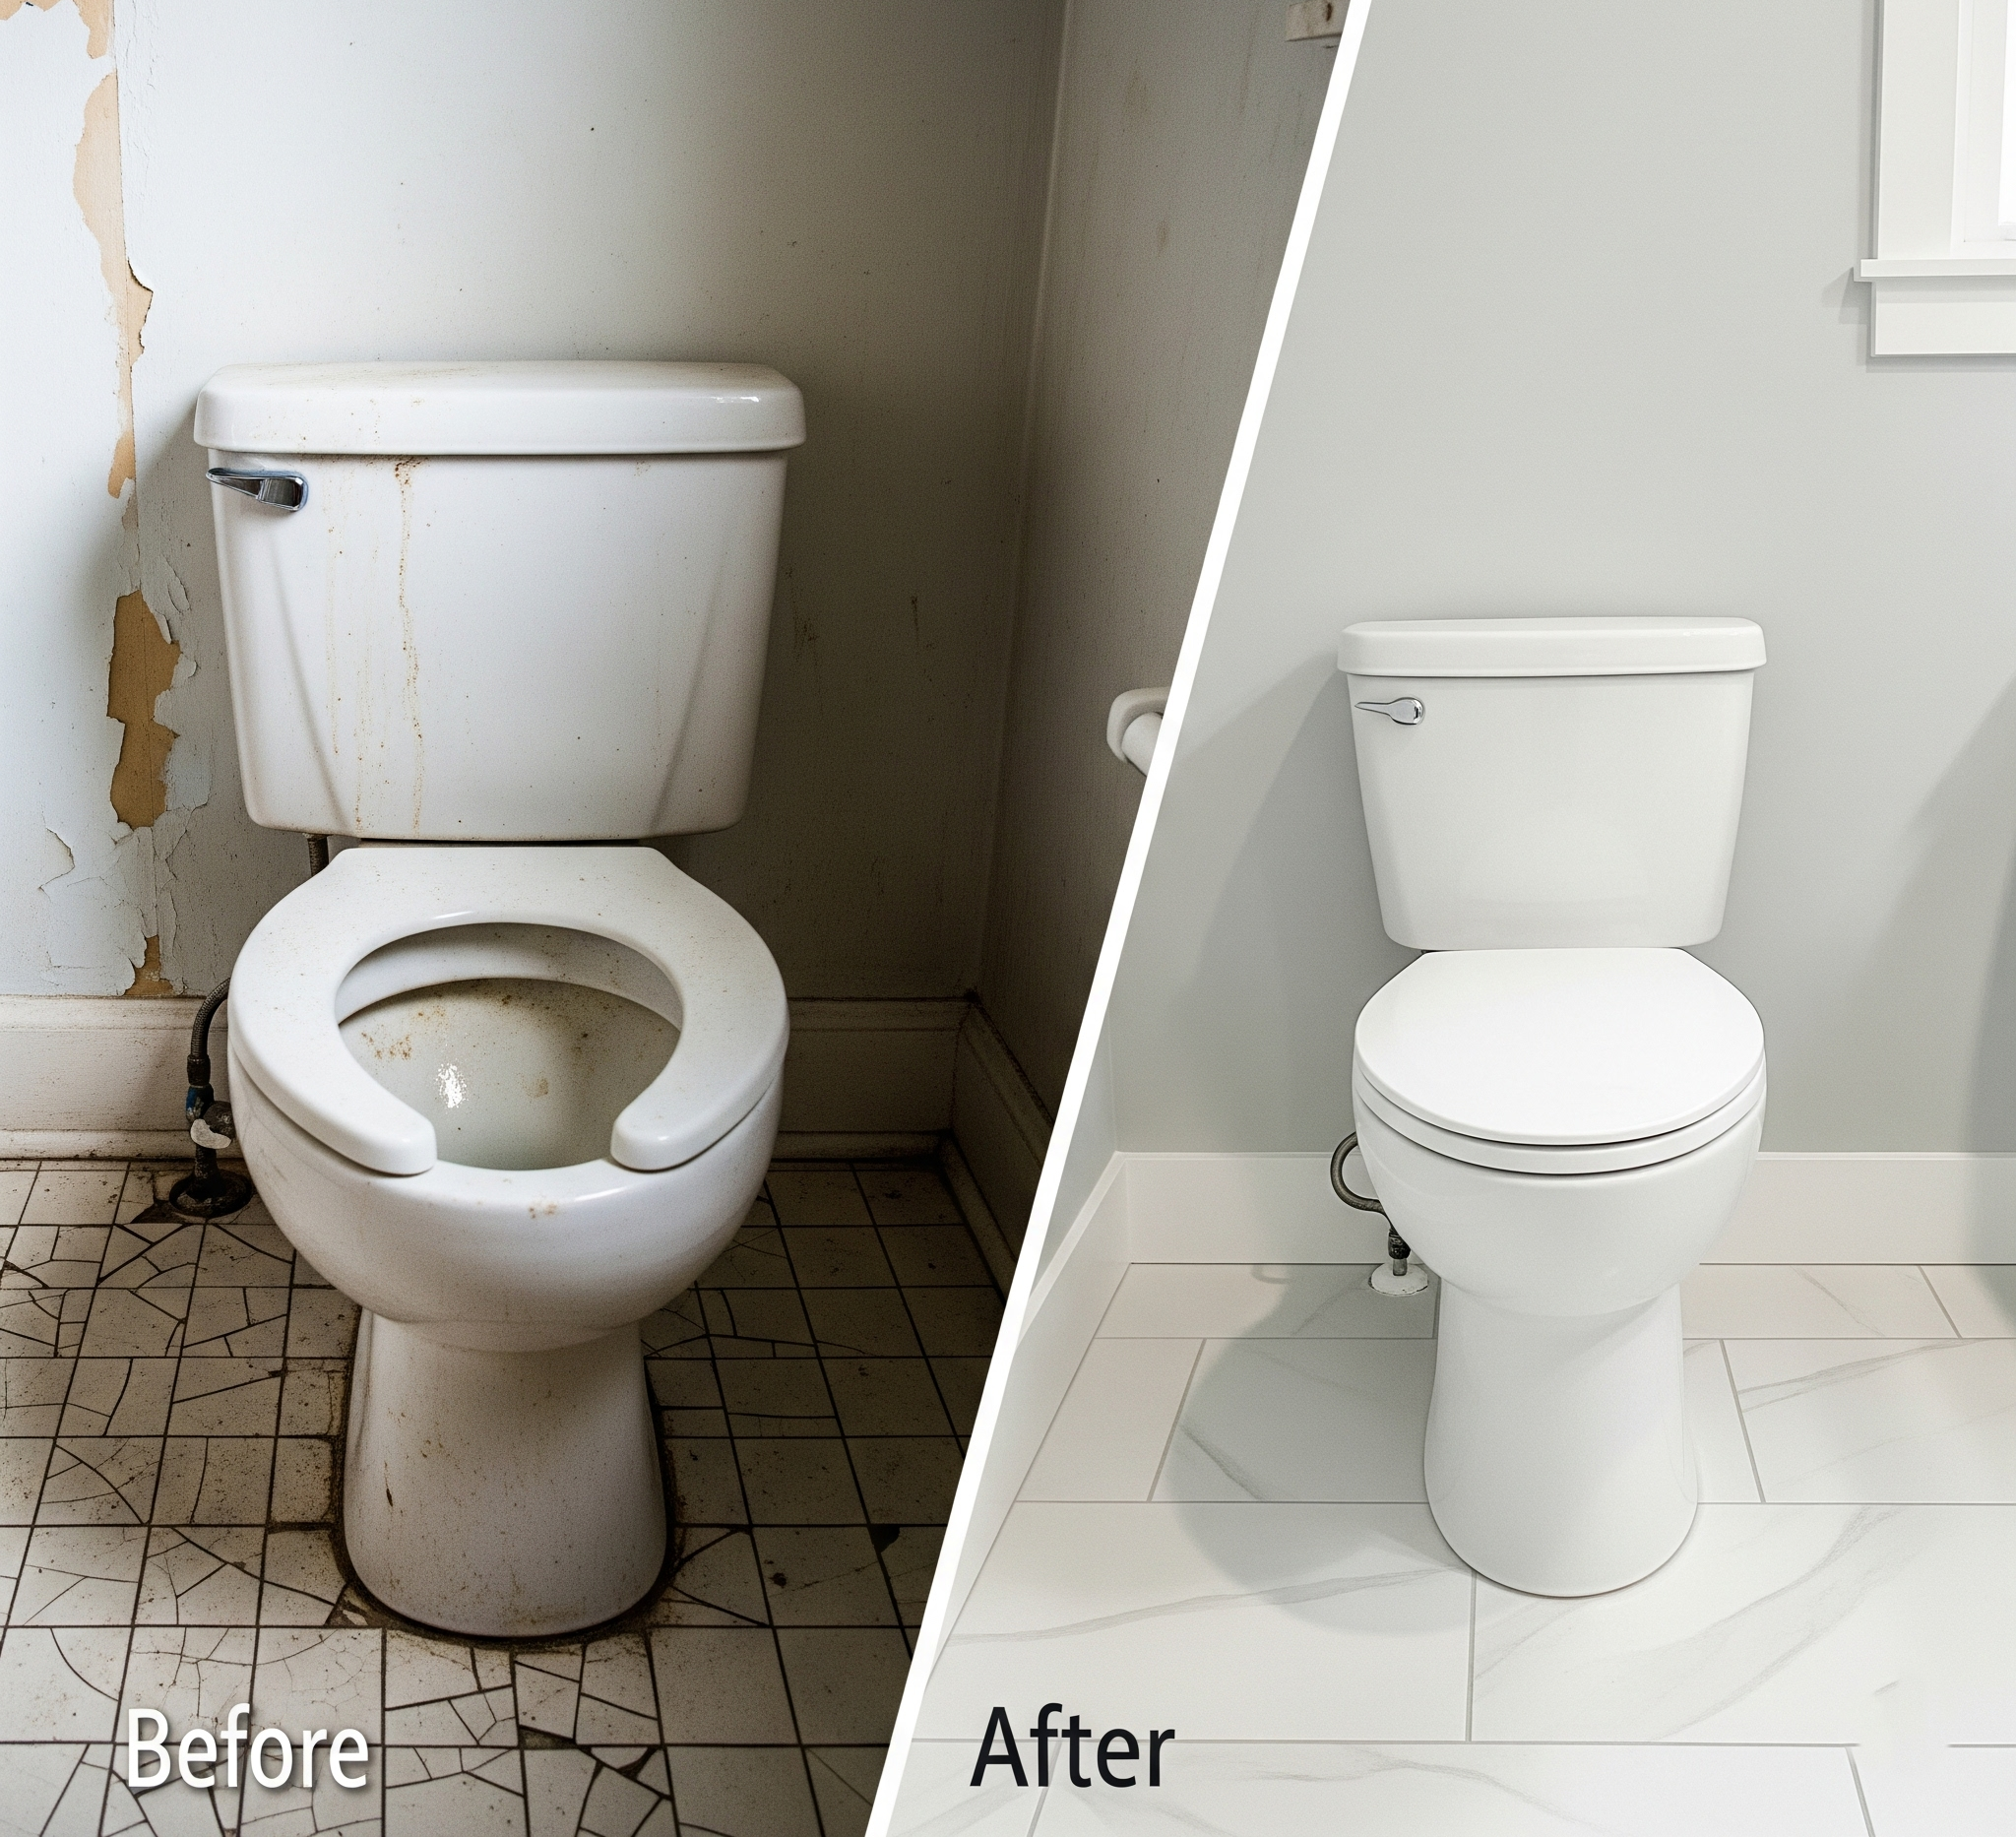
Replacing an old, inefficient, or unsightly toilet can dramatically update your bathroom and even save you money on water bills. While the idea of tackling a plumbing project might seem daunting, learning how to install a toilet is surprisingly manageable for the average DIY enthusiast. With the right tools, a clear understanding of the steps, and a bit of patience, you can successfully install a new toilet yourself.
At Winstar Hardware, we empower homeowners with the knowledge and products needed for successful home improvement. This ultimate guide will walk you through every step of how to install a toilet, from removing the old unit to setting the new one, ensuring a leak-free and functional result. Let’s get started and give your bathroom the upgrade it deserves!
Before You Begin: Planning and Preparation
Before you even think about lifting a wrench, a little preparation goes a long way when learning how to install a toilet.
1. Choose Your New Toilet
Consider these factors when selecting your new toilet:
- Bowl Shape: Round (space-saving) or Elongated (more comfortable).
- Height: Standard or Comfort Height (Persons with Disability Act compliant, taller).
- Flushing System: Single-flush, Dual-flush (water-saving), or Pressure-assisted.
- Rough-In Measurement: This is CRITICAL. Measure the distance from the wall behind the toilet to the center of the drainpipe (or the bolts that hold the toilet down). The most common rough-in is 12 inches, but 10-inch and 14-inch options exist. Image Suggestion: A simple diagram showing how to measure the rough-in distance.
- Style and Color: Match your bathroom’s aesthetics.
2. Gather Your Tools and Materials
Having everything on hand will make the process smoother. Here’s what you’ll likely need when learning how to install a toilet:
- New Toilet Kit: (Bowl, tank, tank lid, wax ring with flange bolts, toilet seat, tank-to-bowl bolts). Most new toilets come with everything except the supply line.
- New Toilet Supply Line: Braided stainless steel is recommended.
- Adjustable Wrench: For bolts and supply line.
- Screwdriver: Flathead and Phillips.
- Utility Knife / Putty Knife / Floor Scraper: For removing old wax.
- Sponges / Rags / Buckets: For cleaning and water removal.
- Wet/Dry Shop Vacuum: Highly recommended for removing water from the tank and bowl.
- Gloves: For hygiene and protection.
- Pliers: Channel locks or similar.
- Level: To ensure your toilet is plumb.
- Measuring Tape: For rough-in and general measurements.
- Caulk Gun & Silicone Caulk: For sealing the base.
- Optional but Recommended: New toilet flange (if old one is damaged), shims (for leveling).
A simple checklist table for tools and materials.
| Tools Needed | Materials Needed |
| Adjustable Wrench | New Toilet (Bowl, Tank, Lid) |
| Screwdrivers | Wax Ring with Flange Bolts |
| Utility Knife | New Toilet Seat |
| Sponges & Rags | Flexible Toilet Supply Line |
| Buckets | Silicone Caulk |
| Wet/Dry Shop Vac | Toilet Shims (optional) |
| Gloves | New Toilet Flange (optional, if needed) |
| Pliers | |
| Level | |
| Measuring Tape | |
| Caulk Gun |
3. Shut Off the Water and Drain the Old Toilet
This is the very first and most crucial step in how to install a toilet.
- Locate the Shut-Off Valve: Find the small valve on the wall or floor behind or near the base of the toilet. Turn it clockwise until the water flow stops completely. If the valve is old or won’t budge, you may need to shut off the main water supply to your house. (Refer to our guide on Understanding The Different Types of Valves In Your Home if you need help locating your main shut-off).
- Flush the Toilet: Flush the toilet to empty most of the water from the tank and bowl.
- Disconnect the Supply Line: Use an adjustable wrench to loosen the nut connecting the flexible supply line to the toilet’s fill valve (under the tank) and to the shut-off valve. Have a small bucket or towel ready to catch any residual water.
- Remove Remaining Water: Use a sponge and/or a wet/dry shop vacuum to thoroughly remove all remaining water from the tank and bowl. This prevents spills and makes the toilet lighter and easier to move.
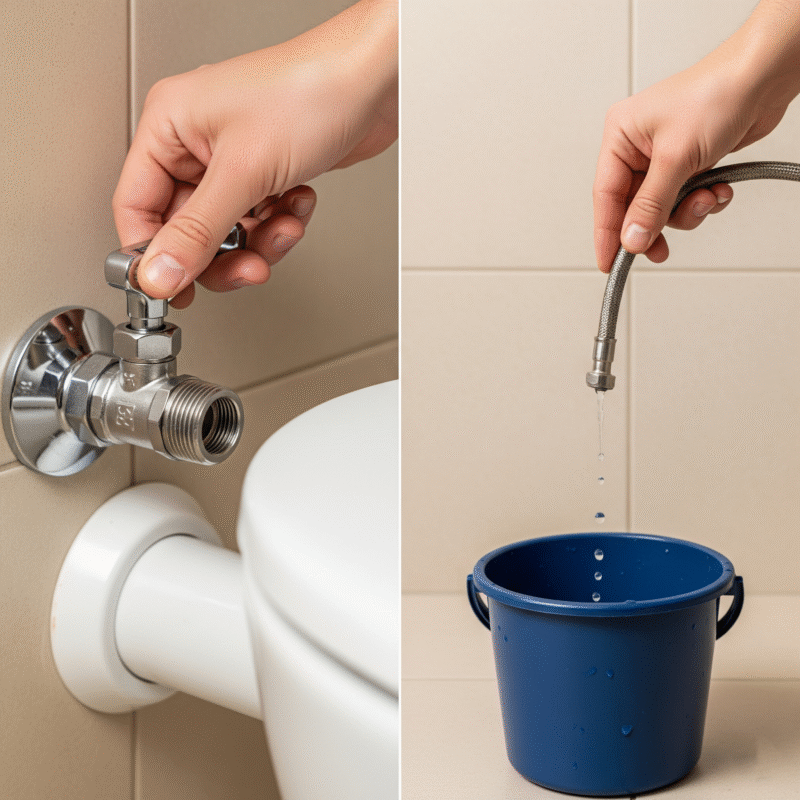
Image Suggestion: A picture showing a hand turning the angle stop valve behind a toilet, and another showing the supply line being disconnected into a small bucket.
Step-by-Step: Removing the Old Toilet
Learning how to install a toilet begins with safely removing the old one.
1. Remove the Tank Lid and Seat
- Simply lift off the tank lid and set it aside in a safe place.
- Unscrew the bolts that hold the toilet seat to the bowl, usually located under plastic caps at the back of the seat. Remove the seat.
2. Loosen the Flange Bolts
- At the base of the toilet, you’ll see two bolts (sometimes covered by decorative caps). Pop off the caps.
- Use an adjustable wrench to loosen the nuts on these flange bolts. If they are rusted or seized, you may need to apply a penetrating lubricant or even cut them with a hacksaw (be careful not to damage the flange).
3. Rock and Lift the Bowl
- Gently rock the toilet bowl from side to side to break the seal of the old wax ring.
- With a firm grip (and help if it’s a heavy toilet!), carefully lift the toilet straight up and off the flange bolts. Be prepared for a small amount of residual water or mess from the old wax ring.
- Immediately place the old toilet on an old towel or newspaper, as water might still drip from the trap.
4. Clean the Flange Area
- Scrape off all remnants of the old wax ring from the toilet flange and the floor using a utility knife or putty knife.
- Inspect the toilet flange (the ring bolted to the floor around the drainpipe). It should be securely attached, level with or slightly above the finished floor, and free from cracks or damage.
- If the flange is damaged or sits below the floor, you’ll need to repair or replace it, or use a flange extender kit. This is a critical step in how to install a toilet correctly.
- Stuff a rag into the drainpipe opening to prevent sewer gases from entering your home and to prevent tools from accidentally falling in.
Step-by-Step: Installing the New Toilet
This is where you’ll really learn how to install a toilet successfully.
1. Prepare the New Toilet Flange Bolts
- Insert the new flange bolts into the slots on your toilet flange. The threaded end should point upwards. Space them equally.
- Place the plastic washers (if included with your new bolts) over the bolts.
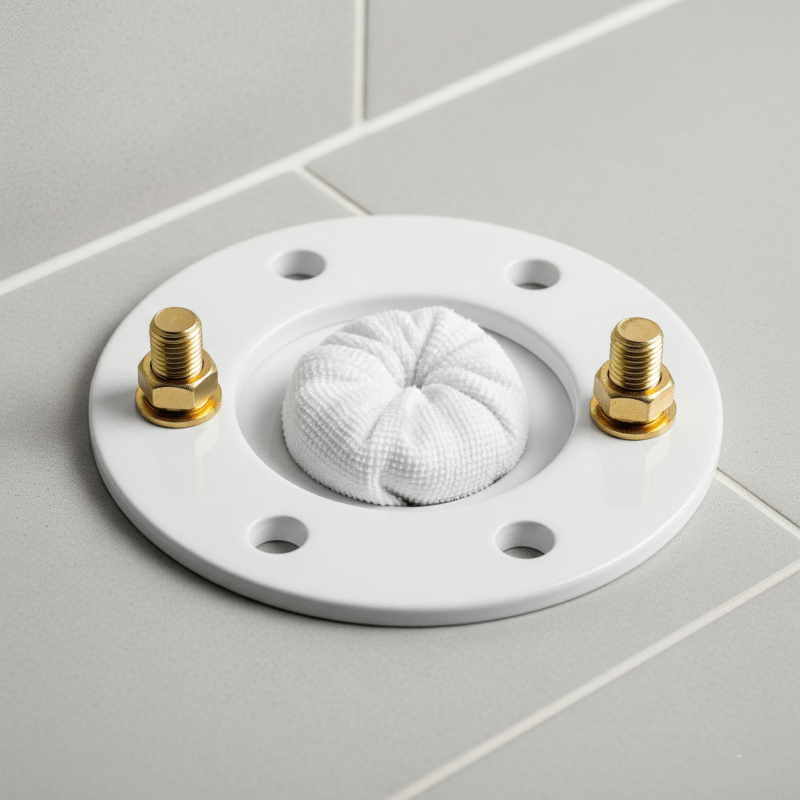
2. Install the Wax Ring
- This is a critical step for a leak-free seal. Take your new wax ring (which often comes with a plastic horn or funnel for a better seal) and carefully press it onto the bottom of the toilet bowl’s drain opening.
- Do NOT place the wax ring directly onto the flange on the floor. It’s much easier and more effective to attach it to the bottom of the toilet itself. Handle it as little as possible to avoid deforming it.
For a visual guide, check out this video on how to replace a wax ring.
3. Set the New Toilet Bowl
- Carefully lift the new toilet bowl (get help if it’s heavy!).
- Align the holes in the base of the toilet with the flange bolts you’ve placed in the flange.
- Lower the toilet straight down, pressing it firmly and evenly onto the wax ring. You should feel the wax ring compress.
- Once set, do NOT rock or twist the toilet. This can break the wax seal and cause leaks.
4. Secure the Toilet Bowl to the Floor
- Place the metal washers, followed by the nuts, onto the flange bolts.
- Hand-tighten the nuts first, ensuring the toilet remains level.
- Using an adjustable wrench, alternately tighten each nut in small increments (e.g., half a turn at a time). Do NOT overtighten! Overtightening can crack the porcelain base of the toilet.
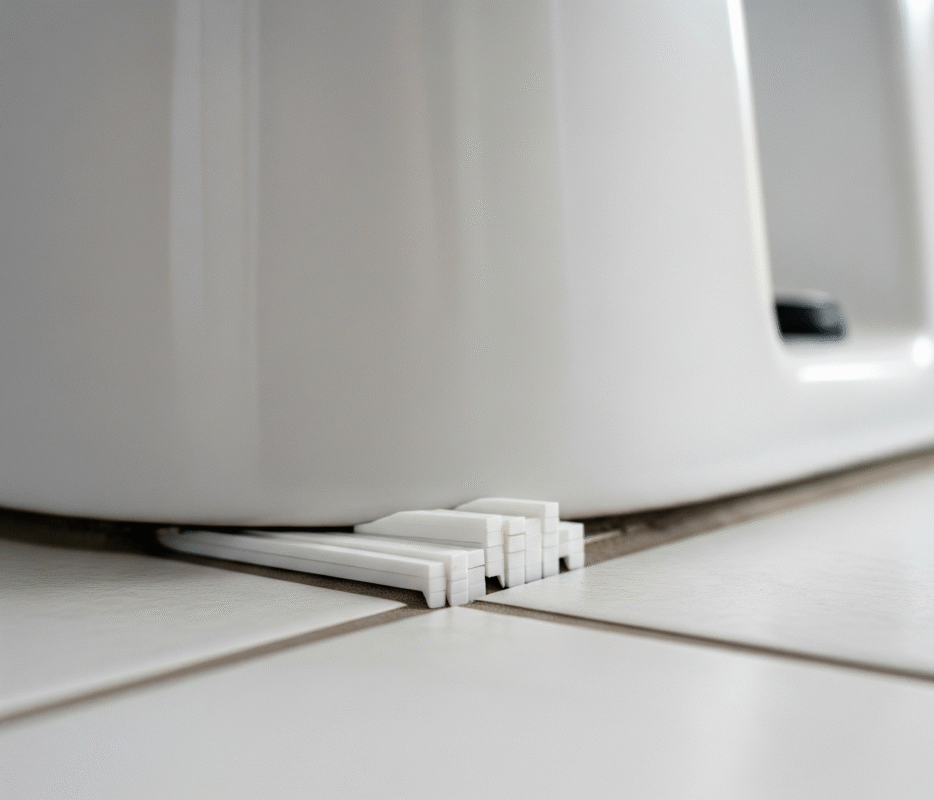
- Check for wobbling. If the toilet rocks, use plastic shims (available at Winstar Hardware) under the base until it’s stable. Then continue tightening alternately until snug.
- Once secure, place the decorative caps over the nuts and trim any excess bolt length with a hacksaw if necessary (ensure the caps fit over them).
5. Install the Tank (If Separate)
- If your toilet comes as two pieces (bowl and tank), this is the next step in how to install a toilet.
- Place the large rubber gasket (tank-to-bowl seal) over the large hole on the bottom of the tank.
- Position the tank onto the back of the toilet bowl, aligning the holes.
- Insert the tank bolts (often with rubber washers) through the tank and down into the bowl.
- Secure with washers and nuts from underneath the bowl. Tighten alternately until snug, but again, do NOT overtighten.
Watch this video to better understand how to install a toilet tank to the bowl efficiently.
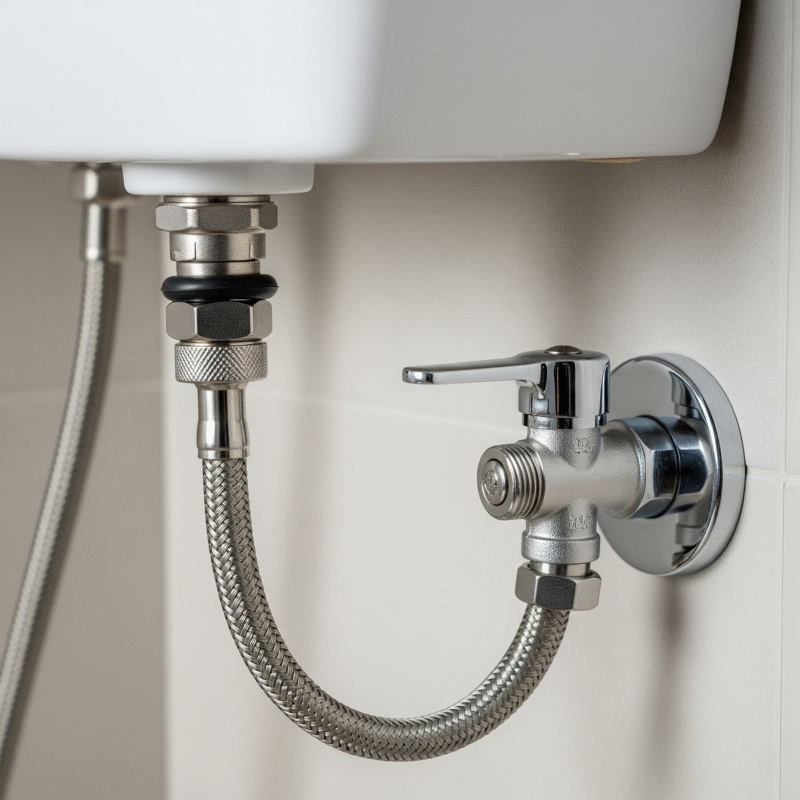
6. Connect the Water Supply Line
- Attach your new flexible toilet supply line (we recommend braided stainless steel for durability) to the toilet’s fill valve underneath the tank. Hand-tighten, then give it a quarter-turn with an adjustable wrench.
- Connect the other end of the supply line to the shut-off valve on the wall/floor. Hand-tighten, then a quarter-turn with the wrench.
- Do NOT overtighten connections, as this can strip threads or damage plastic components, leading to leaks.
7. Turn On the Water and Check for Leaks
- Slowly turn the water shut-off valve counter-clockwise to restore water flow to the toilet.
- The tank will begin to fill. Once full, let it sit for a few minutes.
- CRITICALLY, inspect ALL connections for leaks:
- Around the supply line at both ends.
- Around the base of the toilet where it meets the floor.
- Between the tank and the bowl (if applicable).
- Around the fill valve and flush valve inside the tank.
- If you see any drips, gently tighten the corresponding connection. If it persists, you may need to re-check the wax ring or other seals.
- Flush the toilet several times and re-check for leaks.
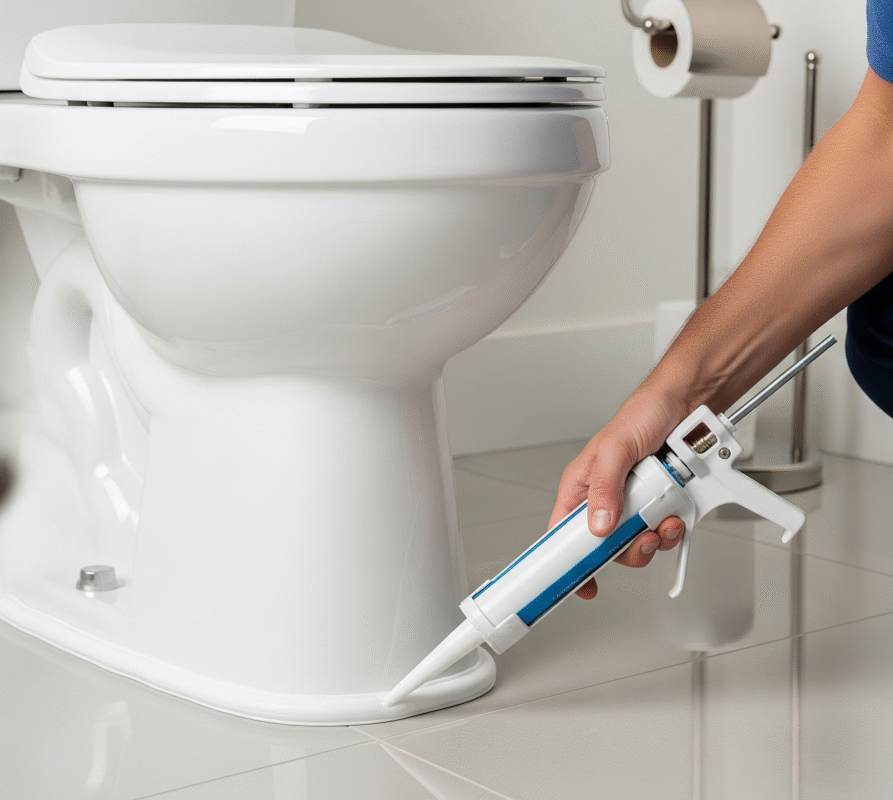
8. Install the Toilet Seat and Caulk the Base
- Install your new toilet seat according to the manufacturer’s instructions, securing it to the bolt holes at the back of the bowl.
- Caulk the base: Apply a thin, even bead of silicone caulk around the perimeter of the toilet base where it meets the floor. This provides a finished look and helps prevent standing water from seeping underneath (though the primary seal is the wax ring). Leave a small gap at the very back of the toilet to allow for ventilation and to indicate if there’s an internal leak at the wax ring. Smooth the caulk with a wet finger or tool.
For more in-depth information on toilet repair and maintenance, you can check out resources like this guide from Family Handyman.
Troubleshooting Common Issues When Learning How to Install a Toilet
Even with the best preparation, sometimes things don’t go perfectly.
- Toilet Rocks: Tighten the flange bolts alternately and/or use shims under the base until stable.
- Leaking at the Base: This is usually a wax ring issue. You’ll likely need to remove the toilet, replace the wax ring, and re-set it.
- Leaking at Supply Line/Tank: Gently tighten the nuts at the connection points. If it persists, the rubber washers or supply line might be faulty.
- Toilet Not Flushing Properly: Check that the fill valve is properly connected, the flapper is sealing correctly, and the water level in the tank is set to the manufacturer’s recommendations.
Conclusion: Your Bathroom Upgrade Awaits with Winstar Hardware
Learning how to install a toilet might seem like a daunting task, but by following these detailed steps, you can successfully replace your old unit and enjoy the benefits of a fresh, efficient, and leak-free toilet. This DIY project can save you money and give you a great sense of accomplishment.
At Winstar Hardware, we have everything you need for your toilet installation, from durable new toilets and reliable wax rings to essential tools and friendly advice. Our team is ready to assist you in choosing the right products and ensuring your project goes smoothly.
Don’t put off that bathroom upgrade any longer. Visit Winstar Hardware today, gather your supplies, and confidently tackle how to install a toilet for a better home!